





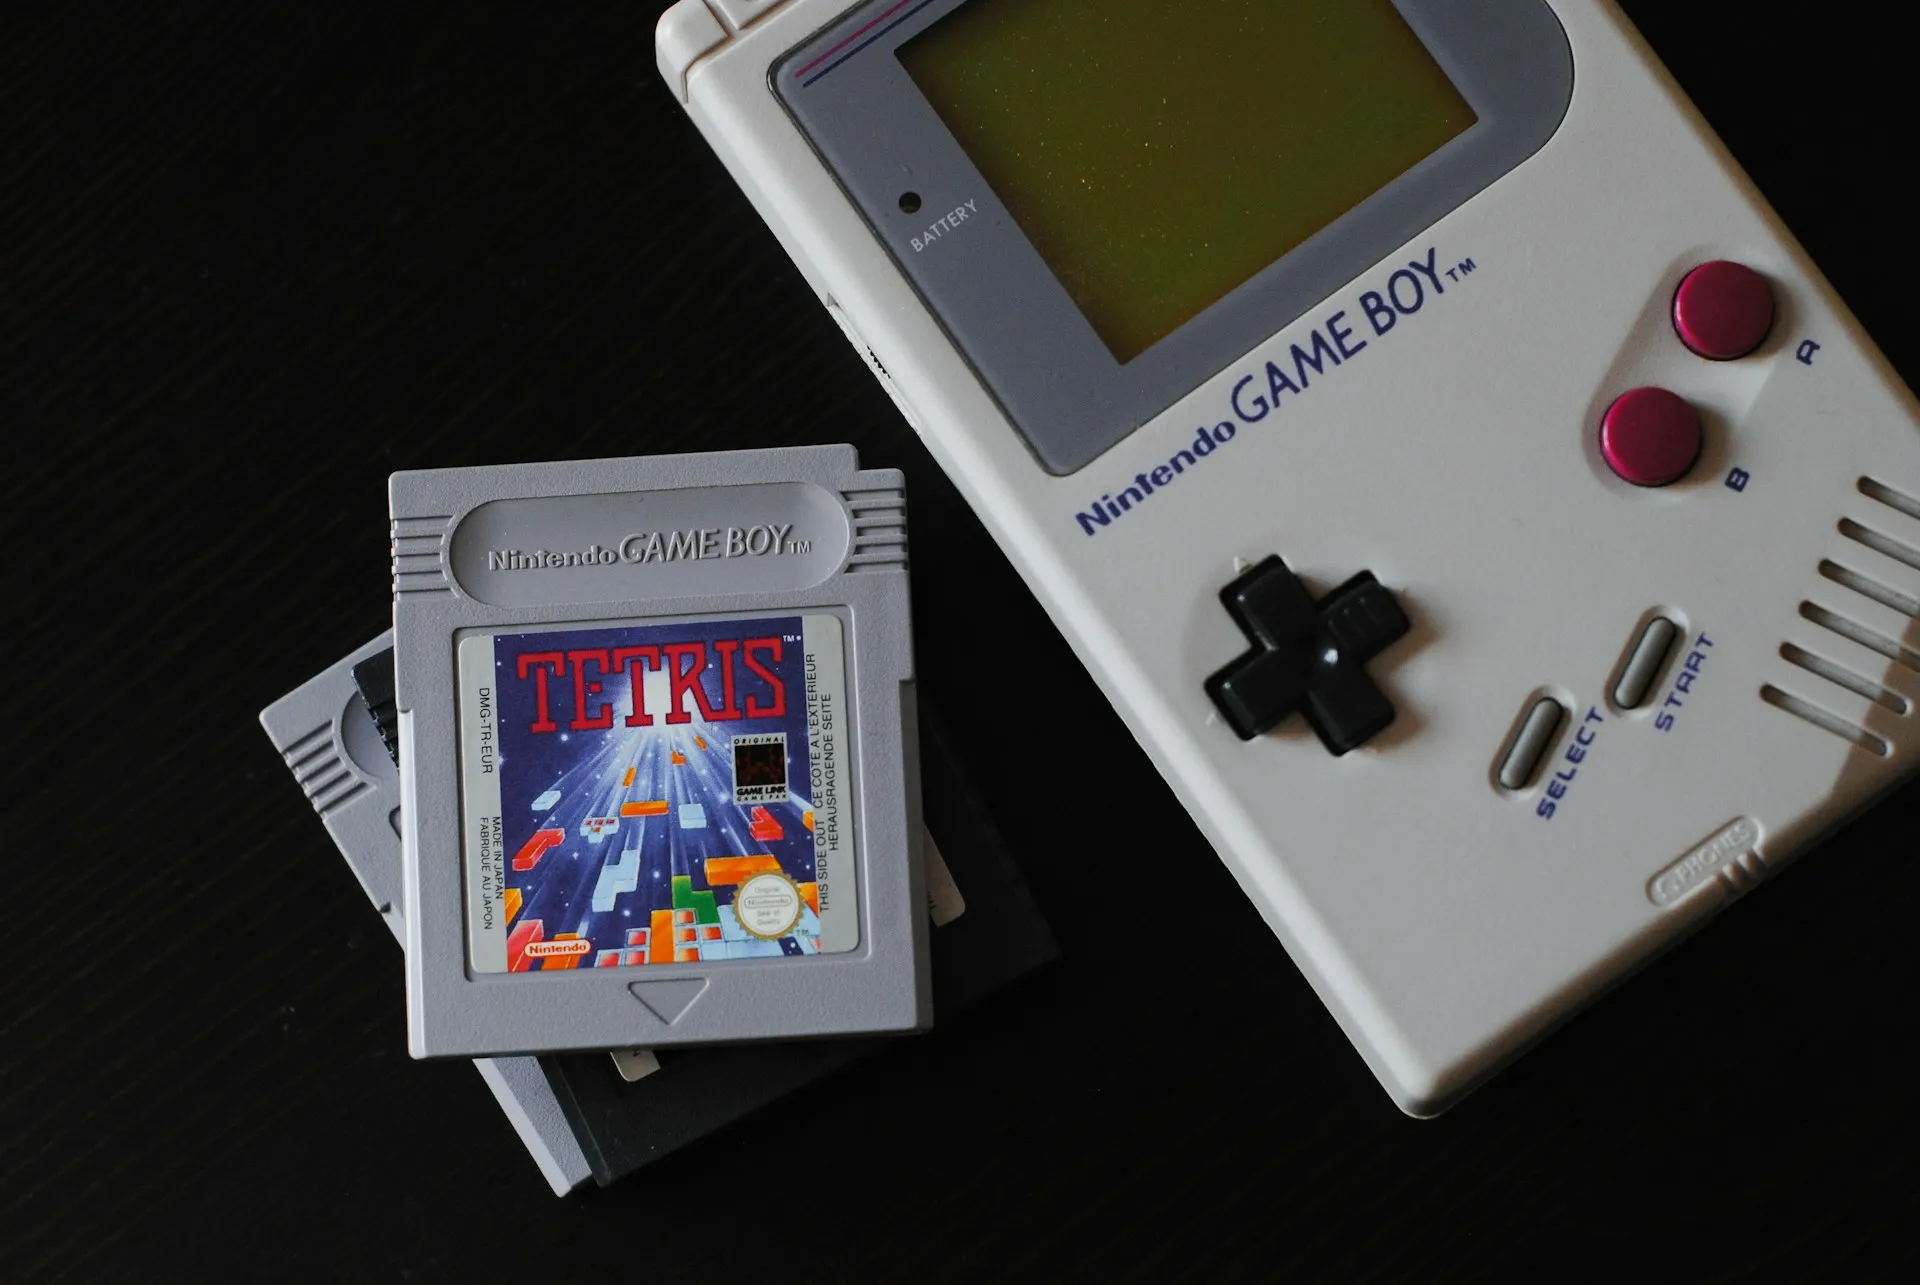
In June, Chris Graue made headlines for photographing Jupiter with a Game Boy Camera, a 1998 accessory whose sensor captures 128×128 pixels in four shades of gray. The image showed cloud bands and a clear planetary limb. The catch: Graue shot through the Hooker Telescope at Mount Wilson Observatory, one of the most historically significant instruments in American astronomy. The camera was the hook. The adapter and the 100-inch mirror behind it were the story.
Today, Graue released the 3D-printable adapter files for free and posted a tutorial video explaining how the pieces connect, Engadget reported. His description of the device: "a tube that pressure fits inside of a standard 1.25 inch eyepiece for telescopes." That phrasing matters, because 1.25-inch is the dominant eyepiece standard on consumer telescopes worldwide.
This guide covers what Graue built, what parts of that build are now replicable, and what changes when you're working with a backyard scope rather than a 100-inch mirror. The hardware chain has two distinct 3D-printed components, requires a camera body modification, and produces results that scale with your telescope's aperture. That context comes before any steps.
Three numbers worth knowing:
The Game Boy Camera's sensor is a Mitsubishi M64282FP, a 128×128 pixel monochrome CMOS unit; the telescope provided all the planetary reach, not the camera
The Hooker Telescope's Cassegrain configuration carries an equivalent focal length of roughly 24,384mm; mating the Game Boy Camera to it produced an estimated effective focal length of 730,000mm
Nintendo released the Game Boy Camera in 1998 and discontinued it in 2002; it has attracted a durable following of hardware tinkerers since
What you need before touching any files
Two separately sourced 3D-printed components are required. Neither functions without the other, and most coverage of this story has glossed over that distinction.
Graue's 1.25-inch eyepiece adapter is the piece released today. It's a tube designed to pressure-fit into a standard telescope focuser. Download it through the tutorial video Graue published alongside the release.
UltiArjan's C-mount body case is the second component, sourced separately. It's a 3D-printed replacement housing that swaps out the Game Boy Camera's fixed original optics for a standard C-mount threaded interface. As Graue explains in his video: "The Game Boy camera is modified by 3D-printing a case, designed by UltiArjan, that allows C-Mount lenses to be attached to it." Search for UltiArjan's design by name and confirm it's compatible with your printer before starting anything else.
Full parts list:
An original Game Boy Camera cartridge with its cartridge electronics and sensor assembly intact.
A 3D printer, or makerspace access
UltiArjan's C-mount body case
One or more C-mount lenses, common in CCTV and industrial photography
A telescope with a standard 1.25-inch eyepiece barrel pulls an eyepiece and measures the barrel if you're not certain
Confirm you have both sets of files and that both will print on your hardware before committing to either.
What to expect from your setup
The 730,000mm figure that made headlines belongs to Hooker's specific Cassegrain configuration. Your results will depend on your telescope's focal length and aperture. Here's a reasonable framework for calibrating expectations, not a guarantee of specific image outcomes, because the research doesn't support that level of precision.
Larger aperture or longer focal length scope (10 inches or more): The closest analog to Graue's conditions among consumer equipment. More aperture means more light reaching a sensor that can't afford to waste any of it. Whether atmospheric detail is resolvable depends on your focal length, atmospheric stability, and patience.
Typical backyard telescope (4–8 inch aperture, standard 1.25-inch focuser): The adapter will fit. Jupiter should appear as a bright disc. What that disc reveals at 128×128 pixels will vary by focal length and conditions don't plan around Hooker-level results.
No telescope yet: The adapter is not the bottleneck. When choosing a scope for this project, prioritize focal length. A Cassegrain or Maksutov-Cassegrain design will give the sensor more to work with than a short focal-length refractor of equivalent aperture.
How to use a Game Boy Camera with a telescope: the full build
Do the camera modification first. The adapter print is straightforward; the body modification is the longer task, and it needs to be verified working before you touch a telescope.
Step 1: Print UltiArjan's C-mount body case and modify the Game Boy Camera
Source and print UltiArjan's replacement body design
Transfer the Game Boy Camera's internal PCB and sensor assembly into the new housing, replacing the original fixed-lens mount with a C-mount interface
Verify the C-mount thread seats a standard lens with no lateral play
Test before going further: Power on the camera with a C-mount lens attached and confirm it produces a reviewable image on the Game Boy. A blurry result is fine that's a focus issue, not a fault. No image at all points to a seating or connection problem. You'll need the original Game Boy hardware to review output at this stage
Step 2: Print Graue's 1.25-inch eyepiece adapter
Download Graue's files through his tutorial video; they're available at no cost
The adapter pressure-fits into a standard 1.25-inch eyepiece barrel; dimensional accuracy matters because a loose adapter will shift the optical axis under load
Gotcha: Print tolerances vary by printer and filament. Test the fit dry against your focuser before assembling anything. Snug resistance is the target, not wobble, and not a forced fit that stresses the barrel. If it's sloppy, adjust the print scale and reprint rather than shimming
Step 3: Assemble the camera-to-adapter connection
Seat the modified Game Boy Camera's C-mount end into the adapter; Graue's tutorial video covers the exact orientation
The sensor must sit perpendicular to the optical axis. Visible tilt will produce asymmetric defocus across the frame
Graue and collaborator Drew built additional step-up adapters to fit the Hooker's 4-inch eyepiece fitting. On a consumer scope with a standard 1.25-inch focuser, you don't need that extra stage
Mounting, focusing, and picking your target
Step 4: Insert the adapter and verify alignment
Seat the adapter tube into the focuser and secure with the thumbscrew
Before pointing at the sky, confirm the camera is powered and producing a live image on the Game Boy screen
What to expect at this stage: A bright, shapeless smear. That's correct
Step 5: Focus on a distant terrestrial target first
Skip planets for now. Find a lit structure at a distance a rooftop antenna, a window several blocks away, anything with a hard edge
Adjust the focuser slowly while watching the live view. The 128×128 sensor shows heavy pixel texture even in focus, so "sharp" means edges are crisp, not that the image looks clean
What to expect: A recognizable edge at the center of a coarse, grainy frame. That's the correct focus for this sensor
Step 6: Choose the right target for your focal length
When Graue first pointed the Hooker at the Moon, the result was unrecognizable at 240,000 miles; the Moon overflowed the sensor's tiny field of view at that extreme focal length. Jupiter, averaging roughly 444 million miles from Earth, was workable because it fit within the field (Popular Science, two weeks ago).
That mismatch is specific to the Hooker's configuration. On a consumer telescope at shorter focal lengths, the Moon is a legitimate first target: bright, easy to locate, and a fast read on whether your focus and alignment are working. Jupiter remains the aspirational benchmark; Mars near opposition and Saturn are worth attempting if Jupiter isn't well-placed.
Step 7: Capture with patience, and keep sessions short
If you record frames for stacking, keep each individual capture sequence to roughly two minutes or less. Jupiter's rotation is fast enough that longer captures risk smearing whatever detail the sensor can resolve BBC Sky at Night Magazine puts the ceiling at 120 seconds before rotational blur becomes a problem
Take multiple exposures across a session rather than banking on one. Graue describes the result as the product of persistence and sustained adjustment, not a single lucky shot
Worth knowing: The afocal method Graue used, mounting the camera behind an eyepiece rather than at the focal plane, is an established astrophotography technique. It can capture Jupiter's disc and Galilean moons, but it has inherent resolution limits that high-frame-rate dedicated planetary cameras are built to push past. A Game Boy Camera isn't competing with those rigs. It's running the same technique with a 1998 game peripheral, and the adapter is what makes that connection physically possible
Where to go from here
Graue turned an observatory visit into an open-source hardware release. The files are free, the tutorial is public, and the 1.25-inch interface means it physically connects to most consumer telescope focusers. What he captured at Mount Wilson required a 100-inch mirror doing the heavy lifting; the interface he designed runs on much more modest hardware, with proportionally modest results.
Practical sequence: watch the tutorial video and inspect both sets of files before printing anything. Verify your telescope accepts 1.25-inch eyepieces. Print the eyepiece adapter first and test the fit dry. Then tackle the camera body modification, verify it indoors, and take it outside. Set expectations against your aperture. Then point it somewhere distant and see what 16,384 pixels make of it.


Comments
Be the first, drop a comment!