


Best Uses for an Old Chromebook: Server, Desktop, or Sandbox
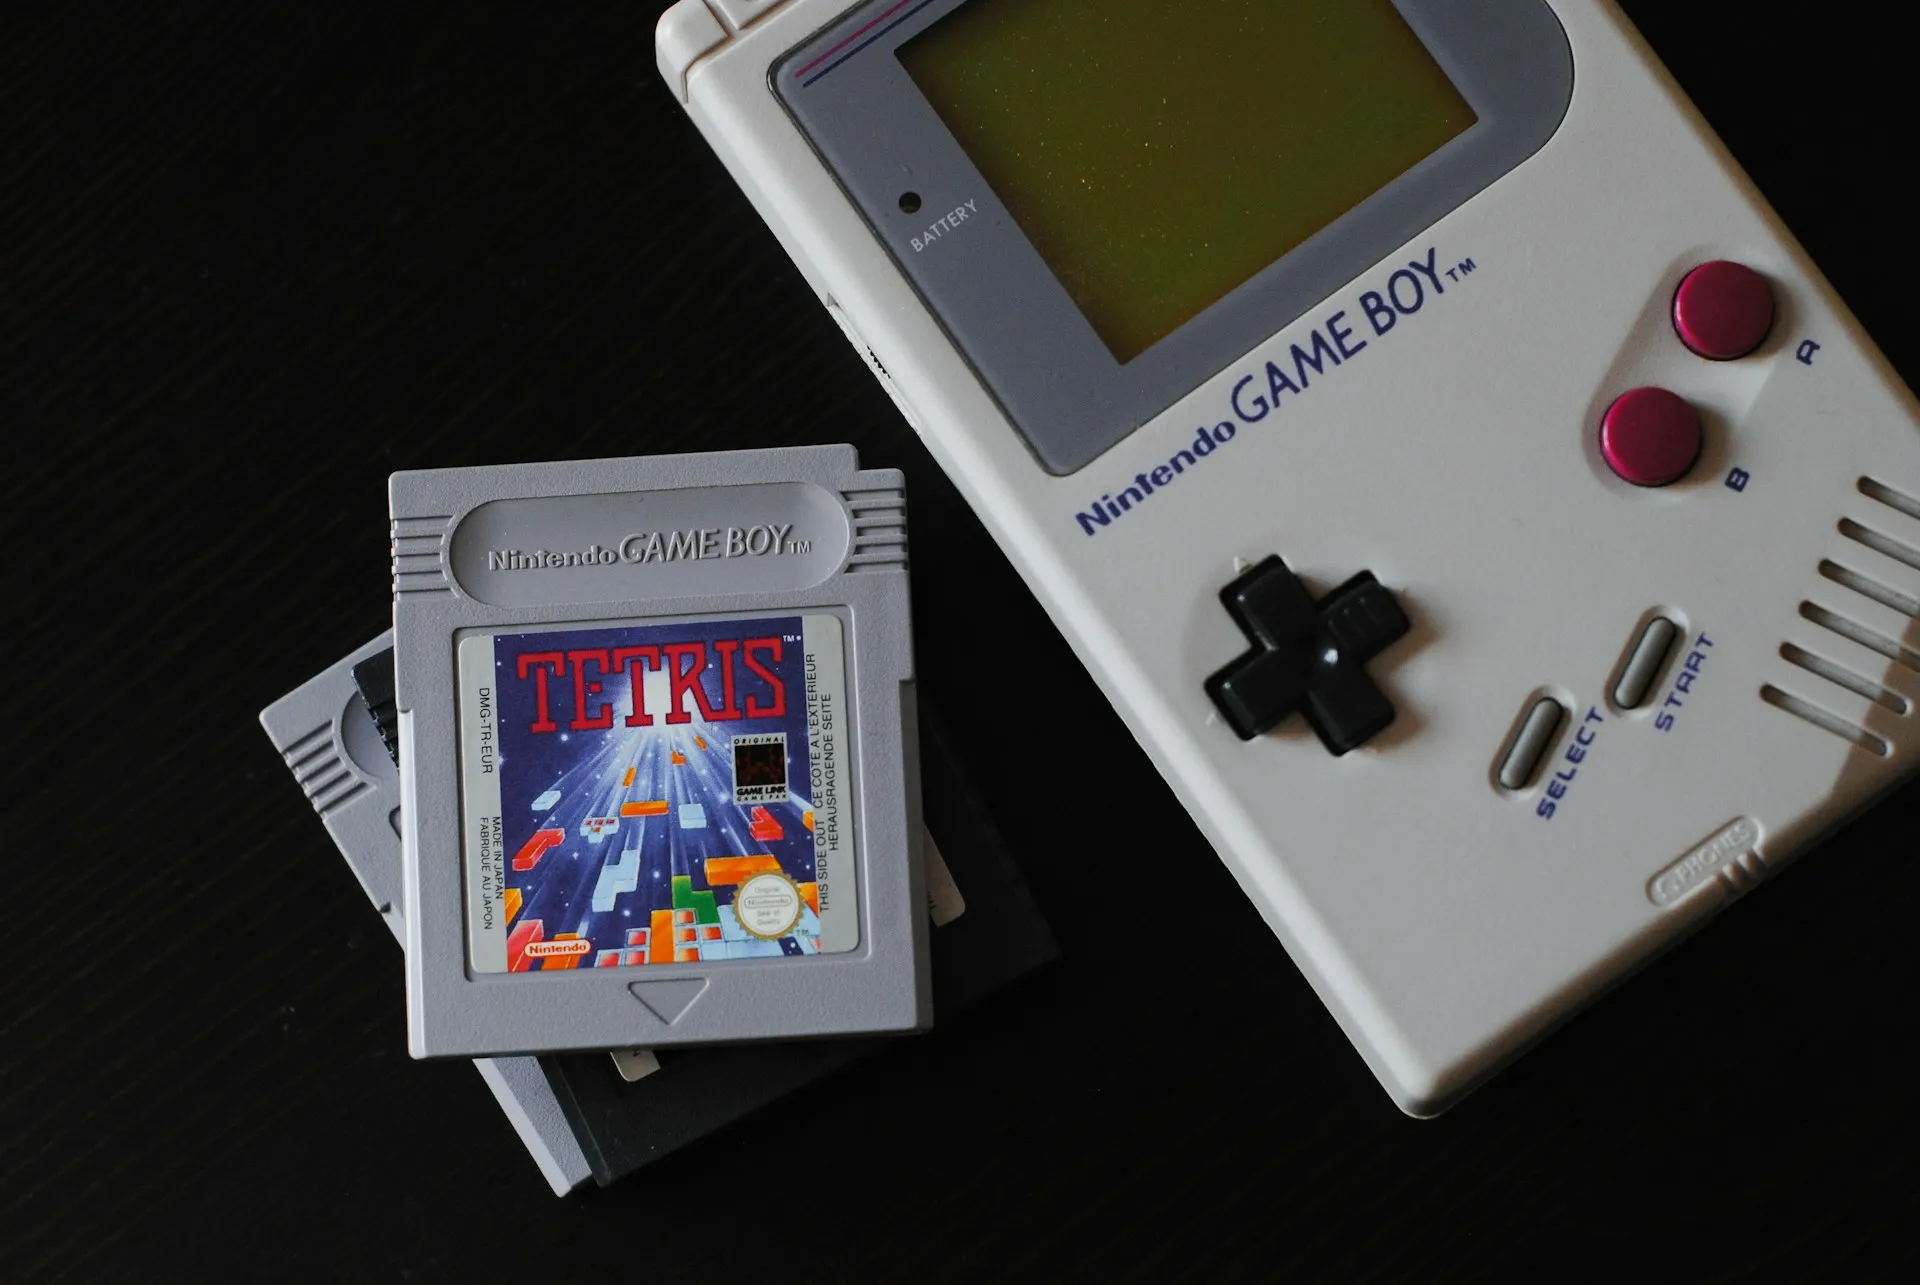
Your Chromebook hit its Auto Update Expiration date. Google stopped patching it. The screen still works, the keyboard still works, and the hardware is physically fine the AUE policy just tied the end of security updates to a platform launch date rather than anything you did with the device. A Chromebook purchased two years after its platform launched may receive as few as eight years of total updates, per Open Public Voice. Install a supported Linux distro, and ChromeOS AUE no longer controls the update horizon.
This guide covers the three best uses for an old Chromebook, matched to what the hardware can genuinely deliver: a quiet always-on home server, a lightweight Linux desktop, or a dedicated sandbox for learning Linux properly. Pick your path before opening the case.
This guide is not for you if: your Chromebook uses an ARM processor (Linux compatibility is substantially more limited on ARM than on Intel/x86), the device is enrolled in school or enterprise management (developer mode assume formal unenrollment through the management console), or the storage or battery is already failing.
How to reuse an old Chromebook: pick your path first
Hardware determines which use case makes sense. The conversion process is identical for all three paths, but there's no point going in without knowing where you're headed.
16GB eMMC / 4GB RAM: Use 1 (home server). Too constrained for a desktop, well-matched to always-on network services.
32GB+ storage, or a real SSD: Use 2 (light Linux desktop). Storage headroom is what makes this workable day-to-day.
Any supported Intel model: Use 3 (Linux learning environment). Performance is almost irrelevant here the value is in having a dedicated machine you can break and rebuild.
Check the bottom of the device or look up the model number if you're unsure about specs. Then read the conversion steps below before proceeding.
How to install Linux on an old Chromebook: the conversion every path requires
All three uses require replacing ChromeOS with Linux via the MrChromebox firmware utility. This isn't a full walkthrough mrchromebox.tech has model-specific documentation but here's enough to understand the sequence and avoid the failure points that catch most people.
The Chromium project's write protection documentation states the underlying principle plainly: the ChromeOS team holds that when someone buys a device, they own it fully, and users must be free to program their device in any way they choose, including running Linux (Chromium Write Protection Docs). Write protection exists to secure stock devices, not to lock out owners. The barrier is physical, not philosophical: remove a screw, run a script, and the device stops behaving like a locked appliance and starts behaving like a standard UEFI laptop.
What you need: A supported Intel/x86 Chromebook, a USB 3.0 drive, a Phillips-head screwdriver, and a free afternoon.
Step 1: Remove hardware write protection. Open the case and remove the write-protect screw. On newer models using a Cr50 secure element rather than a screw, disconnecting the battery may disable write protection, per the Chromium Write Protection Docs. Hardware write protection must be cleared before software write protection can be disabled skipping this stops the process entirely.
Step 2: Enable developer mode. Power off, hold Escape + Refresh, press Power. At the recovery screen, press Ctrl+D. The device will powerwash expected behavior. Log in as guest when it restarts. Developer mode activation can fail on the first attempt, particularly on previously managed devices; it may take several tries before it takes (CEOS Blog).
Step 3: Flash MrChromebox firmware. Open a terminal with Ctrl+Alt+T, type shell, then run:
cd curl -LO mrchromebox.tech/firmware-util.sh sudo bash firmware-util.sh
The leading cd is required it moves you into a writable directory before the download (CEOS Blog). The script will prompt you to disable software write protection and flash UEFI firmware. Follow the on-screen prompts; behavior varies by model. After the first run, reboot, log back in as guest, and run the script again to write the custom firmware.
Step 4: Install Linux from USB. Boot from the USB drive. Select your distro based on the path below. Do not use GalliumOS it was purpose-built for Chromebooks but is no longer actively maintained (CEOS Blog). The USB 3.0 requirement comes from a GalliumOS-specific installation note, so it may not apply to every distro, but a USB 3.0 drive is worth using regardless installation speed is noticeably better.
Use 1: a quiet, always-on home server (best for 16GB / 4GB RAM hardware)
This is the strongest match for low-end hardware, and the one most people overlook. The traits that made an expired Chromebook feel underpowered as a laptop low-wattage CPU, fanless or near-fanless design, efficient power draw are exactly what you want in an always-on appliance. Chromebooks are designed to idle at extremely low power consumption, so leaving one plugged in as a server won't consume watts the way a full desktop would, as XDA noted in late 2025. The built-in screen, keyboard, and trackpad mean no additional peripherals for initial setup, unlike a headless Raspberry Pi.
If the battery still holds a reasonable charge, it provides passive protection against brief power interruptions without a UPS. A degraded battery offers much less of that benefit, so factor in your battery's actual condition before counting on it.
A 2015 Samsung Chromebook 3 16GB eMMC, 4GB RAM, 1.6GHz dual-core Celeron ran a self-hosted RSS aggregator on DietPi with performance comparable to a Raspberry Pi 4 for that workload, per How-To Geek in late 2025. That's the ceiling calibration: light network services run well, heavy compute does not.
What you end up with: A dedicated network appliance managed via SSH or a browser dashboard, running continuously. Strong fits include Pi-hole or AdGuard for network-wide ad blocking, WireGuard or Tailscale for a home VPN endpoint, local DNS, reverse proxies, and small Docker stacks for internal tools (XDA). These workloads are read-heavy and write-light a sensible match for soldered eMMC storage, which handles sustained high-write loads poorly (XDA).
Distro: DietPi. Minimal Debian base, tuned for low-resource hardware, with a menu-driven installer covering Pi-hole, FreshRSS, WireGuard, and similar services out of the box. Skip the desktop environment it consumes the RAM and storage the services need.
Two things to fix before leaving it unattended:
Many Chromebooks have no Ethernet port. For internal services, Wi-Fi is usually sufficient. For wired reliability, a USB-A to Gigabit Ethernet adapter works under Linux, though adapter compatibility varies confirm yours before committing (How-To Geek).
Display timeout and lid-close behavior need explicit configuration before deployment. One documented case found that closing the lid did not suspend the machine but left the display running (How-To Geek). Behavior varies by model and distro verify your configuration isn't silently suspending services before walking away.
Don't choose this path if: the storage is already failing, you need high-write databases or a media library, or you're expecting Proxmox-style virtualization. The eMMC isn't durable enough and the CPU isn't powerful enough for those workloads a used mini PC or a Raspberry Pi 5 will serve you better (XDA).
Effort vs. reward: Moderate setup effort. High reward for the hardware tier this path extracts the most from a low-spec expired Chromebook.
Use 2: a capable Linux desktop for light daily work (best for 32GB+ / real SSD hardware)
Once ChromeOS is gone, the AUE date has no bearing on the device's usefulness as a general computer. The hardware didn't get better it just stopped being constrained by a policy calendar. The question is what the hardware can realistically sustain.
Light daily computing, done well. Web browsing with a moderate tab count, document writing, email, PDF reading, and lightweight coding in a terminal editor or something like Geany all run comfortably. Storage is the real constraint. A 16GB eMMC fills up fast once a desktop environment, browser, and cache move in on that hardware, Use 1 is a better fit. This path works meaningfully better on devices with 32GB or more, and noticeably better again on higher-end Chromebooks that shipped with NVMe or SATA SSDs rather than eMMC (XDA).
A practical benchmark: Linux Mint Xfce with Firefox, LibreOffice, and Geany on a 32GB+ device is workable for daily writing and light coding. On 16GB, the ceiling shows up after a few weeks of browser cache and system updates accumulate not a crash, just a slow squeeze.
ChromeOS Flex isn't the answer here either. It's still locked down and not designed for persistent services or general software installation the way a full Linux distribution is (XDA). Full Linux gives you a real package manager, ongoing security updates independent of any AUE schedule, and no policy-driven expiration on hardware that costs nothing additional to run.
What you end up with: A functional secondary laptop. Not a fast machine. A reliable one with an open-ended support horizon.
Distro: Linux Mint Xfce. The Xfce desktop is lightweight, visually familiar to anyone coming from ChromeOS or Windows, and well-supported. Students in a school repurposing project found it functional on end-of-life Chromebook hardware, with available storage as the primary day-to-day friction point (CEOS Blog).
Hardware compatibility note: Trackpad sensitivity, webcam support, audio, and sleep/wake behavior can vary by model under Linux. Check community reports for your specific device on the MrChromebox compatibility list before committing. Many Intel-based models from the last decade work well; ARM models are significantly more limited (XDA).
Don't choose this path if: your device has only 16GB of eMMC (cramped from day one) or you're expecting performance comparable to a modern laptop. This is a task-specific secondary machine, not a workstation replacement.
Effort vs. reward: Moderate setup effort. Moderate reward most justified on higher-spec hardware, least useful on the lowest-end devices where Use 1 extracts more value.
Use 3: a dedicated Linux learning environment (any supported Intel model)
This path has a specific audience: someone who wants a standalone machine for learning Linux terminal commands, system administration basics, scripting, breaking things and fixing them without touching their primary computer. The expired Chromebook suits this role not because of its performance, but because of what it costs to experiment on it.
When something goes wrong, the recovery process is itself a learning exercise. Uses 1 and 2 are about extracting productivity from old hardware; this one is about using old hardware as a sandbox where mistakes cost nothing but time.
An IT practitioner at a school found that converting end-of-life Chromebooks gave students direct hands-on exposure to Unix-like environments, terminal workflows, and basic system administration on hardware that would otherwise have been retired (CEOS Blog). The classroom application follows the same logic, though school-managed devices must be formally unenrolled through the management console before developer mode can be activated. Confirm devices are unenrolled before opening a single case.
What you end up with: A dedicated Linux machine, physically separate from your primary device, where a mistake gets measured in reinstall time rather than broken workflows. Practical starting projects that don't require powerful hardware: setting up SSH key authentication, working through package management with apt, writing and scheduling a cron job, standing up a local nginx instance, getting comfortable with filesystem permissions from the command line. None of these need speed. They need a machine you can treat carelessly.
Distro: Linux Mint Xfce for beginners who want a familiar graphical environment while learning the terminal. Ubuntu Server or Debian for anyone who wants to skip the GUI entirely and work from a command prompt which is closer to how production Linux systems actually operate.
Don't choose this path if: the device is school-managed and you can't confirm it's been unenrolled, the hardware is physically failing, or you're looking to get productive work done rather than learn. For productivity, Use 1 or Use 2 is the right frame.
Effort vs. reward: Moderate setup effort. High reward for the target audience the value scales directly with how seriously you use it.
Four quick checks before you start
If the Chromebook has a working Intel chip, stable storage, no management enrollment, and a battery that still holds some charge, it probably has one useful job left. Picking the right one is the whole game.
Processor: Intel/x86 confirmed? ARM support under Linux is substantially more limited (XDA).
Enrollment status: School or enterprise managed? Unenrollment through the management console is required first.
Storage health: Already showing errors or near capacity? Address that before investing setup time.
Battery condition: Relevant mainly for the server use case, where a functioning battery provides passive outage protection. A dead battery doesn't disqualify the device, but factor it in.
Google extended AUE to ten years in September 2024, per Open Public Voice an improvement, though the clock still starts at platform launch rather than purchase, meaning some buyers receive meaningfully less than a decade of coverage. A 2024 PIRG analysis found that extending Chromebook lifespans by just two years could prevent 5.3 million devices from becoming e-waste and save schools roughly $1.8 billion in replacement costs (Open Public Voice). Linux sidesteps the ceiling entirely. The conversion involves opening a case, removing a screw, and running a firmware script. Match the path to the hardware, and the device earns another few years before it earns a trip to the recycler.


Comments
Be the first, drop a comment!