

A CNC router machine is probably the most useful tool a hobbyist can own, but the price for a CNC machine on the market is way more than the average hobbyist is willing to spend. You can build your own CNC with very basic tools, little knowledge of machinery, mechanics, or electronics, but be warned, these machines are inherently dangerous, so wear the proper protection and use common sense. At the very least, read the instructions and precautions on every tool you use.
Now, a CNC stands for Computer Numerical Control, but that is gibberish. It does hint you to the fact that something is controlled, and probably by a computer. It's really a mechanism that interfaces to a computer to control its movements, similar to a robot, but this machine has a specific function. It cuts or shapes things with this control. In essence, a computer precisely controls a cutting tool, like a router for instance, to cut materials such as wood, plastic or metals into shapes only bounded by your imagination.
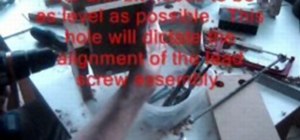
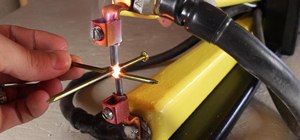
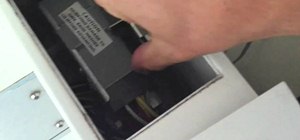
This video tutorials will show you how to install the z-axis transmission nut for a CNC router. You will install the method that provides transmission to the z-axis. The transmission consists of a lead screw and a nut. Very simply, the motor will turn the screw, and the nut is fastened to the z-axis assembly, moving the assembly as the motor spins. That is to say, when the motor turns clockwise, the nut will travel up, and if the motor turns counter-clockwise, the nut will travel down.
Just updated your iPhone? You'll find new emoji, enhanced security, podcast transcripts, Apple Cash virtual numbers, and other useful features. There are even new additions hidden within Safari. Find out what's new and changed on your iPhone with the iOS 17.4 update.


Be the First to Comment
Share Your Thoughts