


If you're going to build yourself a water gun to cool down this summer, or maybe just a useful water pump, you'll need some check valves. However, the most expensive parts of a water pump or DIY super soaker are usually the check valves. So, let's make some from scratch for as little as $0.35 each.
These should work for you PVC building enthusiasts!
WARNING
The pressure tests and claims made on these check-valves are based solely on my personal experiences with the ones demonstrated in the video. Individual results may vary, and caution and care should be taken when loading the valves with high pressure.
The risk of higher pressures is that the balls may be forced from the adapter, shooting out like projectiles. High pressures may also cause the ball to lock up, preventing normal operation of the valve, or possibly even structural failure of the valve altogether.
These valves are not made, or claimed, to be used in any heavy duty operations. Use of this content is at your own risk.
Making Your Own One-Way Check Valves
In this project, I'll show 2 different ways to make a simple check valve. One is easy (simple, but for low pressure applications only), and one a little more complex (good up to around 50-60 PSI).
The Parts Needed
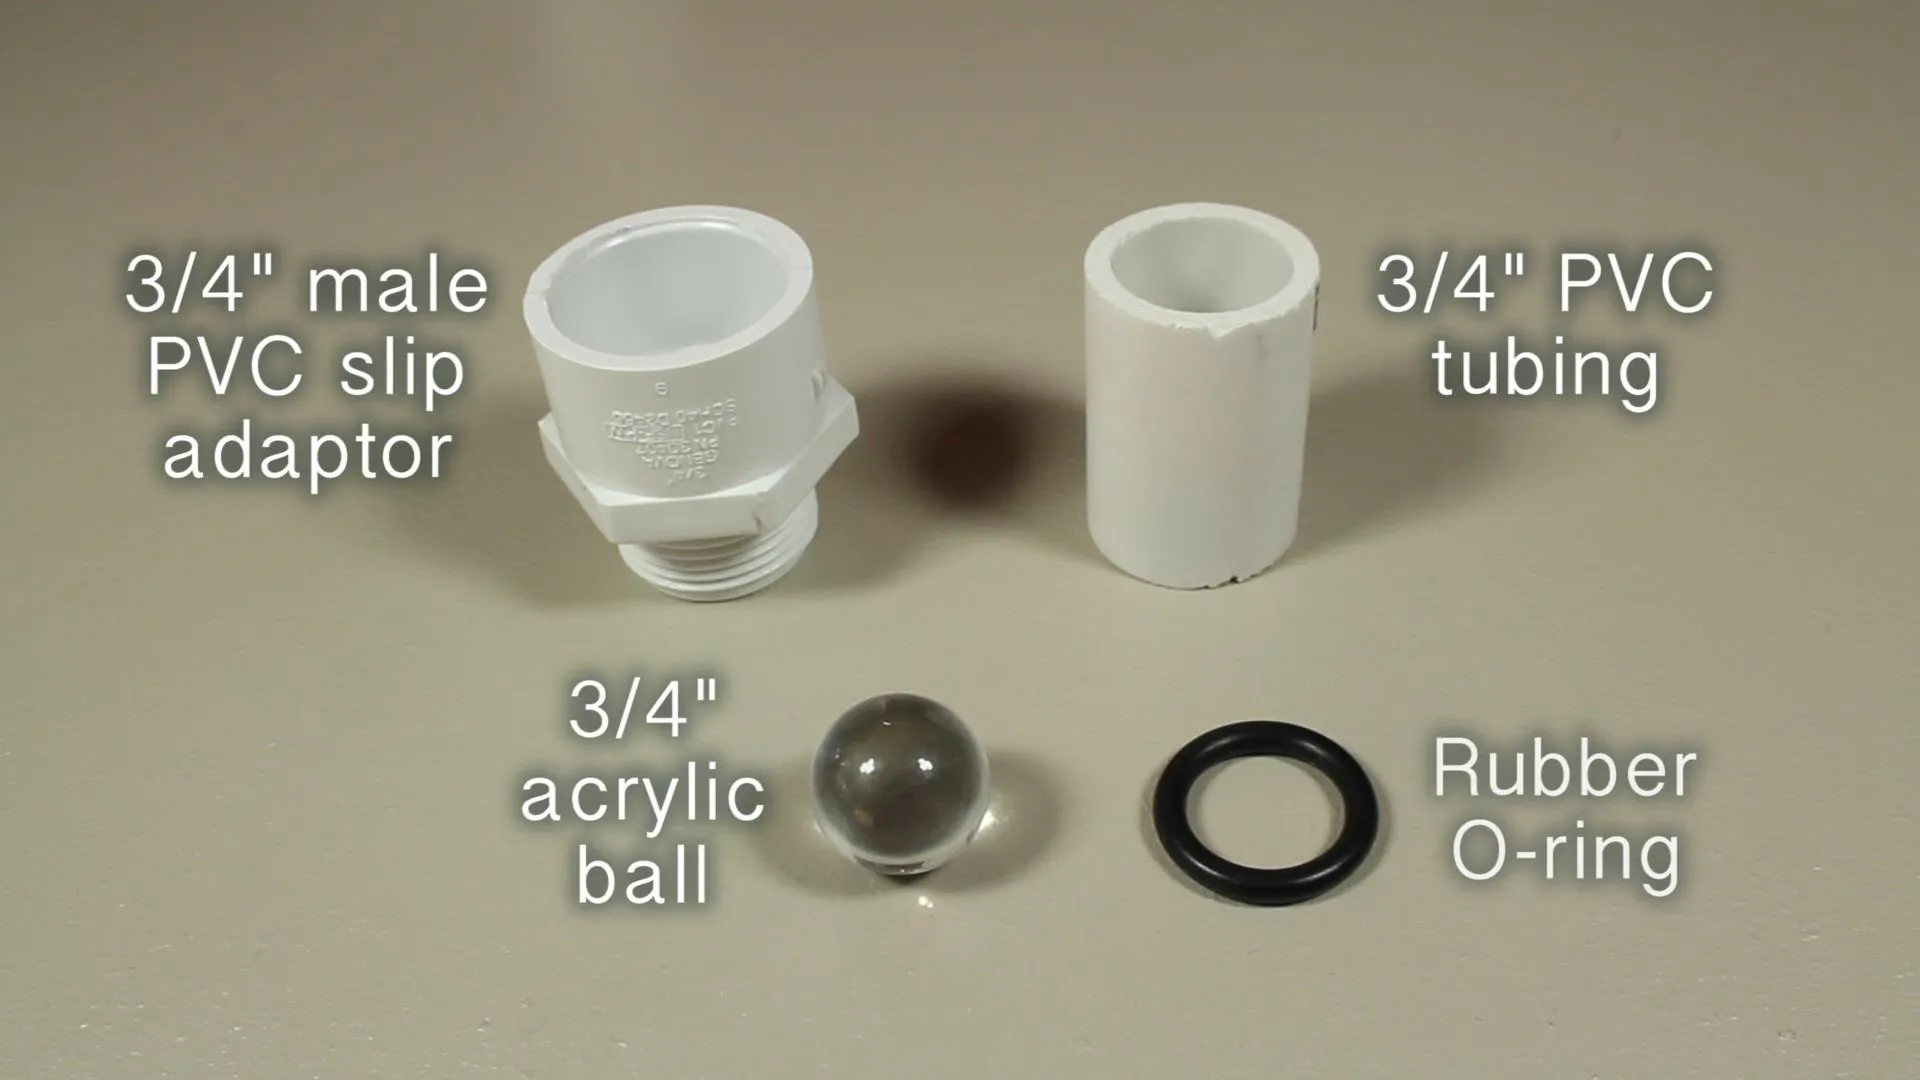
In either case, both valves will share 2 common parts.
- One ¾" male PVC slip adapter
- A length of ¾" PVC tubing (1½" or longer)
Check Valve #1: Making the Quick & Easy Version
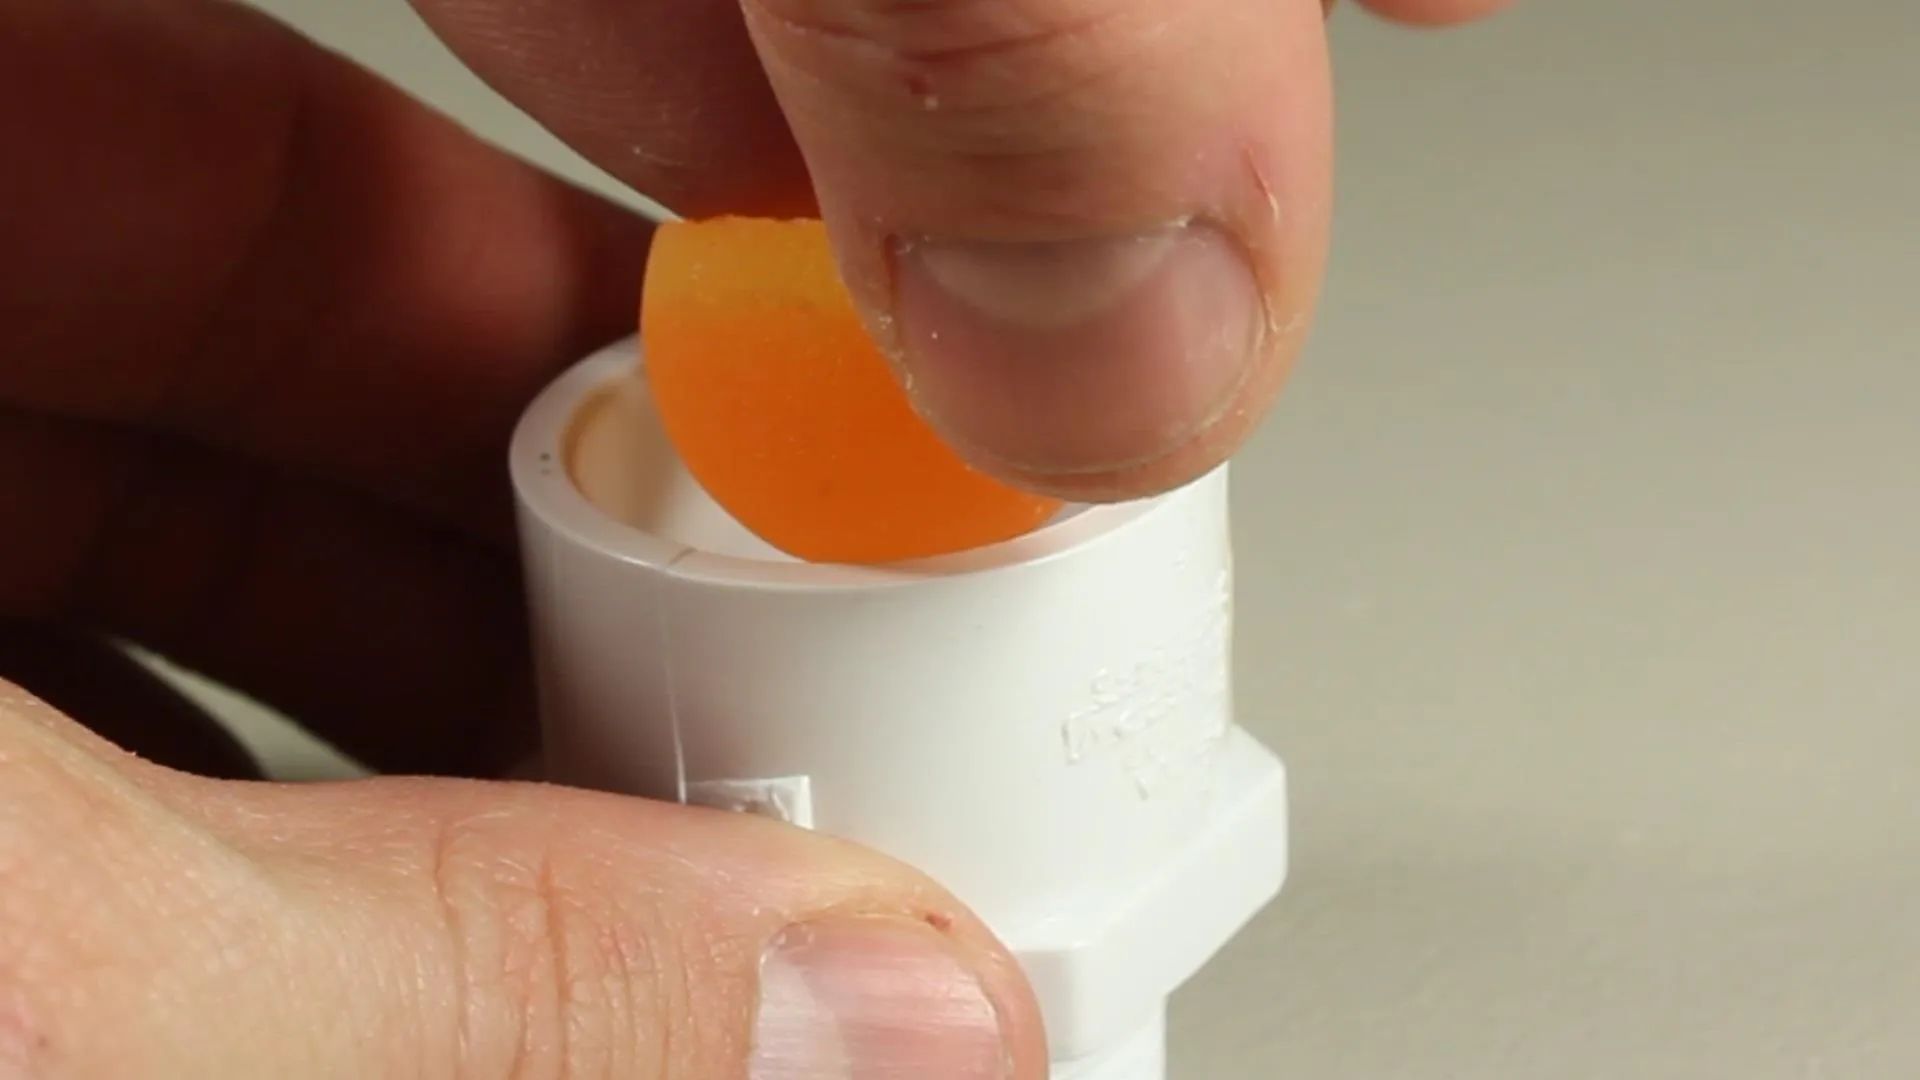
- Find a ¾" rubber bouncy ball and slowly cut off the top third.
- Place the ball inside the PVC slip adapter with the round side facing down, and the flat side facing up.
- Press the ¾" PVC tube into the slip adapter down far enough that it is firm and tight, but leaving enough room for the ball to move around a bit inside.

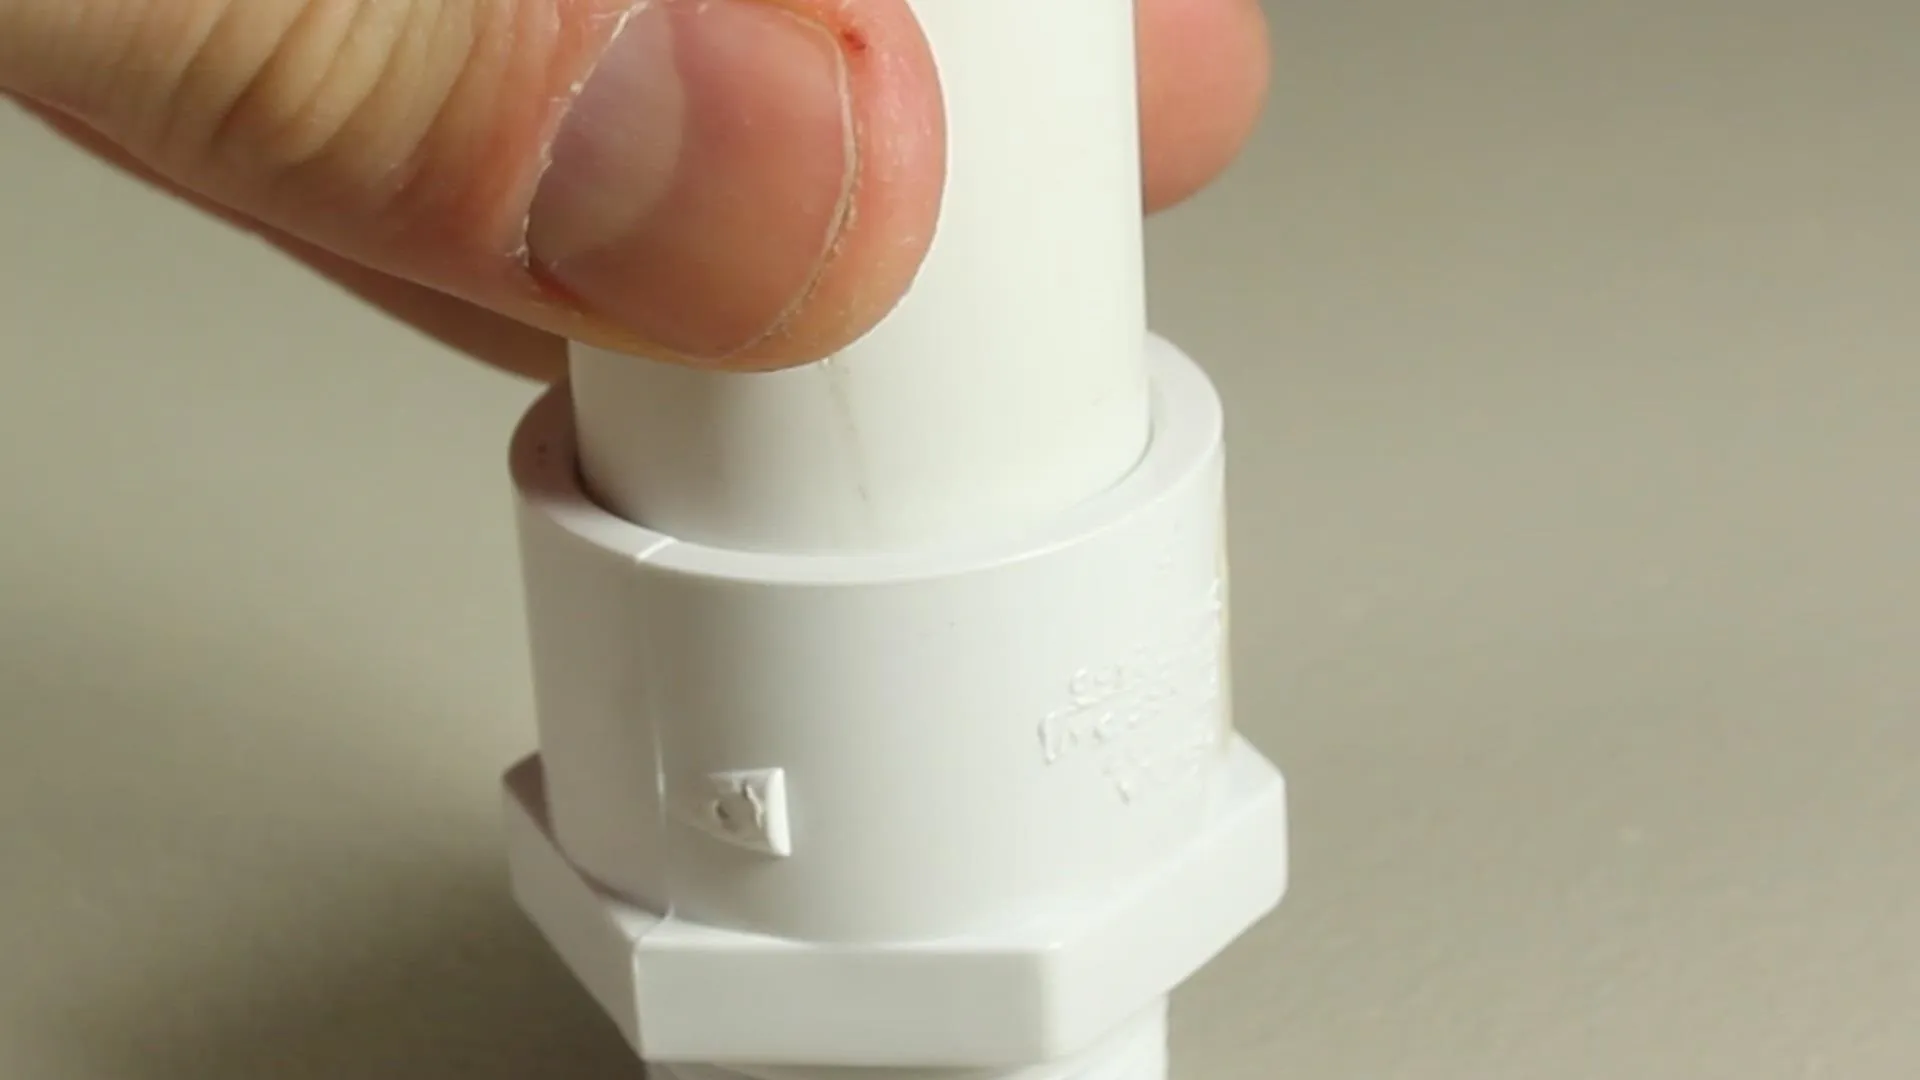
That's it!
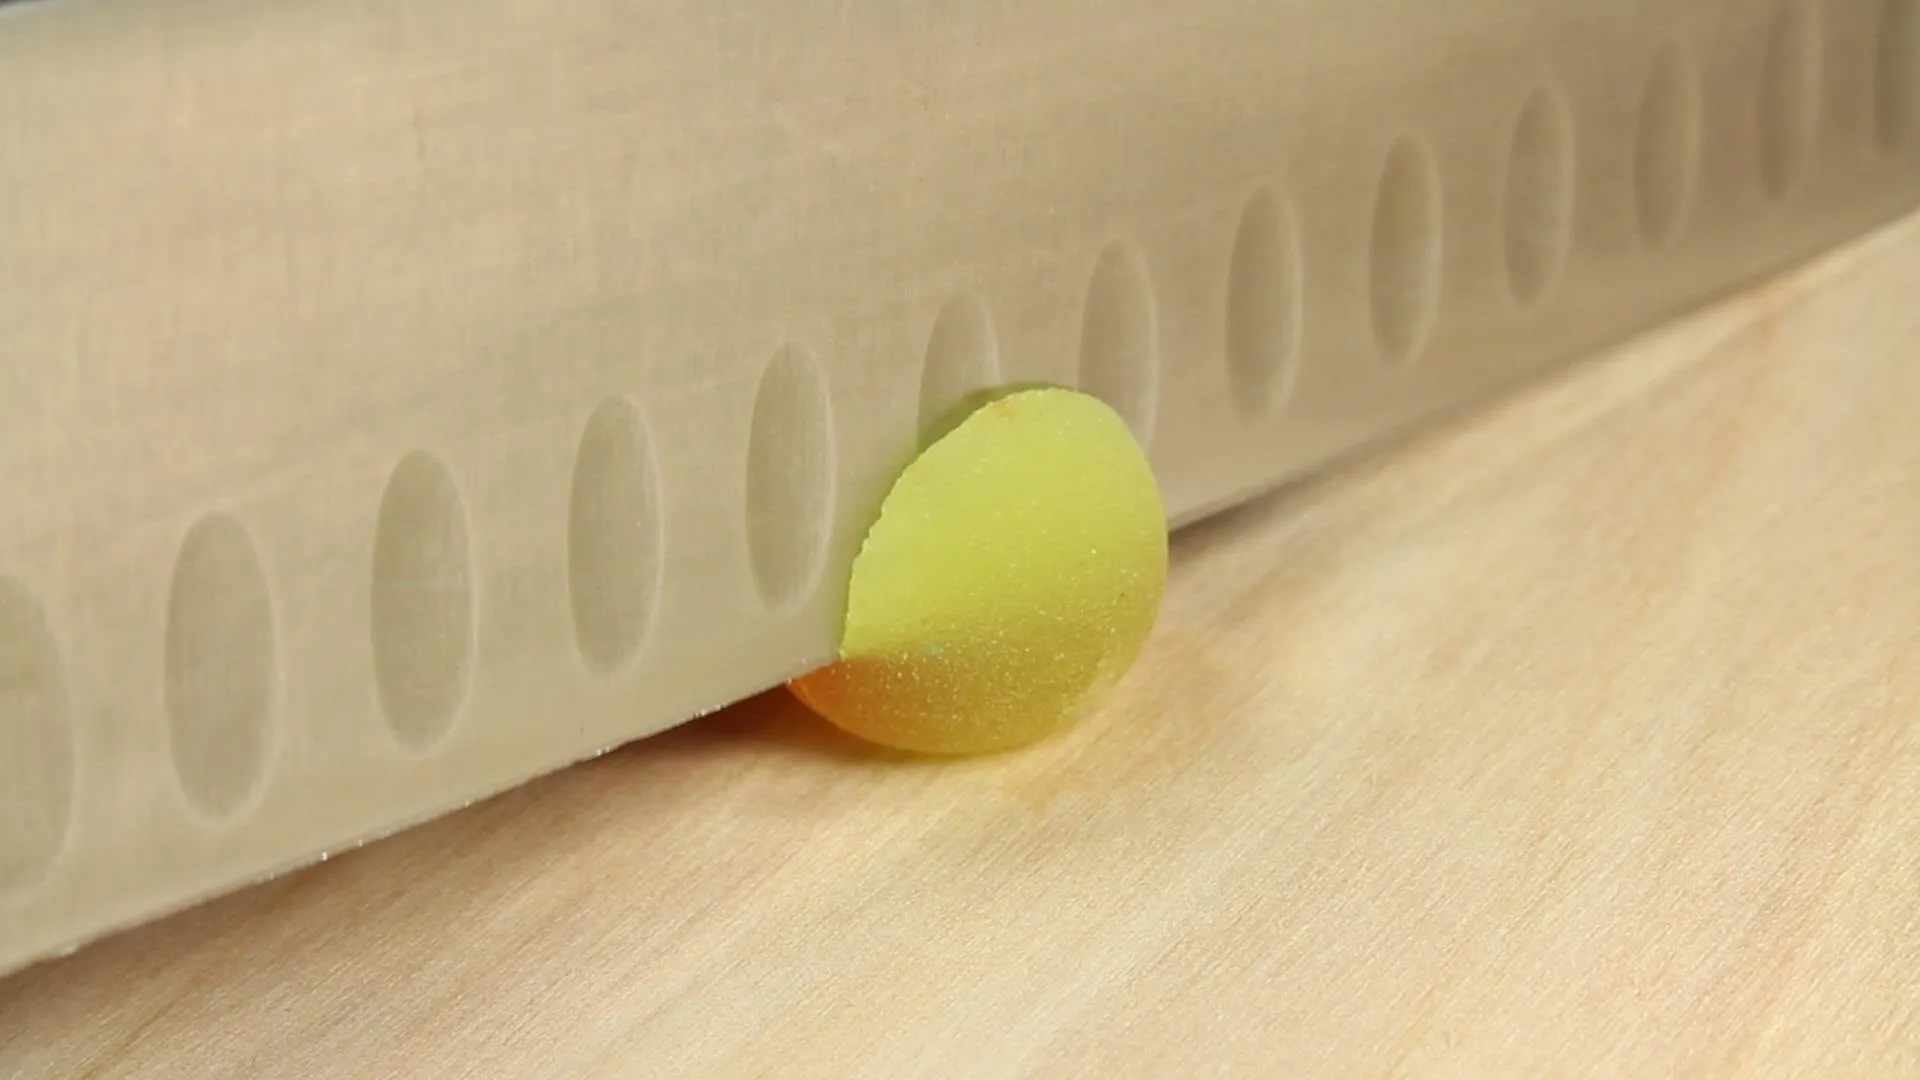
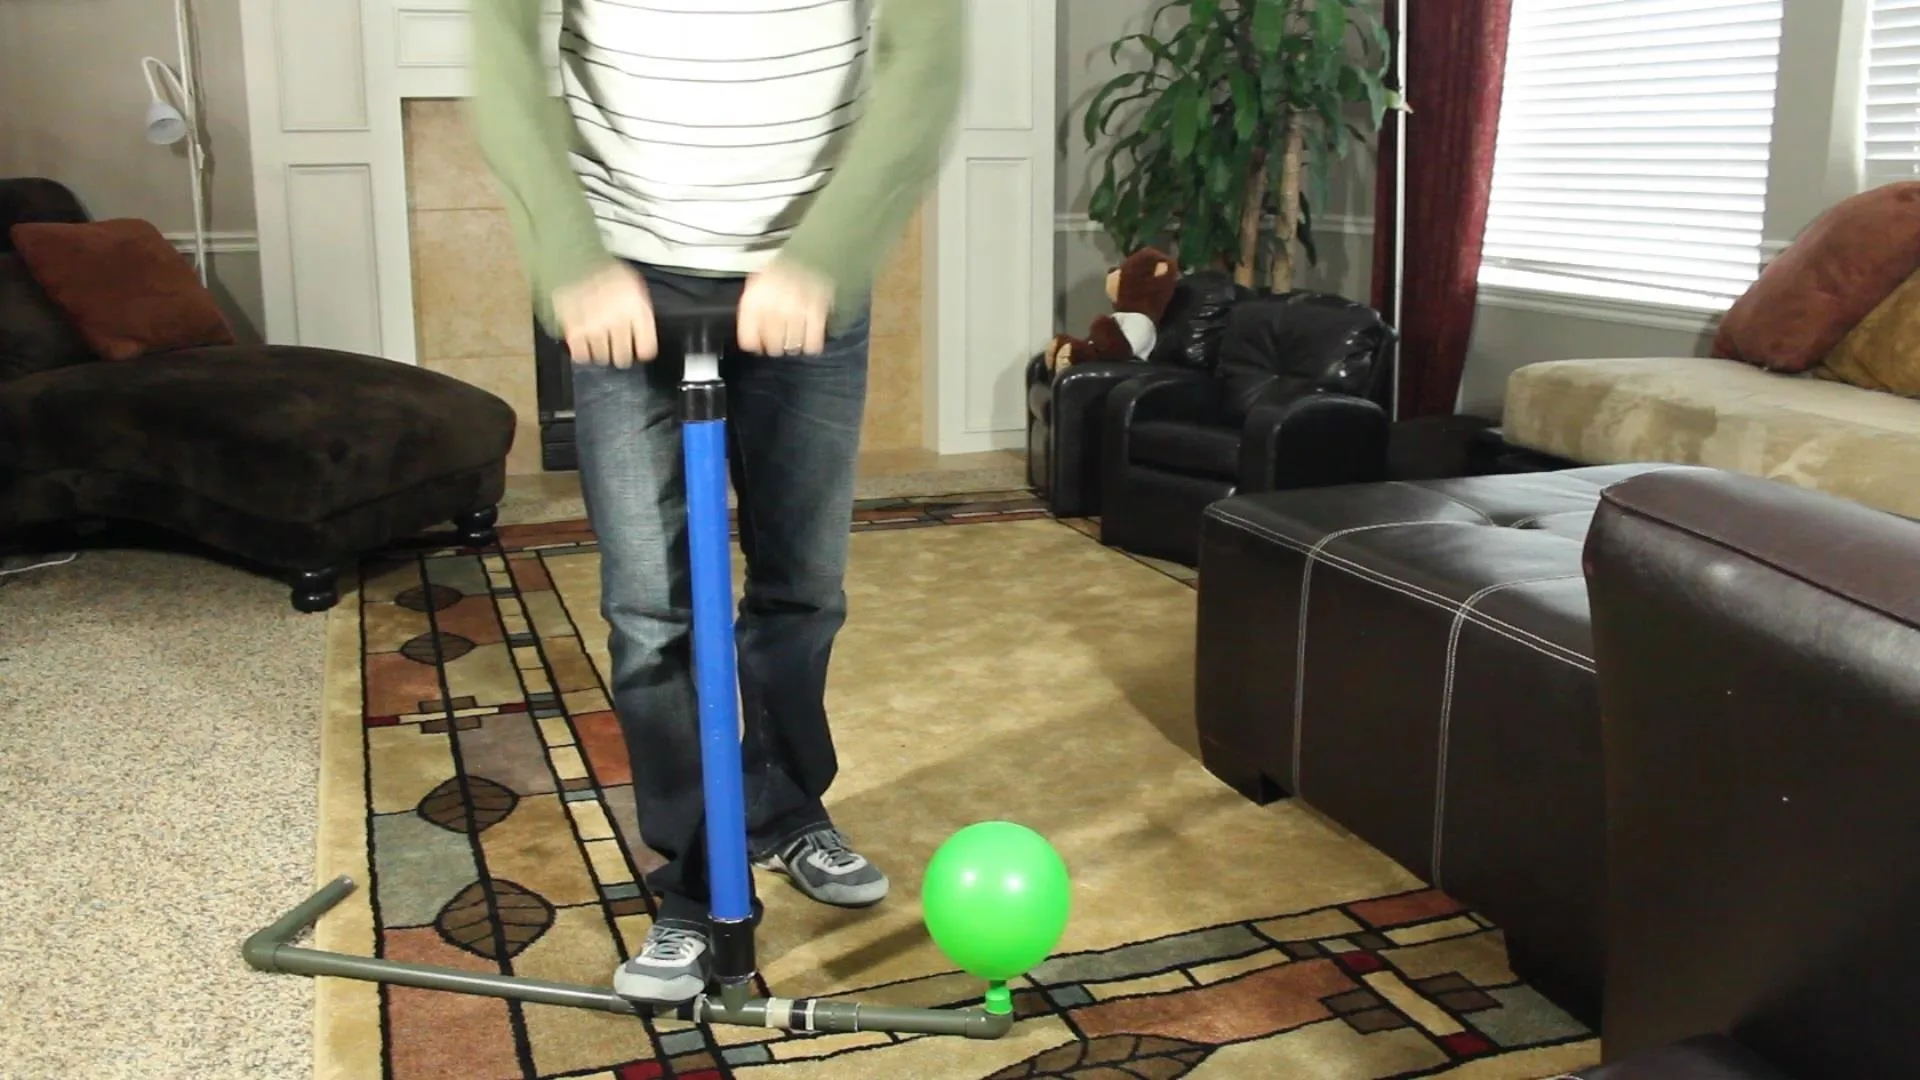
For low pressure applications, like blowing up balloons, this little device will make your little kids feel like balloon-blowing champions.
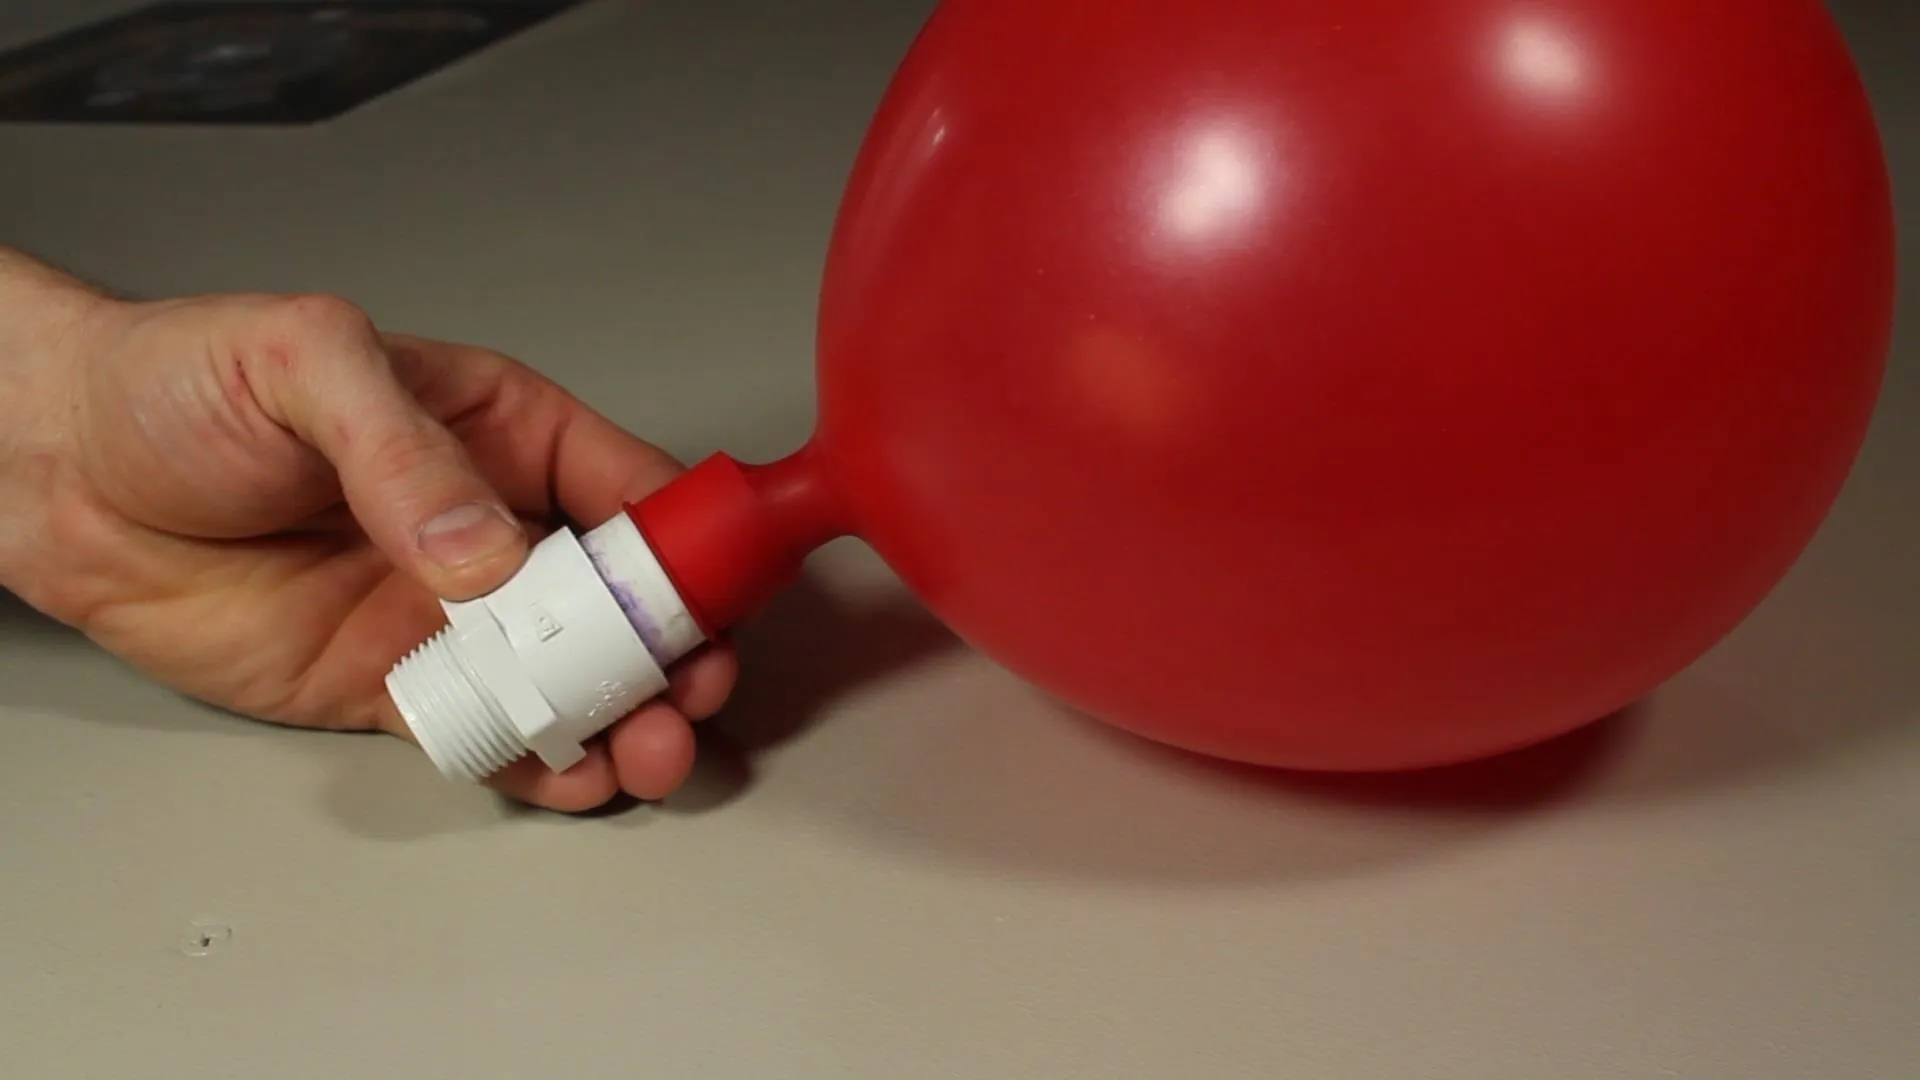
The valve allows air into the balloon, and when you stop blowing, the valve closes and the air stays in the balloon indefinitely.
Check Valve #2: Making the Stronger One
For the second valve, we'll use the harder plastic ball and an O-ring. These are made to be a little more durable.
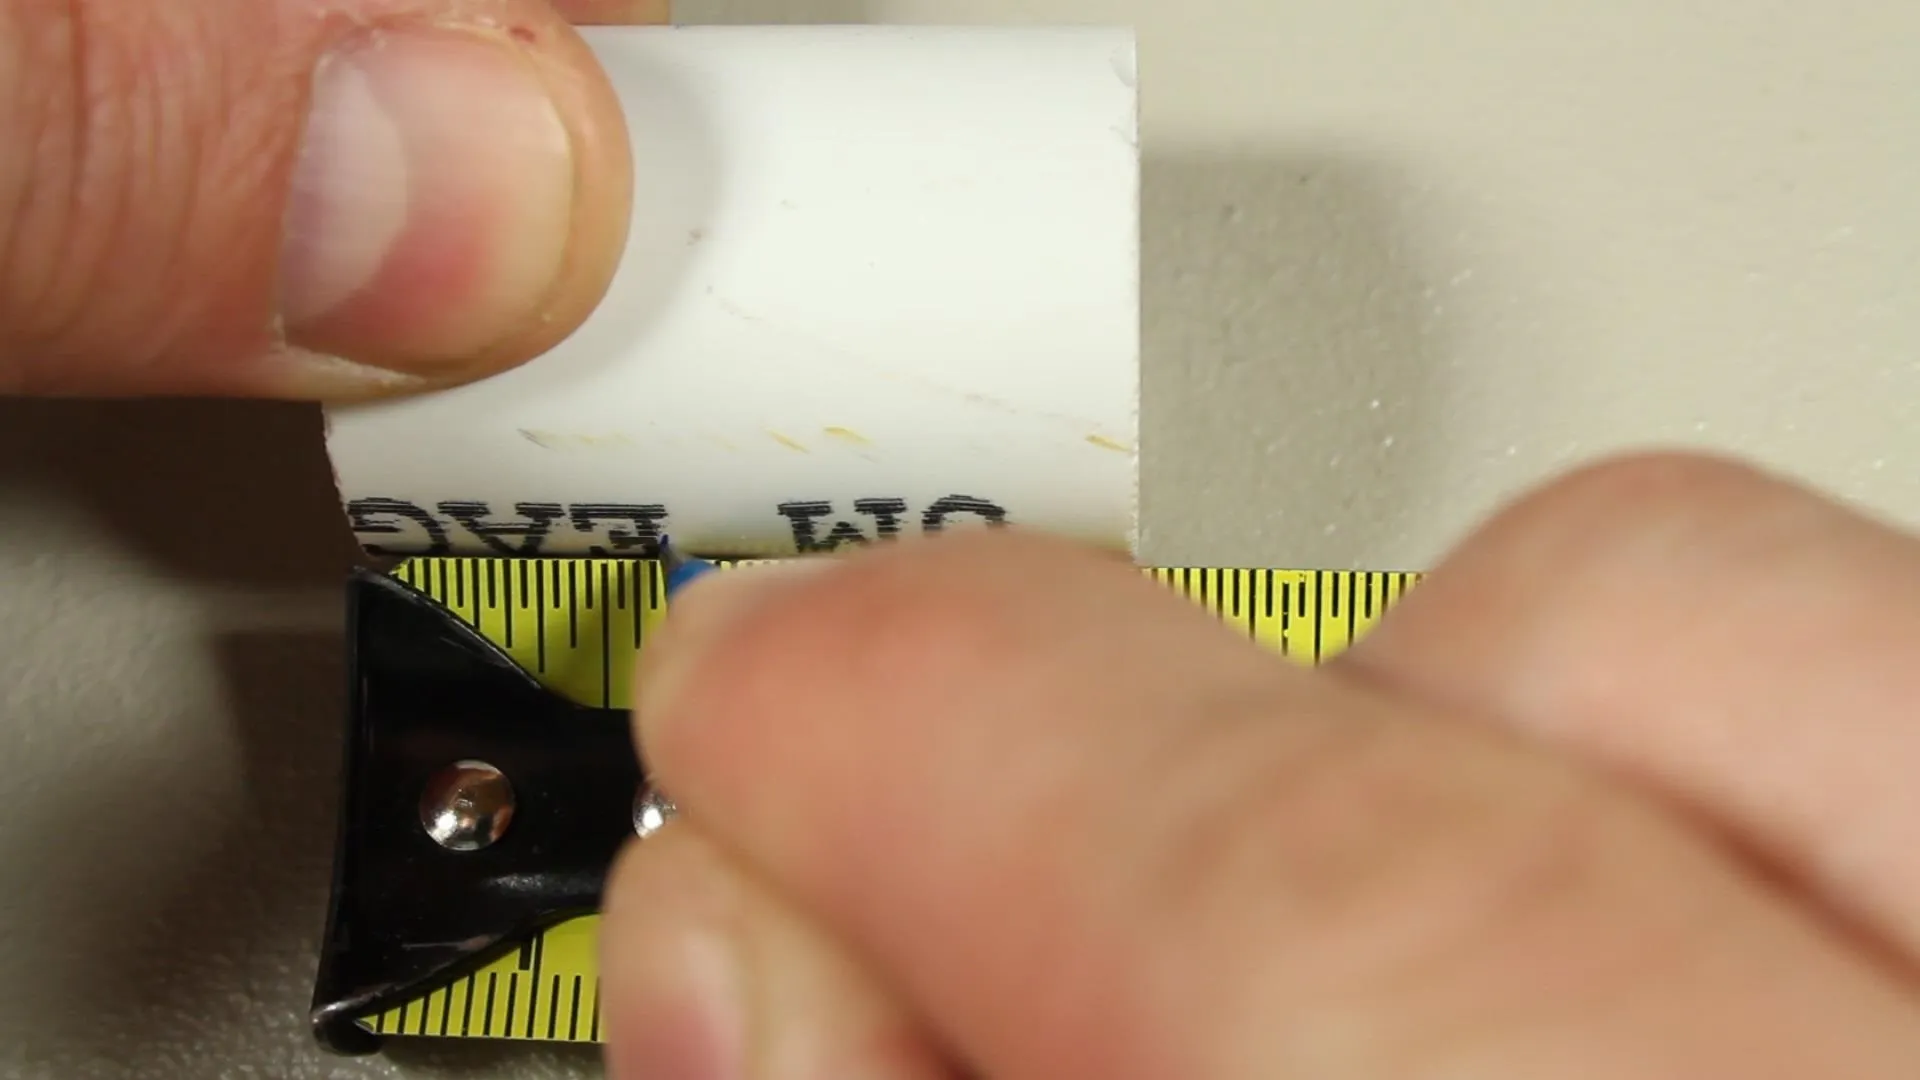
Prepare the Tube
- Start by taking a piece of ¾" PVC tubing (minimum 1½") and measure 5/8" from the bottom.
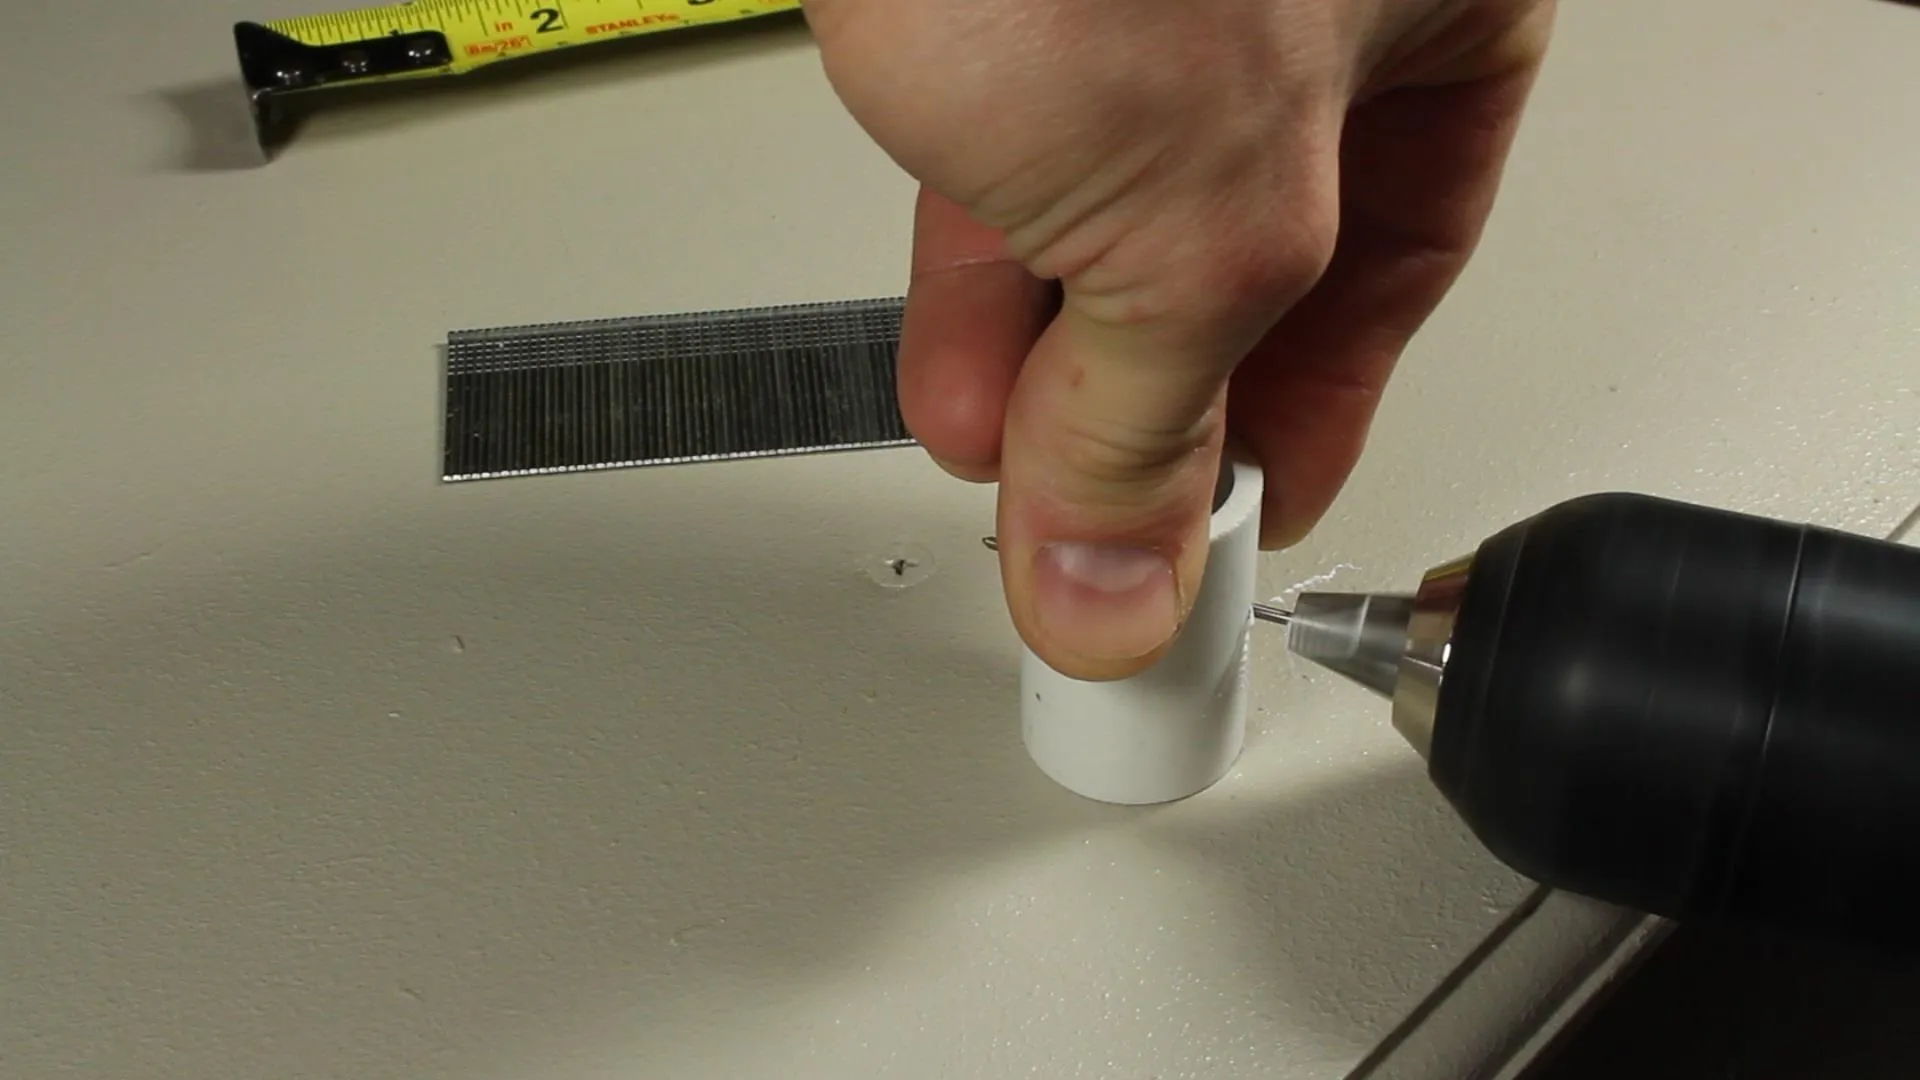
- Drill a hole at the mark that goes through both walls of the tubing.
- Find a strong piece of metal, like a thick paperclip or a nail to insert into the holes.
- Trim the head off the nail so that both ends of the nail or paperclip are flush with the outside walls of the tube.
Note: This valve can be built into any length of PVC pipe you choose.
Prepare the Slip Adapter for Connecting
- Prime the inside walls of the adapter, as well as the part of the tube that will slide into it.
- Insert the O-ring and plastic ball into the adapter, and check for a good fit and good seal.
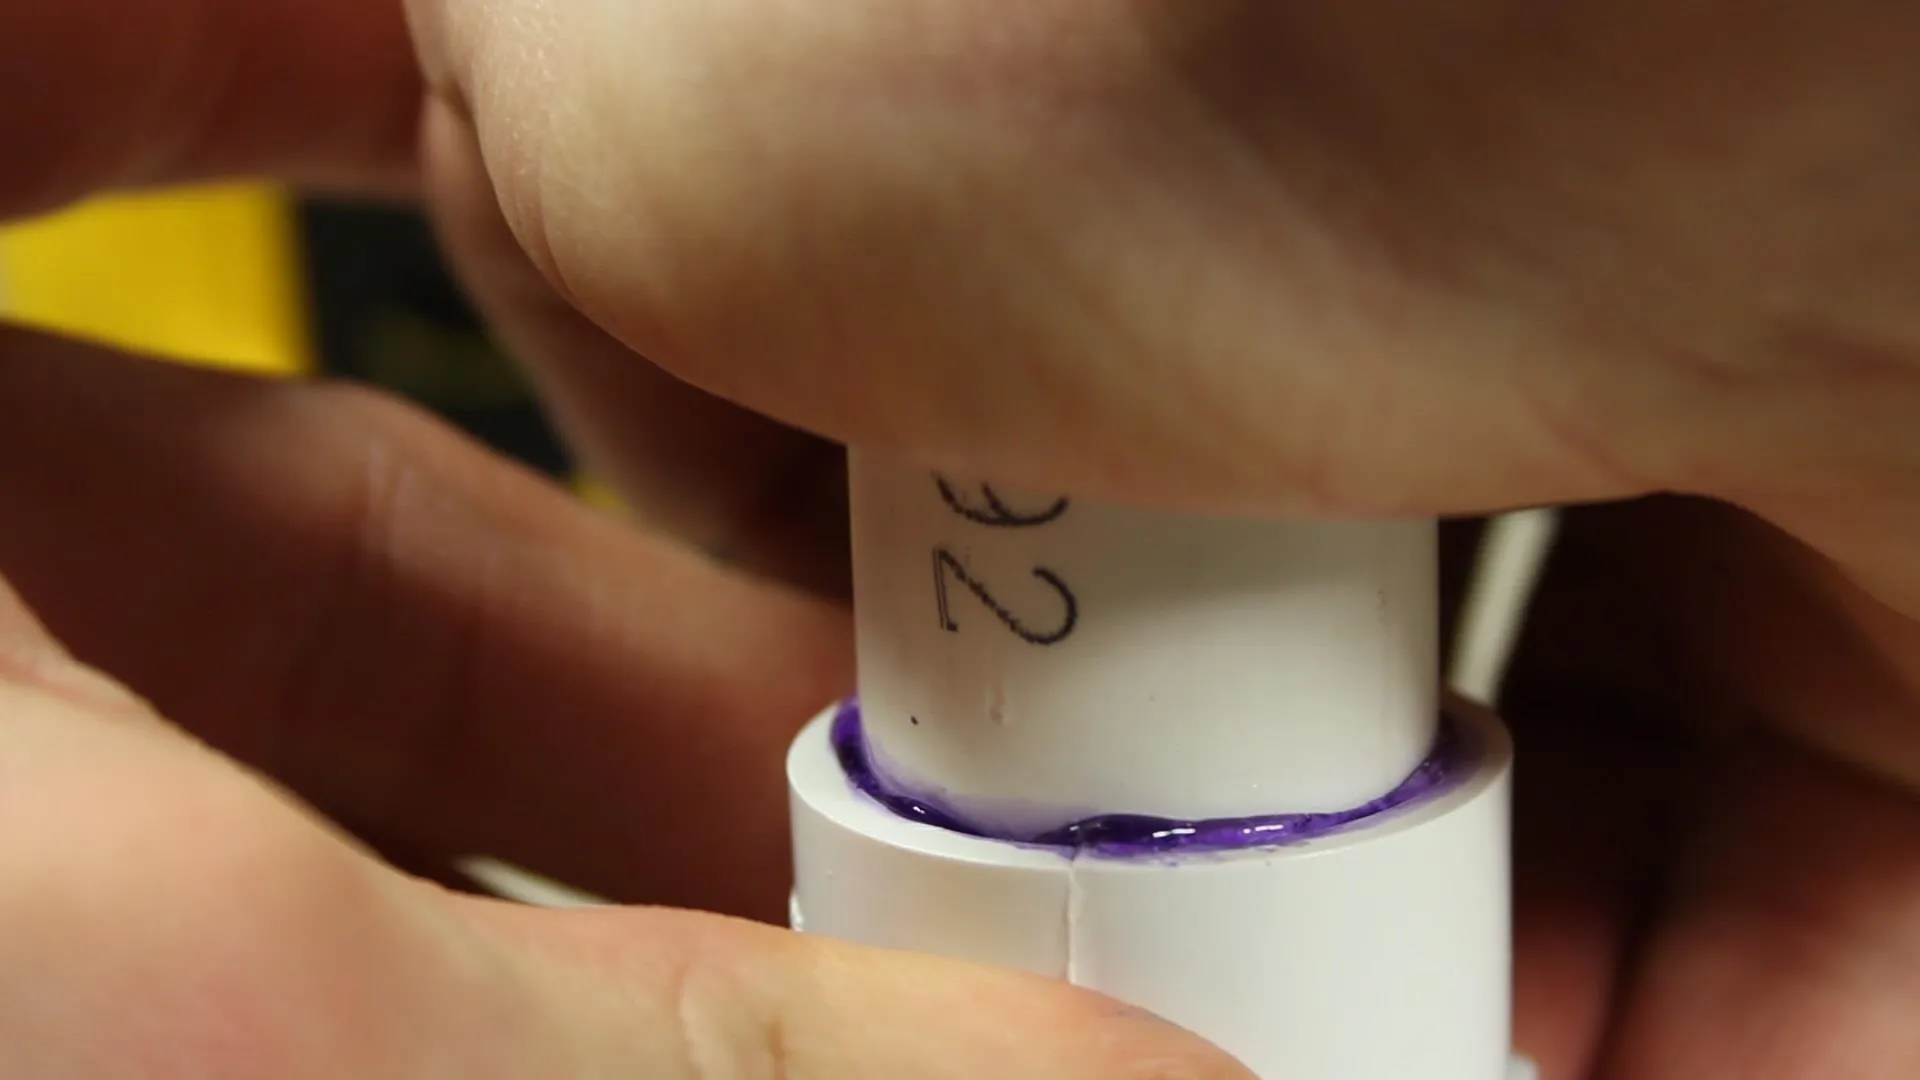
- Glue the parts that were primed, and slide the tube into the adapter until the nail holes dip just below the surface.
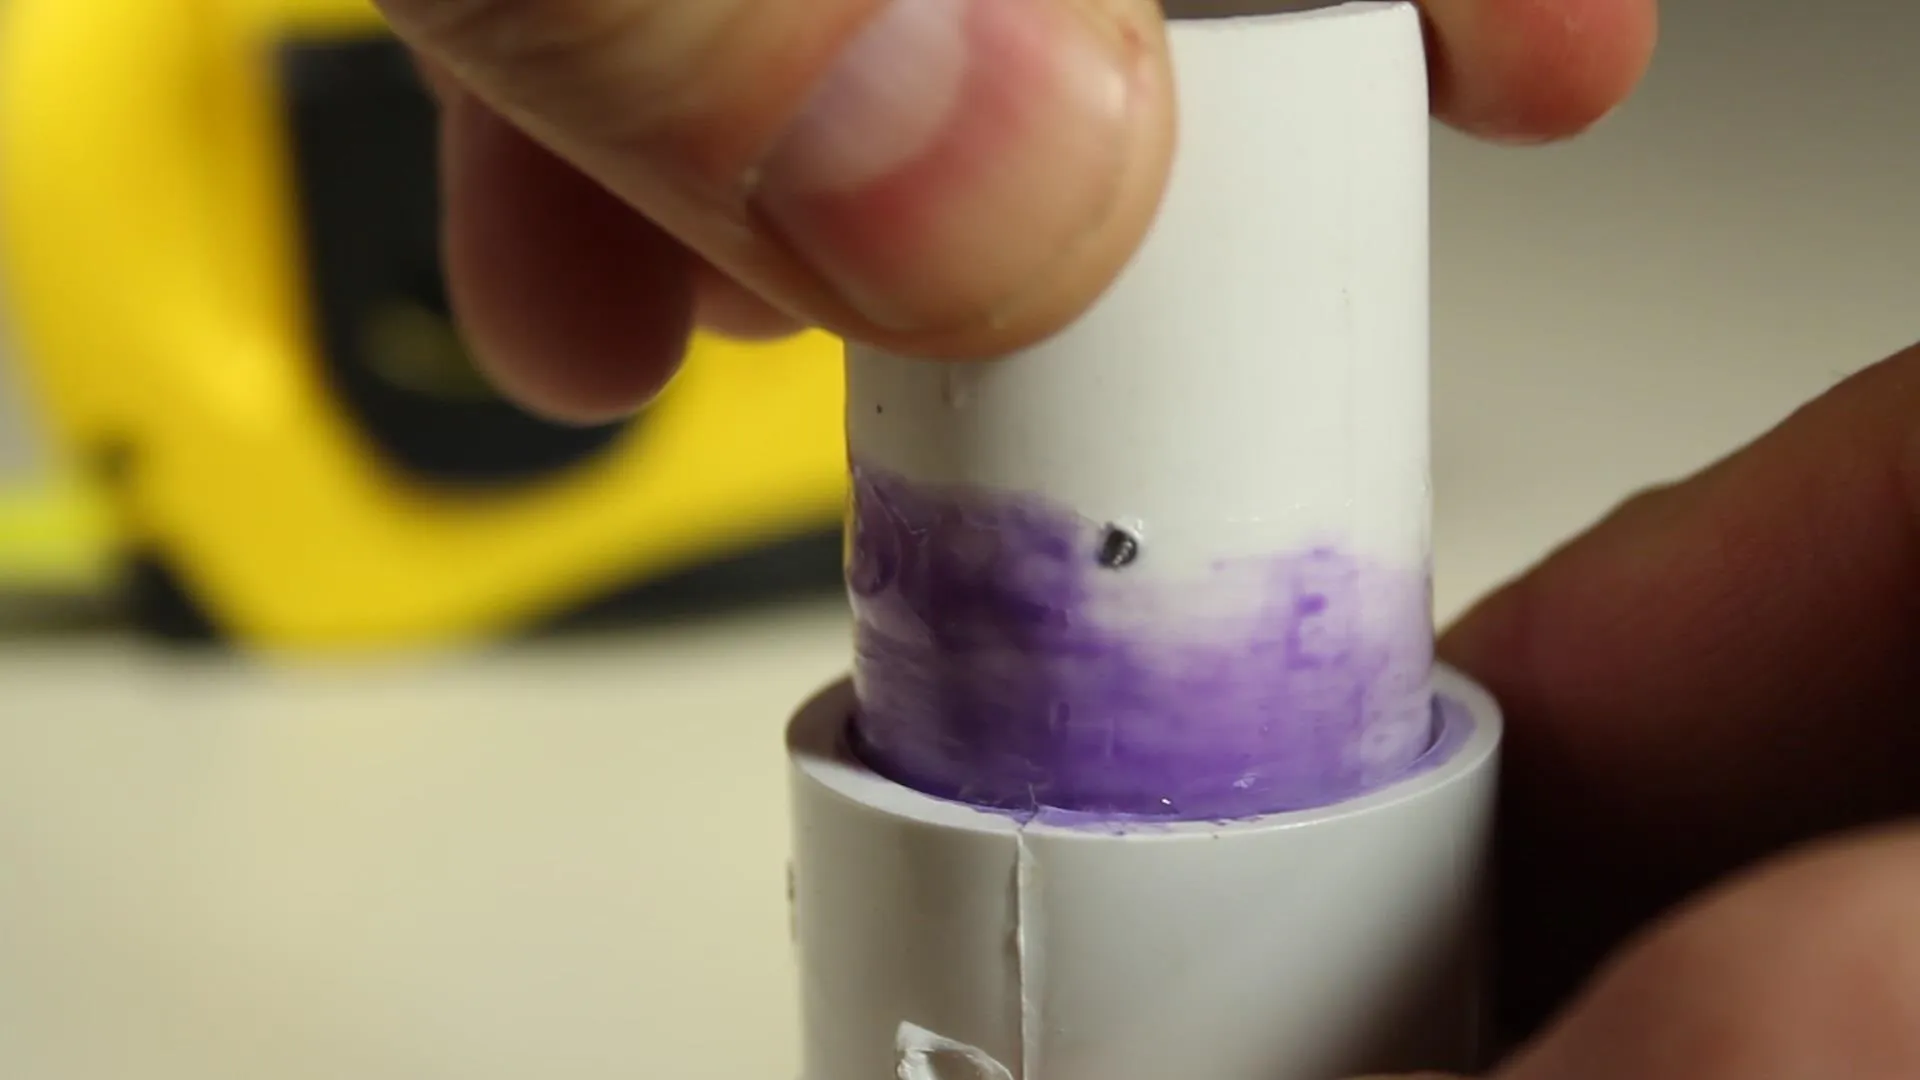
Note: Don't press so hard that the ball is trapped in the closed position. You will need a little gap for the ball so the valve can open and close.
- Let the cement cure for about 2 hours before use.
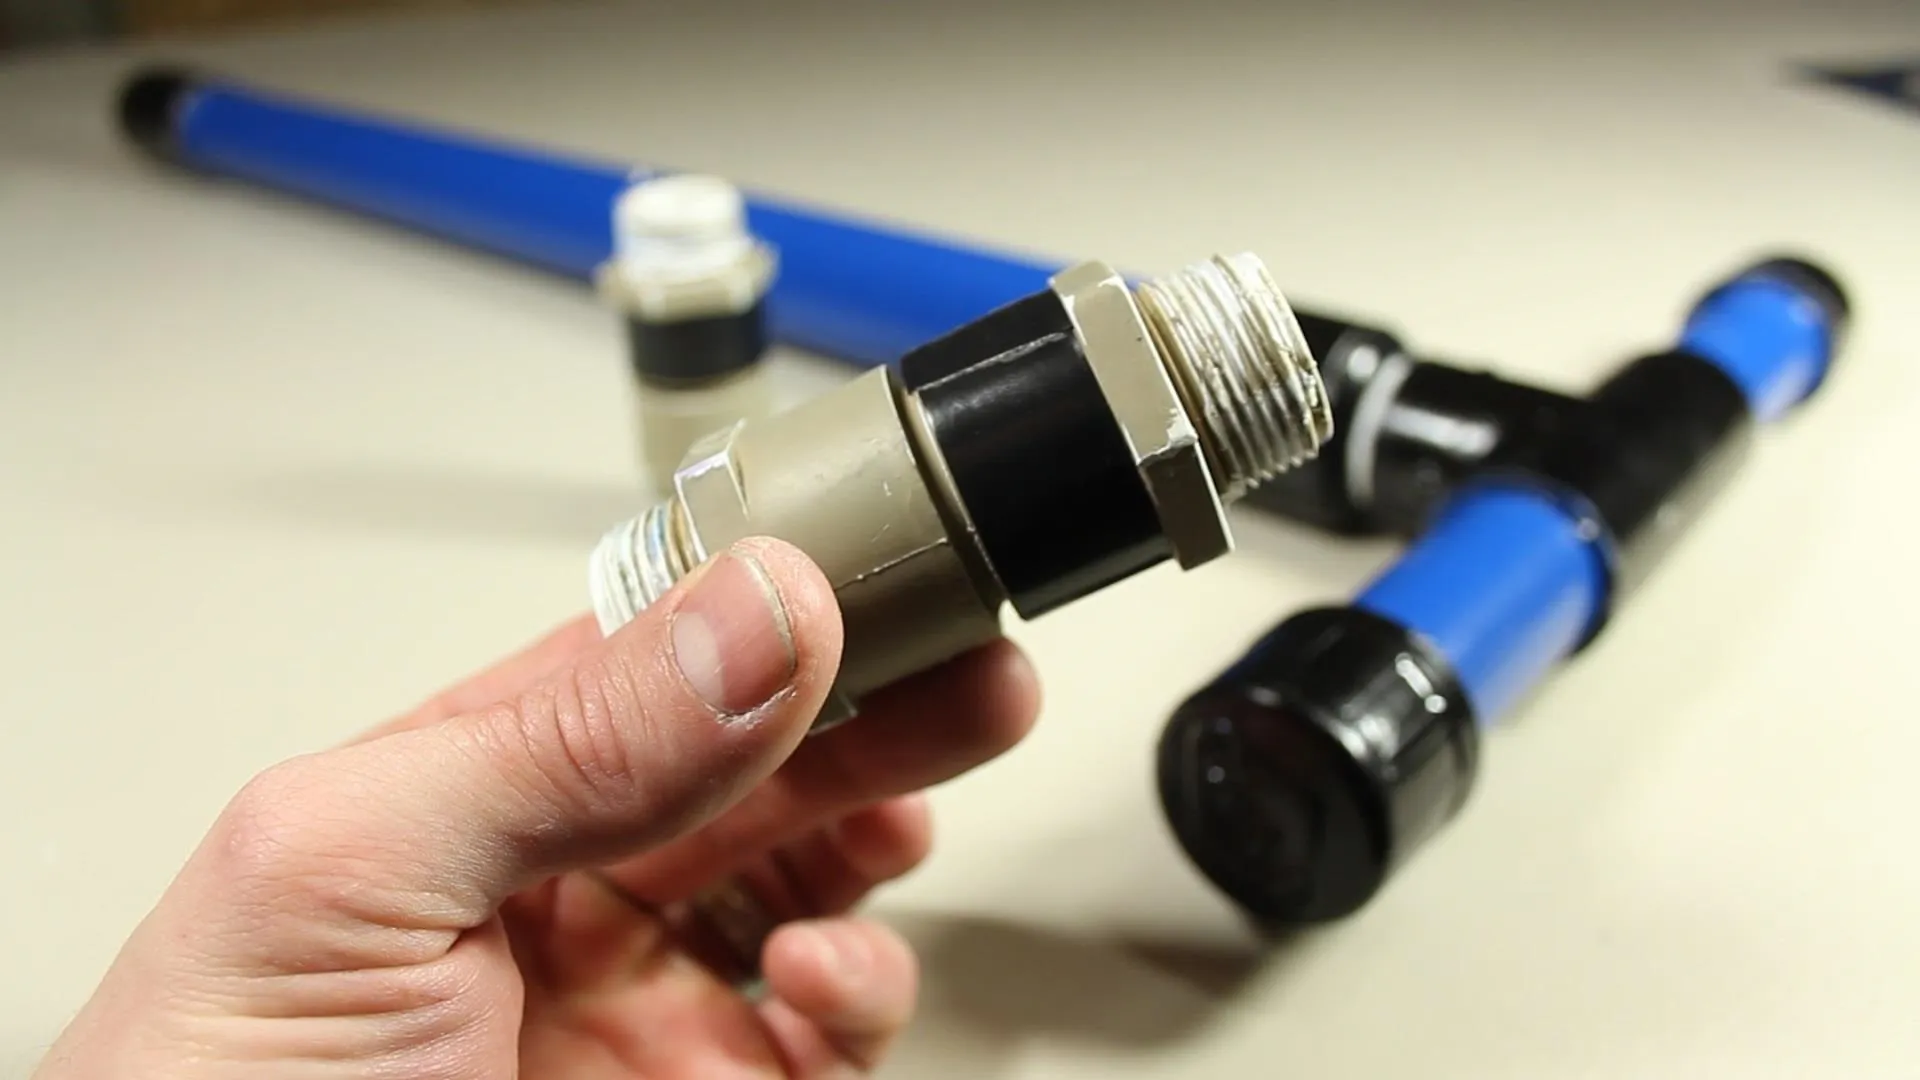
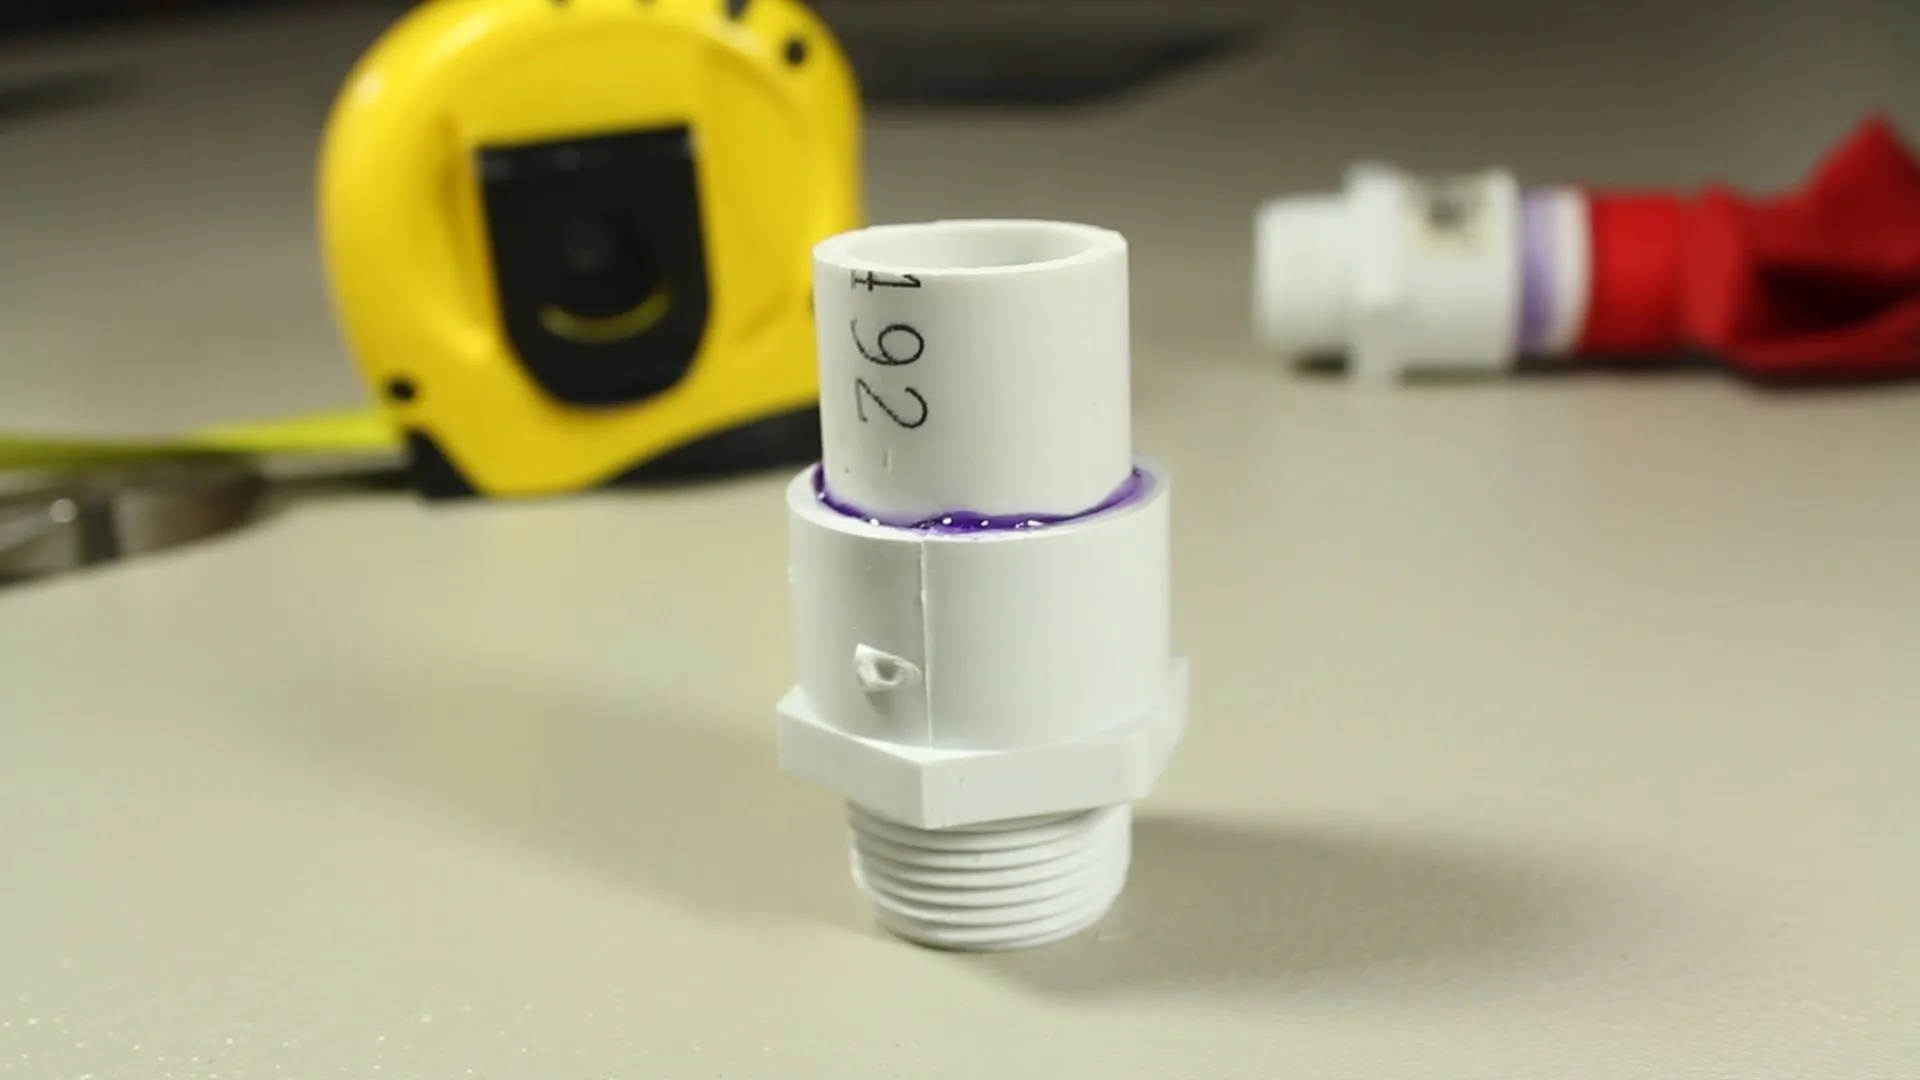
To make these valves more convenient, I tried adding another slip adapter to the other end of the 1½" pipe. This increases the cost by $0.34, but it's worth it.
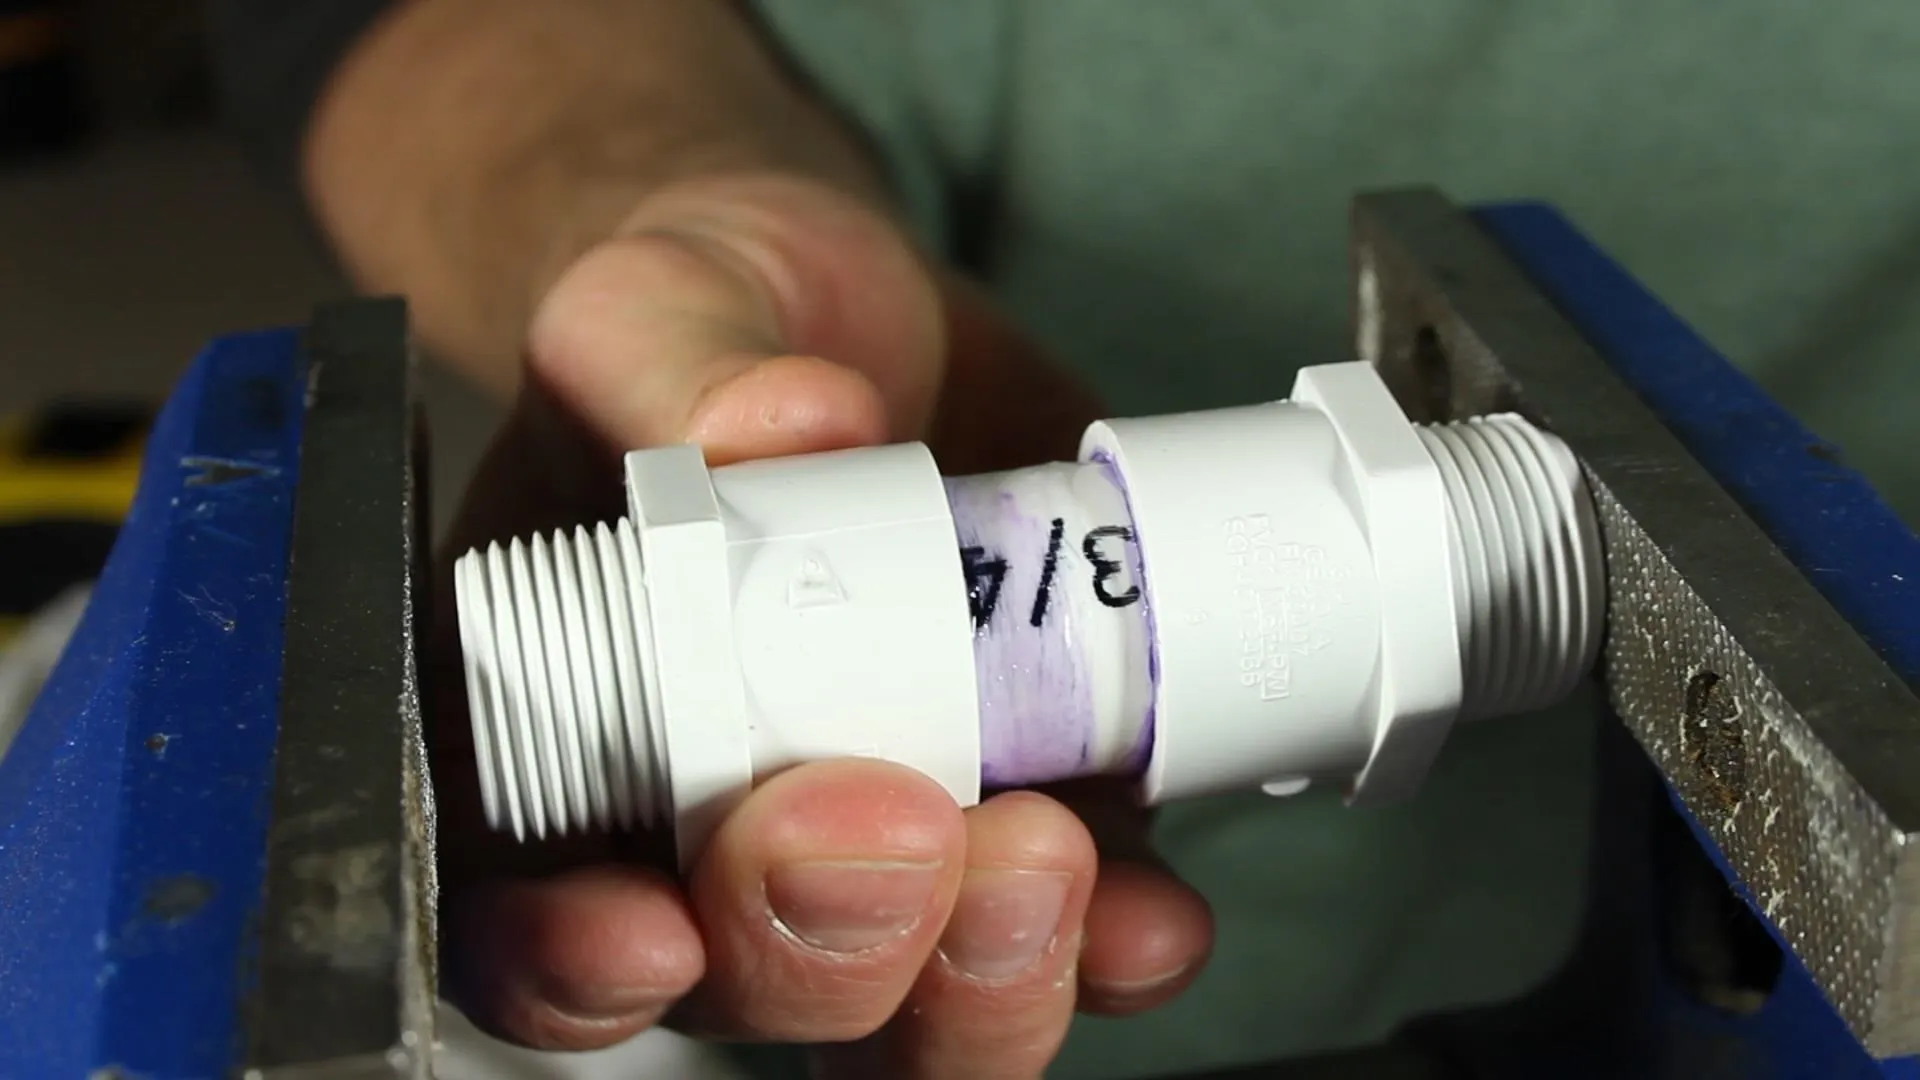
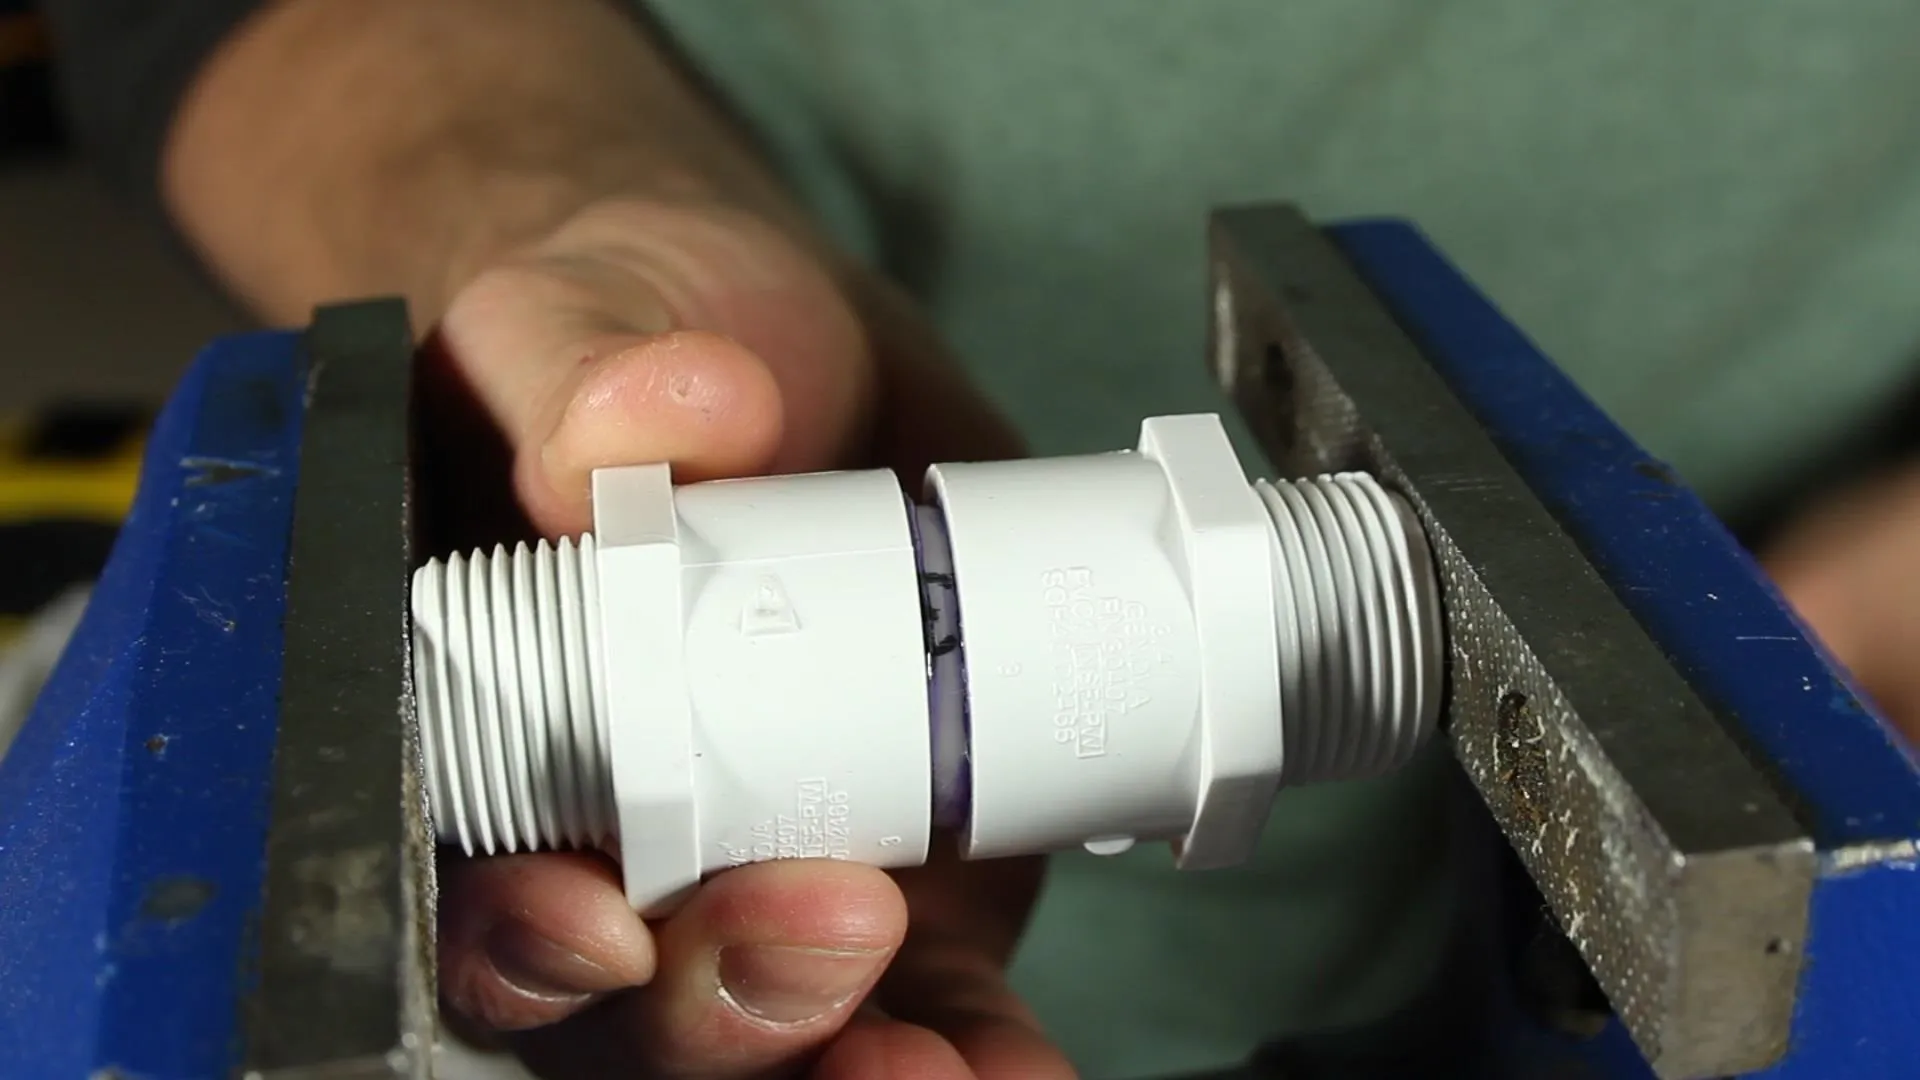
I chose 1½" as the pipe length, because when the adapters are pushed together, it leaves only a very small gap and makes the unit very compact.

In the picture above, you can see the ball held in the unit by the adapter and the retaining nail preventing it from rolling it out of the tube.
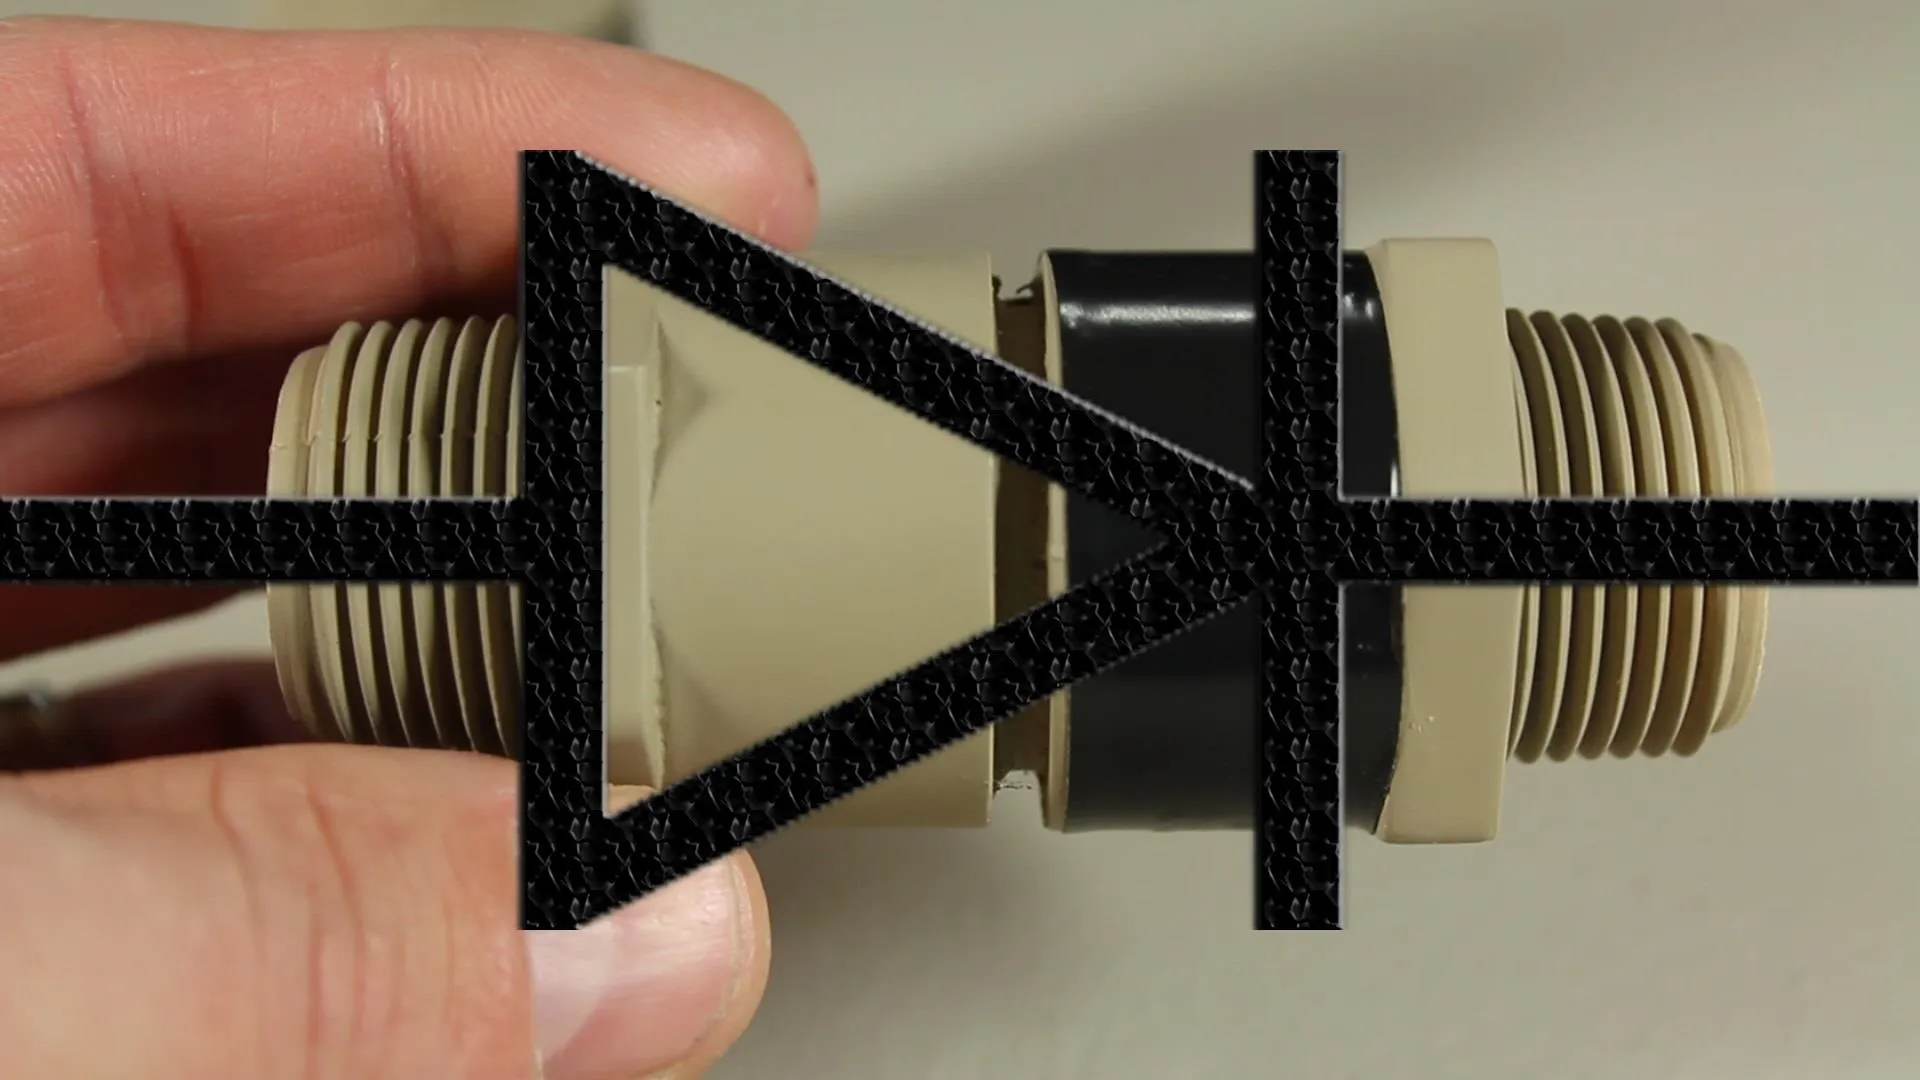
I also gave them a quick paint job with some spray paint, and added electrical tape to one side so the direction of flow can be easily identified, similar to the schematic symbol for an electrical diode.
Testing Your Valve
To test your valve, use it to blow up a balloon. The balloon should stay inflated even when you stop blowing.
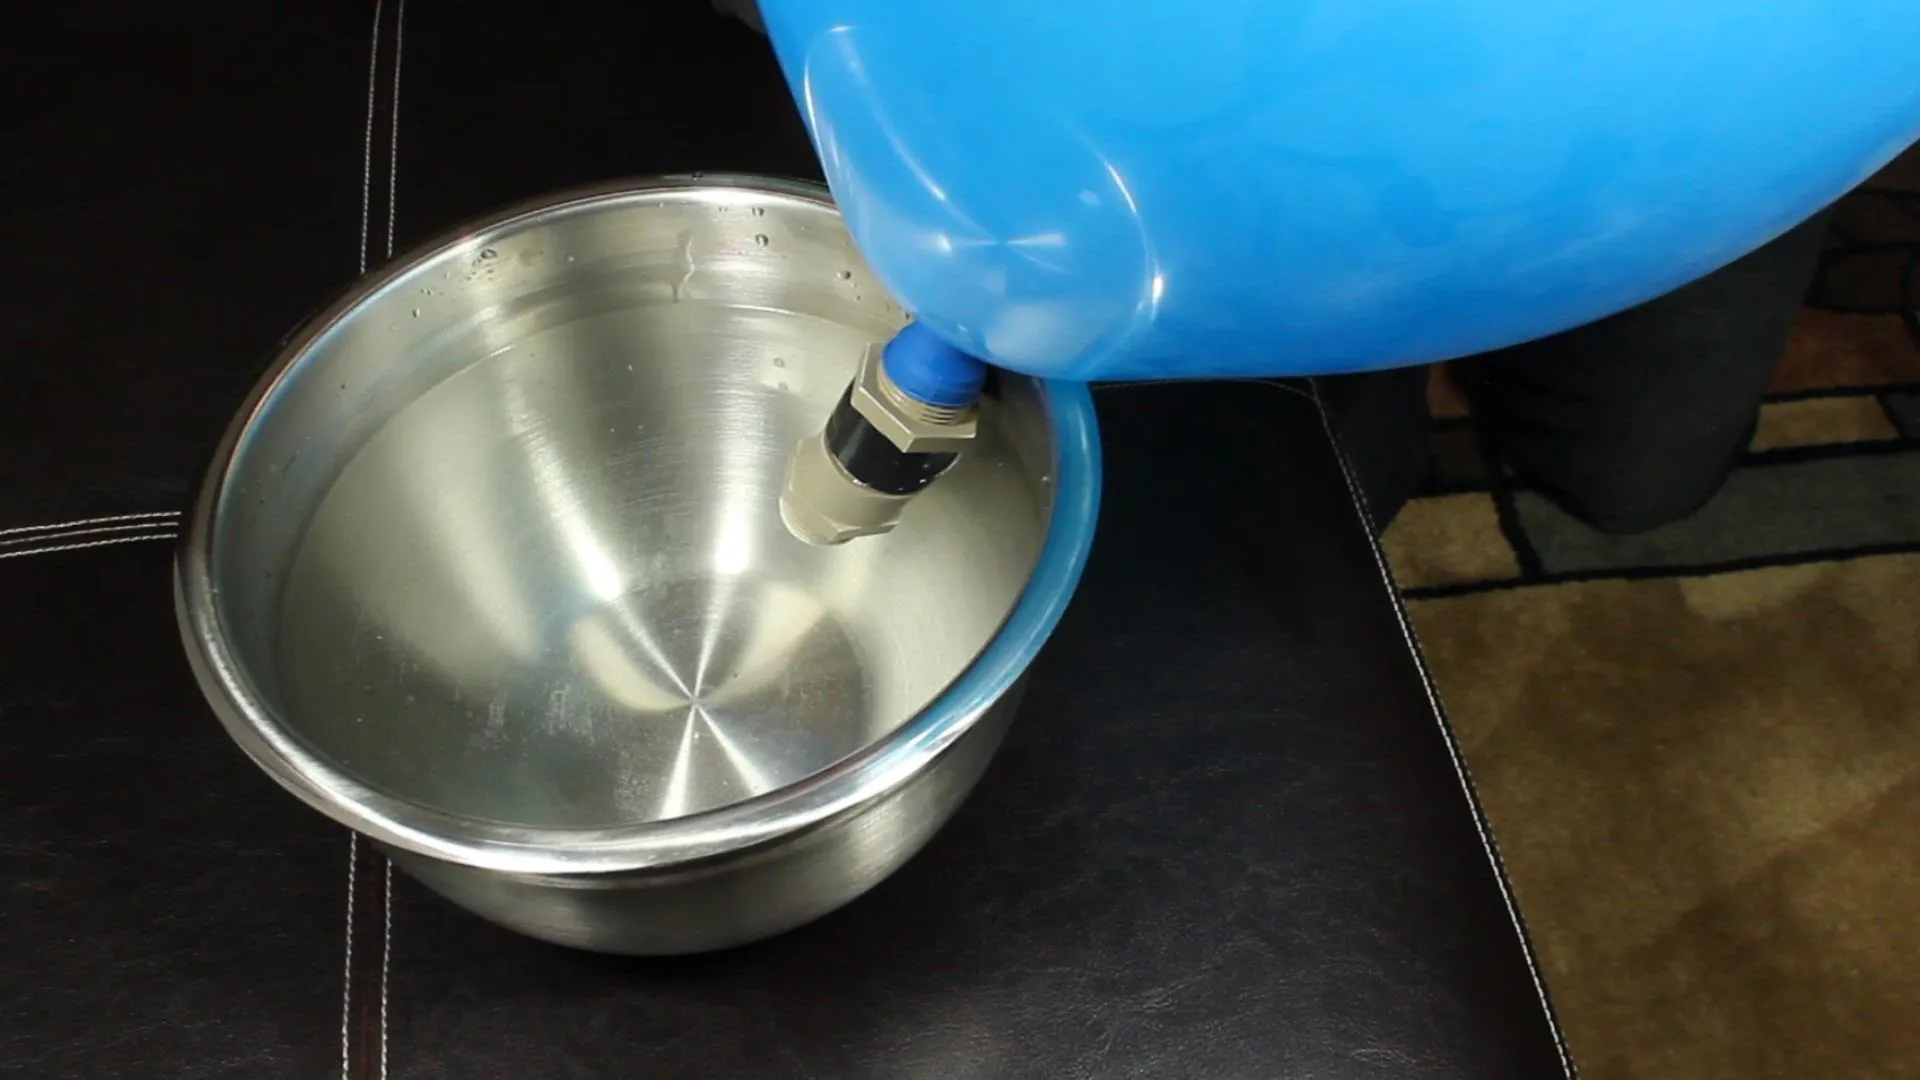
Place the valve into a bowl of water. If there is any air escaping at all, you will see little bubbles coming from the valve. If there are no air bubbles, that means your valve is air (and water) tight.
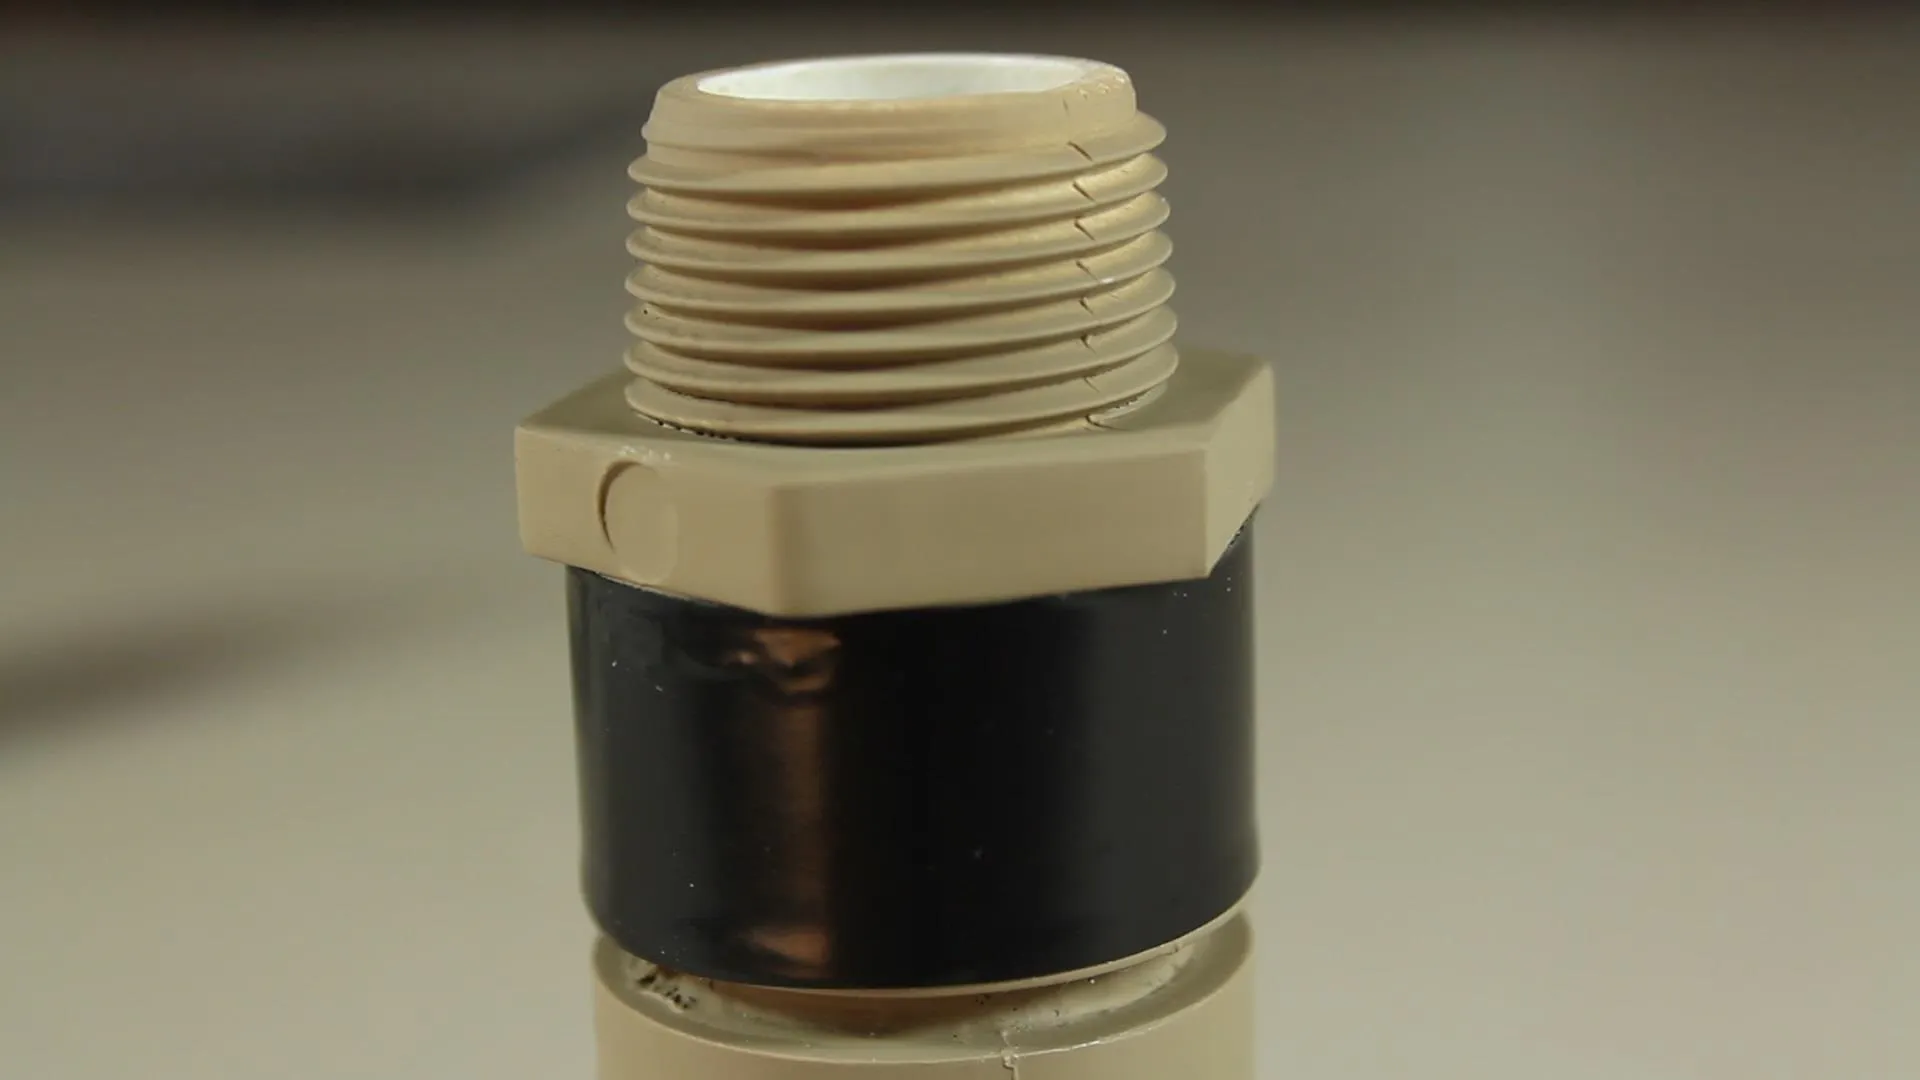
Because we used the slip adapters, the ends of the connections are threaded, and allow the valves to be integrated into any system, and switched around at will.
Why Make a Check Valve?
My motivation in building these valves stemmed from a desire to build a PVC water pump, but the check valves were around $10.00 each. That seemed a little steep for a PVC build, so while looking for alternative options, I settled on this design, which is about the cheapest, while still being practical and useful, that I could imagine.
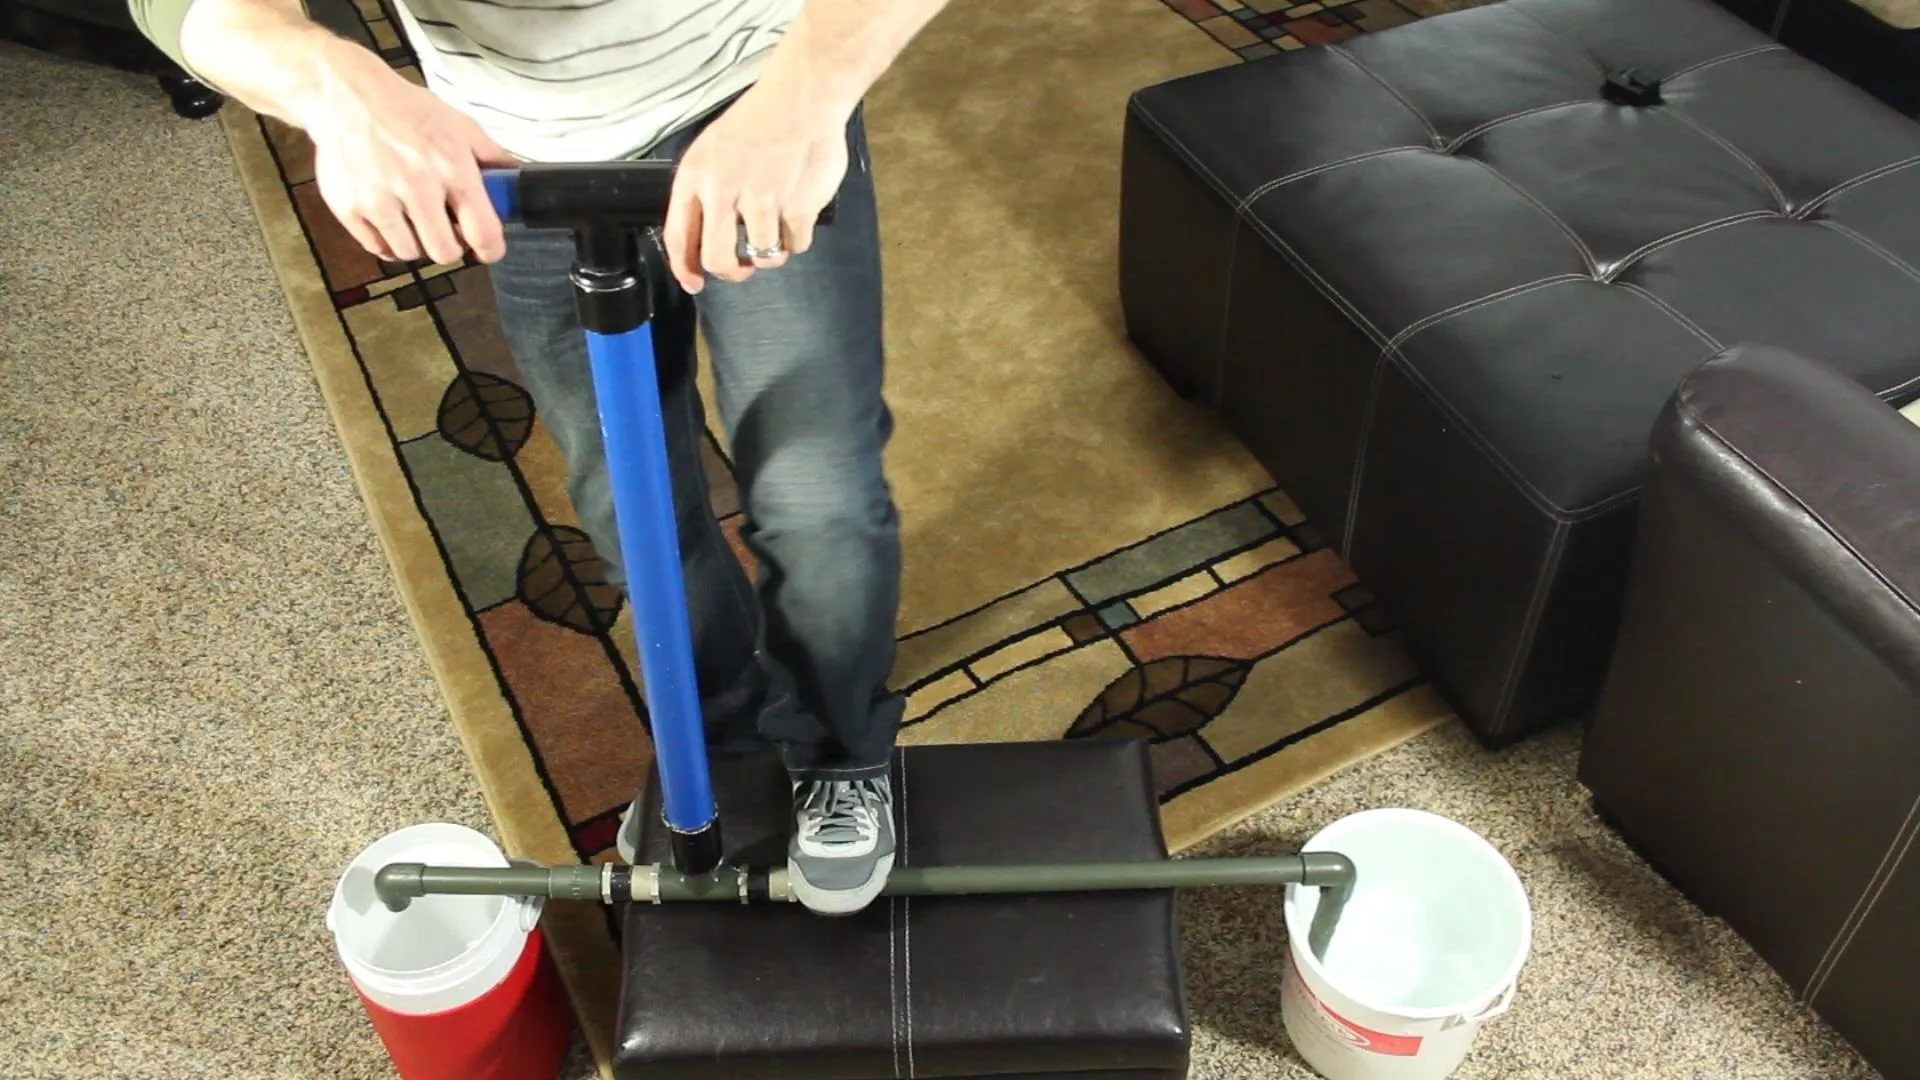
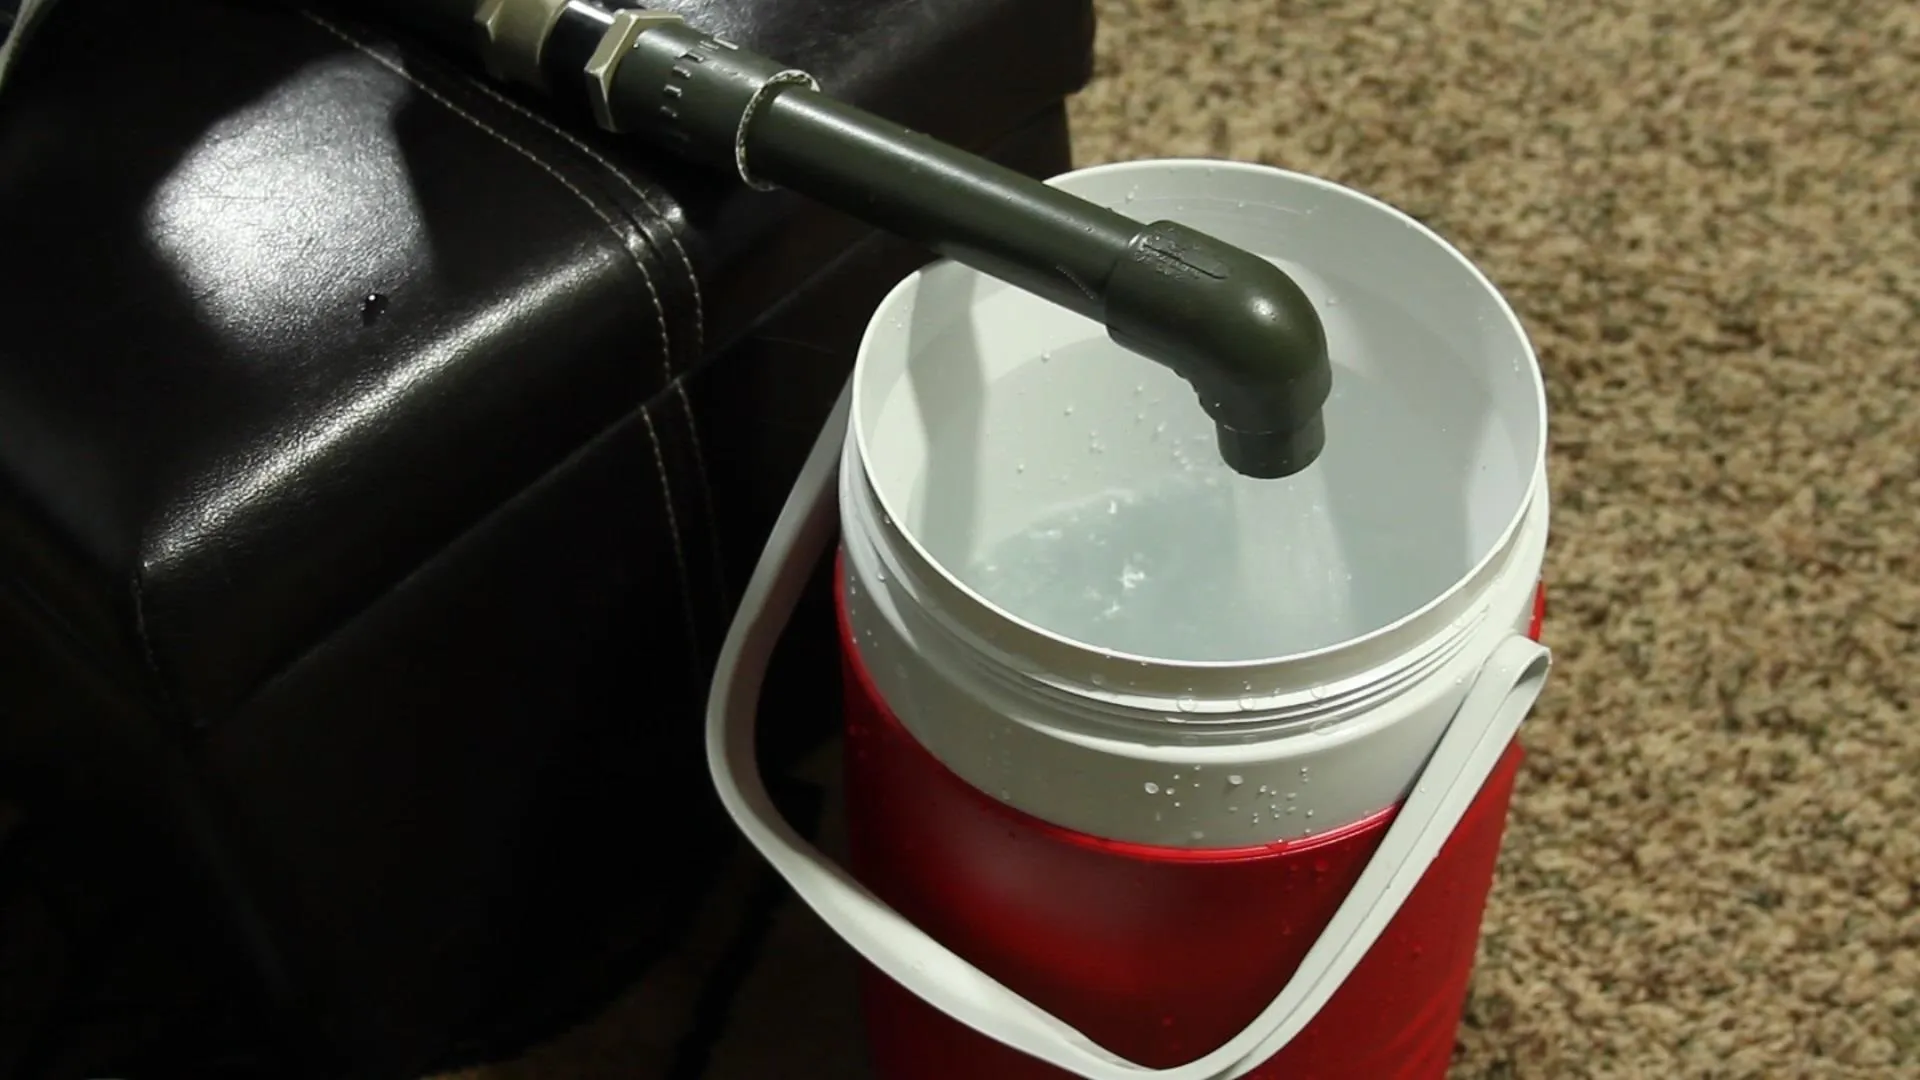
I tried using 2 of these check valves to make a PVC water pump. It can be used as an air pump, a vacuum pump, or a water pump that will pump up to 5 gallons per minute.
In my testing, the valves work great with air and water. Air pressures up to 60 PSI seemed to be fine for normal operation, while pressures above 60 PSI occasionally caused the ball to lock into the O-Ring, and required substantial "back-pressure" to unlock it.
In Closing
If you try using rubber bouncy balls as the valve mechanism, only use them in very low pressure applications like blowing up balloons, and possibly for improvised water guns. Relatively high pressures used with these balls seems to eventually force them out of the adapter, and can shoot them out at surprising velocities.
Overall, I'm really happy with the valves because they can be fit into any part of a PVC system, and can be duplicated quickly, easily, and for very very low cost.
If you haven't seen the video yet, you can still see it here. And if you liked this project, perhaps you'll like some of my others. Check out my other articles here on WonderHowTo or see the videos at thekingofrandom.com.


Comments
Be the first, drop a comment!