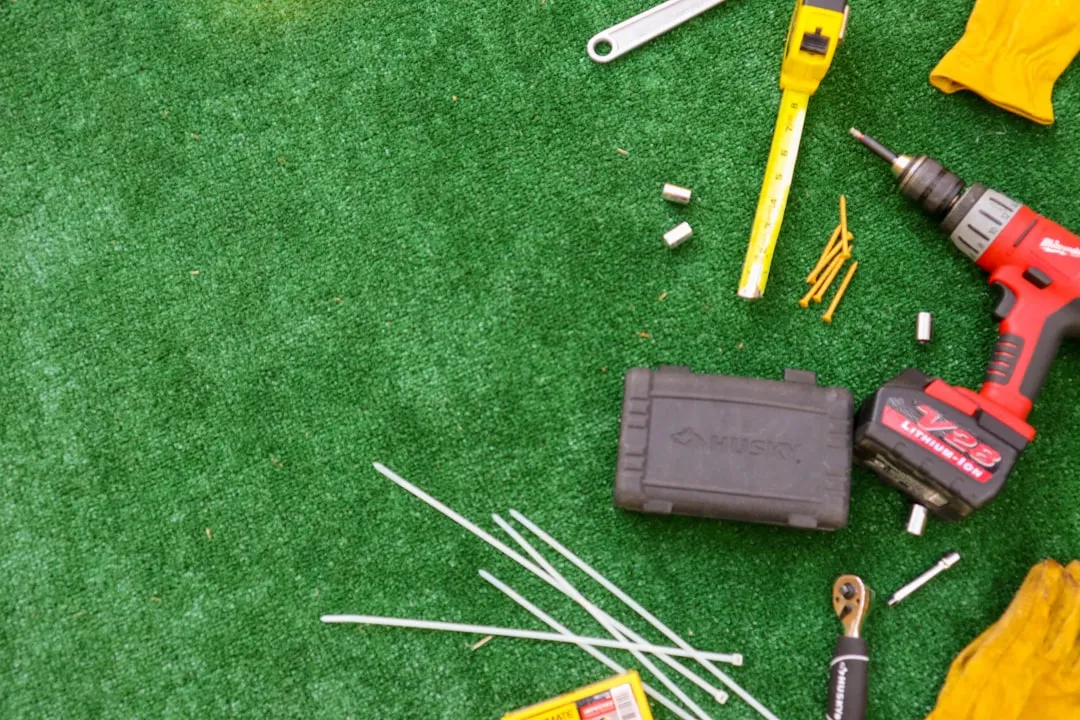
This video demonstrates how to install trailer lights on your boat's trailer. In order to determine what size replacement kit you will need, you must figure out the width of the trailier at the widest point. First, remove the old lights. Use a large slotted screwdriver to remove the cover. Don't forget to wear eye protection. Next, use vice grips and a wrench to remove the exposed stud. Using a wire brush, remove the salt and loose corrossion. Then grease the threads of the studs. You are now ready to install the new light screwing everything back in place with fresh parts. Next you will need to attach the grounding wire to one of the studs. Then replace the side markers. Use grease on the threads of all the new lights you are putting on. Next remove the center light bar. You may need to drill out the rivet head if rivets were used. Using tape to hold the new light in place while you attach it makes the job easier. To run the new wire, use the old power wire as a snake. Pull the old wire harness lose. You can use the forward end of this as a snake for the new harness. Check the length of the harness by laying it out. Next, splice the side marker lights into the harness wire. After you apply dialectic grease to the plugs and connect them together, secure them with zip ties. After you remove the grounding wire, clean the contact point with a wire brush. Re-install after you crimp a new ring terminal on the white grounding wire. Repeat the greasing and securing process to these plugs. Bundle the wires and secure it with zip ties. Your trailer lights are now installed.
Apple's iOS 26 and iPadOS 26 updates are packed with new features, and you can try them before almost everyone else. First, check our list of supported iPhone and iPad models, then follow our step-by-step guide to install the iOS/iPadOS 26 beta — no paid developer account required.


Comments
Be the first, drop a comment!