
WhatsApp stickers can make your chat more fun. The stickers that come with WhatsApp are fine, but they're standard and accessible to everyone. What if you wanted to show off unique stickers that your friends haven't seen? To take things to the next level, you can create your own WhatsApp Stickers.
Whether you want to create stickers for inside jokes or make the next meme right from your phone, you have the power to make fully custom WhatsApp stickers using nothing more than your Android device. You can use any image, and we'll also show you how to remove the background from photos to get the cool sticker look.
Step 1: Install Personal Stickers
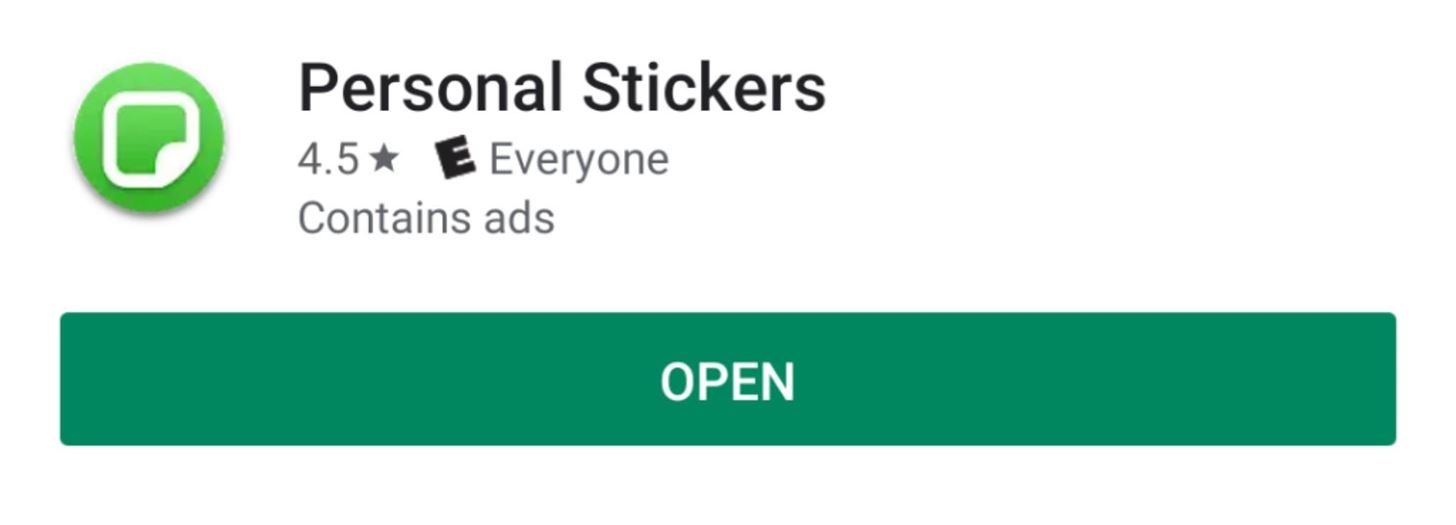
Aside from WhatsApp itself, you'll need to install at least one more app to create custom sticker packs. First is an app called Personal Stickers by developer handyCloset, which is what allows you to turn your own images into WhatsApp stickers. To download the app, head to the link below from your phone.
- Play Store Link: Personal Stickers (free)
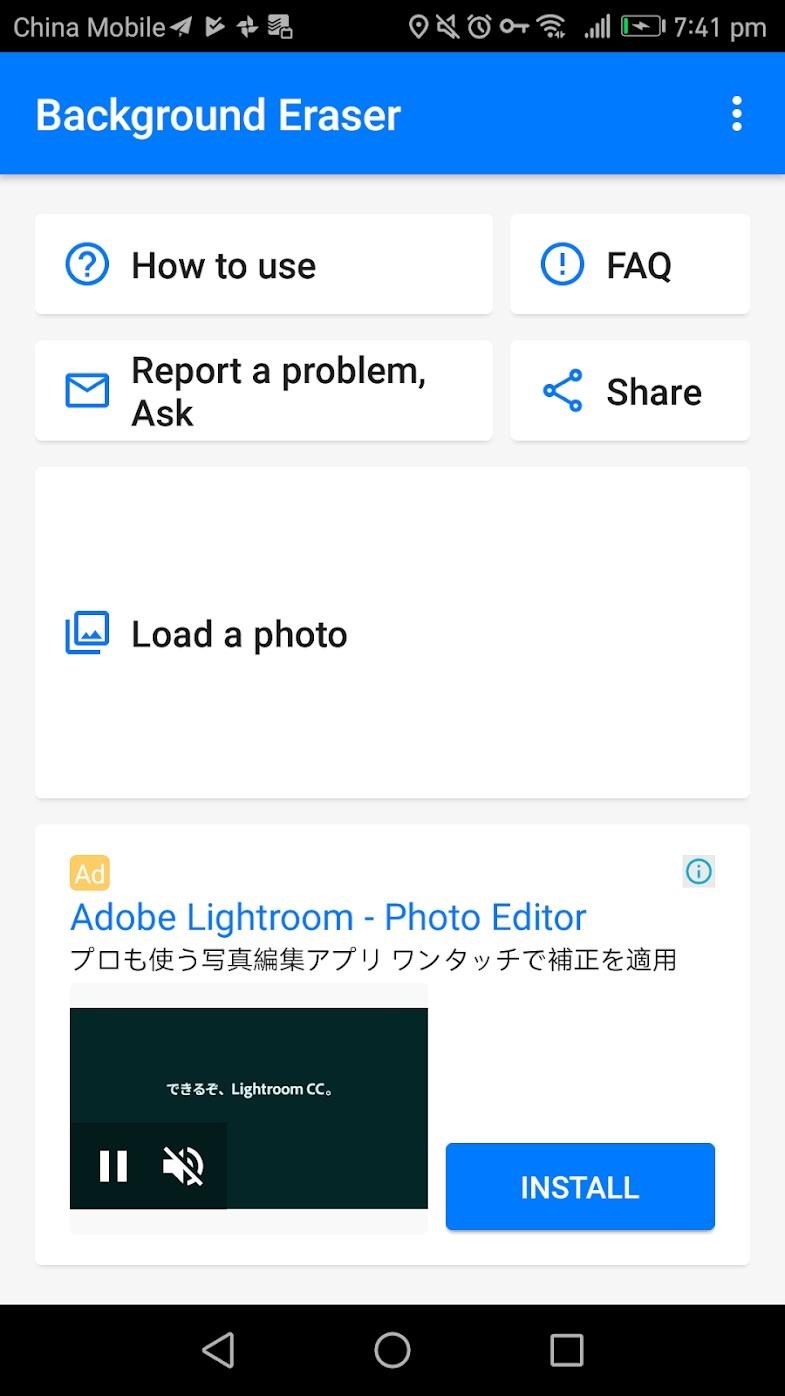
Step 2: Install Background Eraser (Optional)
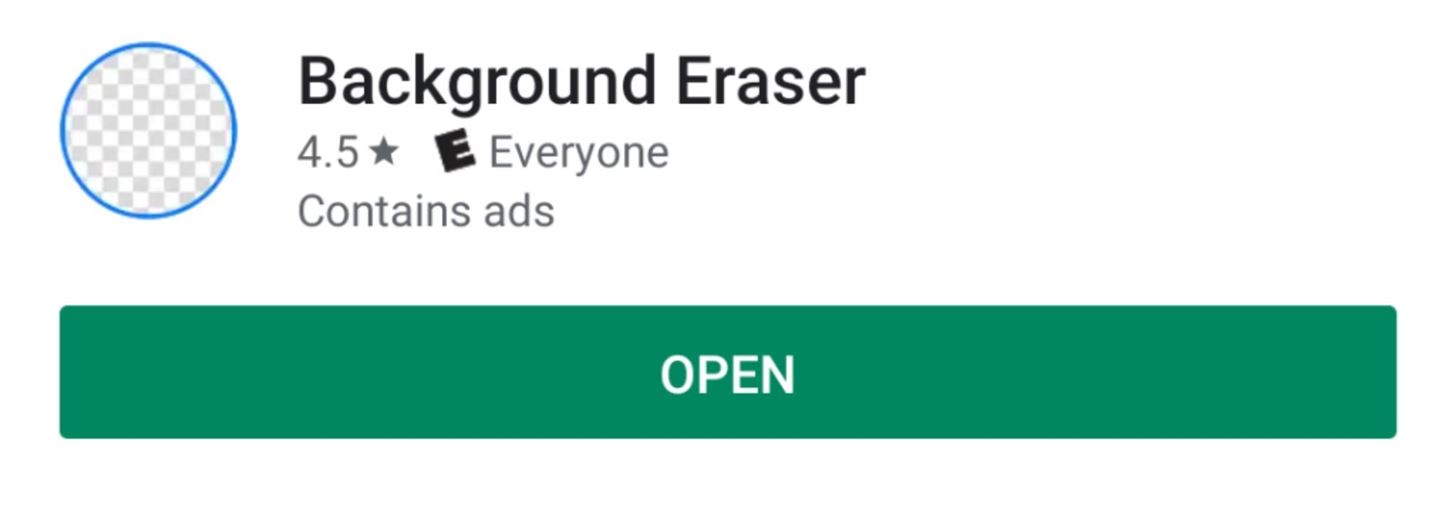
Second, if you would like to customize your images to have transparent backgrounds, download the Background Eraser app. This app is designed to remove the backgrounds from your images and make them more sticker-friendly.
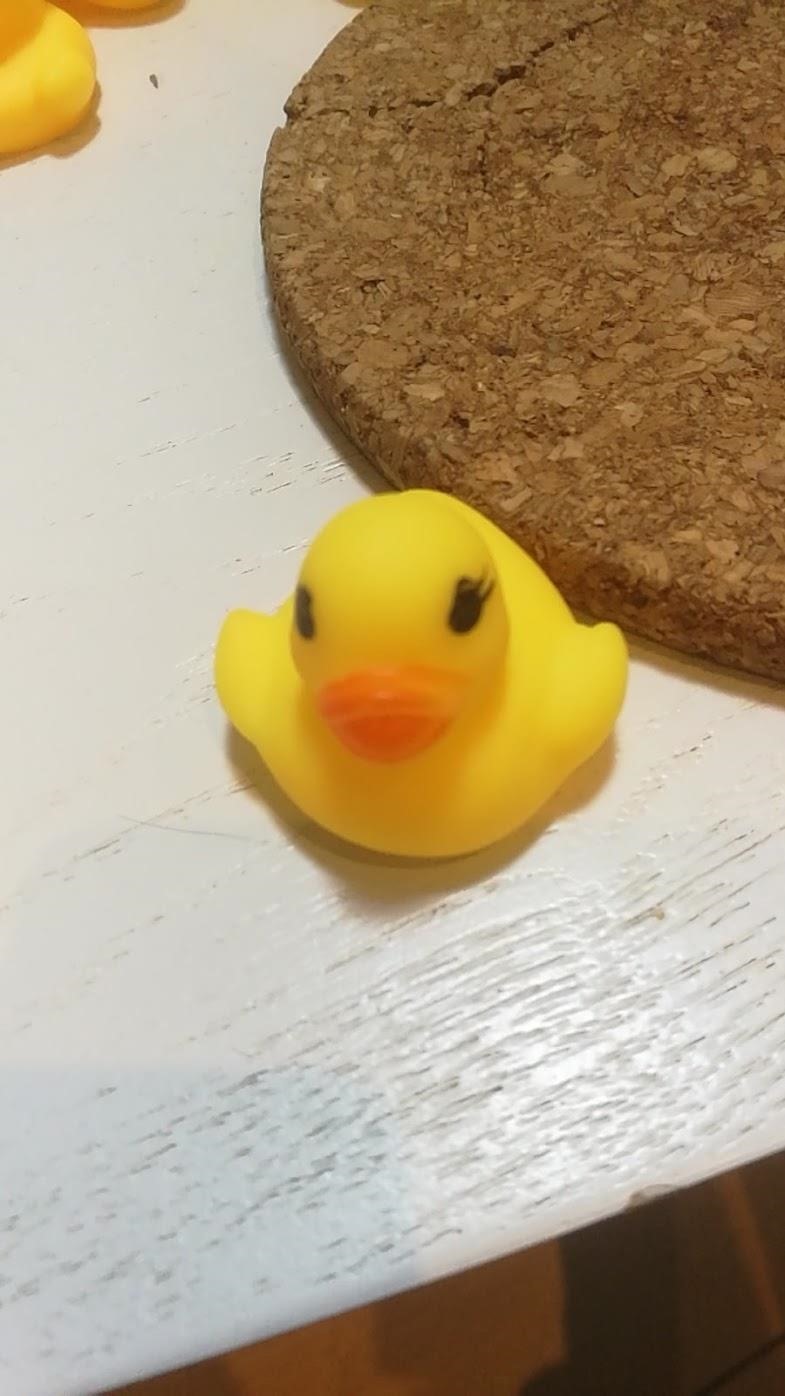
For instance, if you would like to take a picture of a rubber duck and make the background transparent so all you can see is the duck once it's turned into a sticker, the Background Eraser app makes that easy. However, if you don't mind your sticker being an exact copy of the picture (i.e., a rectangle), or if you plan to use images that already have transparent backgrounds, you can skip this step.
- Play Store Link: Background Eraser (free)
Step 3: Decide on 3 Pictures You Want to Make into Stickers
In order to create a sticker pack, you'll need at least three images. These can be pictures you would like to edit to make the background transparent or pictures that already have a transparent background. Alternatively, you can use any picture without transparency, but know that your sticker will appear as-is (typically rectangular).
You can search on Google for a picture with an already-transparent background. If you search for an image and end with the filetype ".png" (example: "duck.png"), you will get PNG results, which will generally return images with a transparent background. These types of images make for good stickers since the edges are already cut out for you.
No matter which way you go, find three images you would like to turn into WhatsApp stickers. Below are the three images I have chosen.
Step 4: Edit Your Photo (Optional)
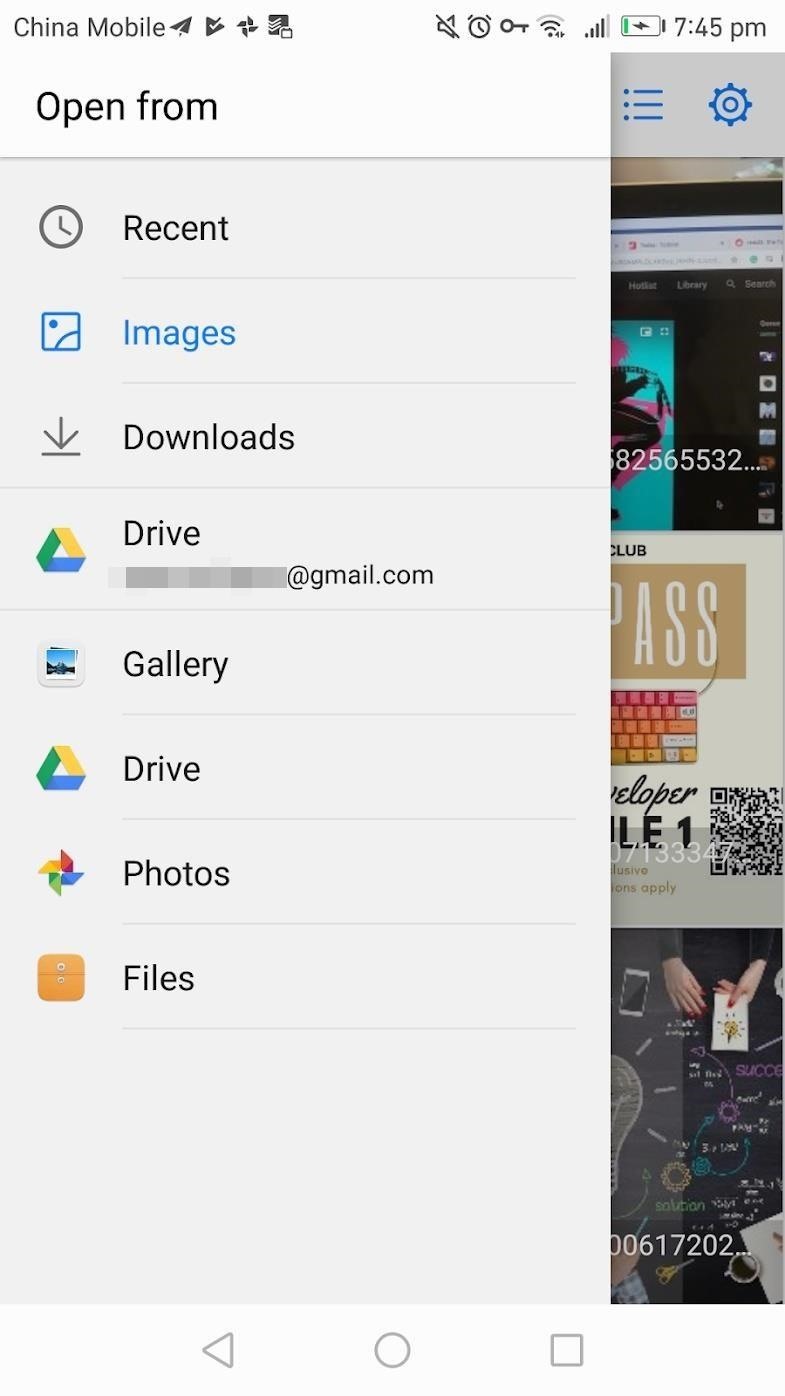
You only need to follow this step if you want to remove the background from your image. Open the Background Eraser app. Press the "Load a photo" button. Next, you will be taken to your image files. Select the location of where your desired sticker images are (in most cases, they will be in "Gallery"), then choose "Camera." Select an image that you want to turn into a sticker.
Once the image is selected, you can crop the image by dragging the pink arrows forward and back to focus on your sticker target. For best results, crop as much as possible, then press "Done."
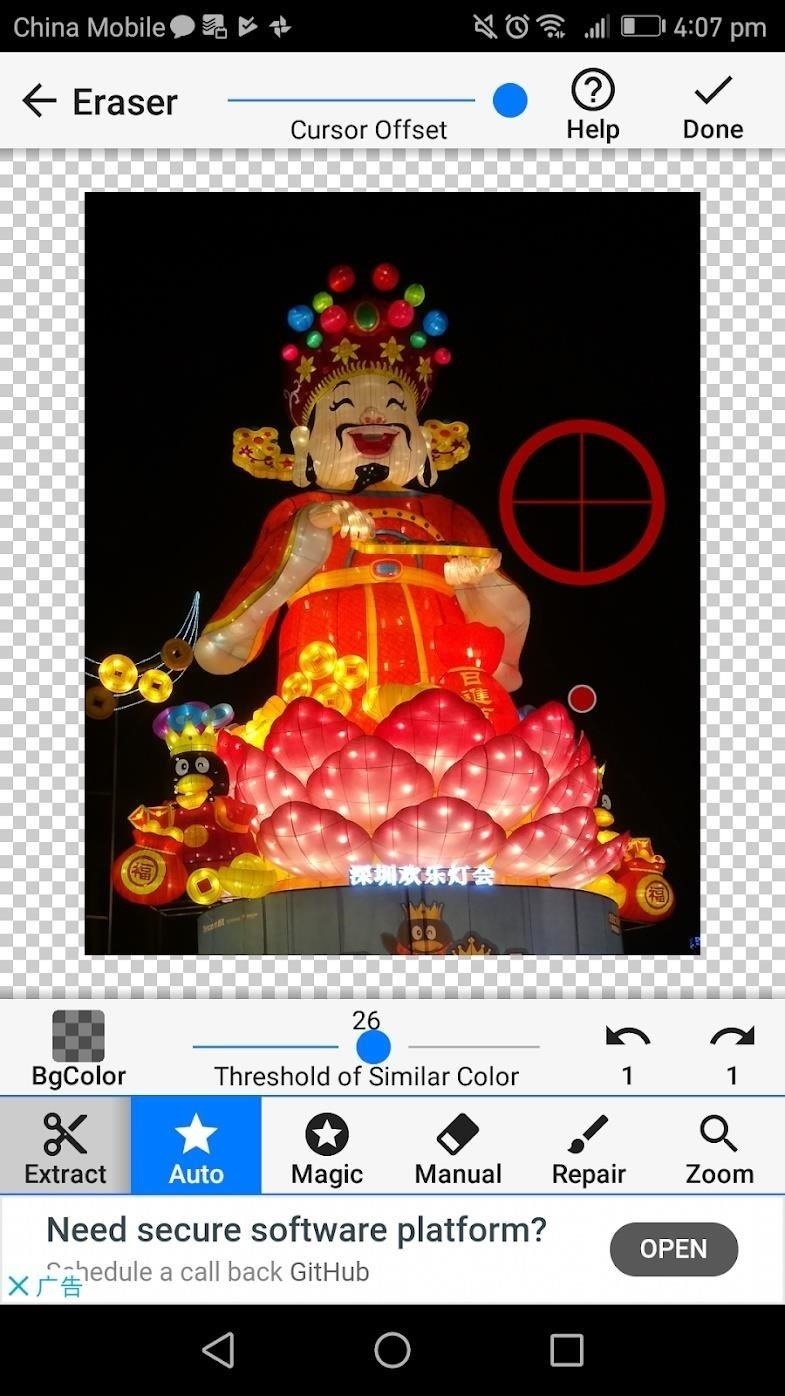
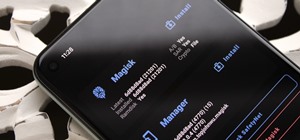
Next, you'll want to erase any unwanted background while making the background transparent. An explanation of what each feature does is below. We mainly used "Auto" to remove large parts of the background and "Magic" to clean up the more detailed sections of the image.
- Extract: Use this to select the areas you would like to keep and highlight the areas you would like to delete. Draw around the area you want to keep with the blue "keep" marker. Then, with the red "remove" marker, draw the outline of the areas you want to remove.
- Auto: Will intelligently delete the surrounding area. This works well if the desired sticker has a background with good contrast to the sticker subject.
- Magic: Similar to Auto, but it will not remove anything outside of the reticle. This is good for zooming in and precisely deleting any undesired background.
- Manual: Simply deletes the image section that you touch.
- Repair: If you make a mistake you can fix it with repair.
- Zoom: You can zoom in and out with touch controls, using two fingers. For more detailed images you may want to zoom in to be more precise in your editing.
- Slider: Each tool has a slider. You can increase or decrease the slider to change the reticle size. On "Auto" the slider changes the threshold of how much is taken away.
- Cursor offset: The offset is added so you can see what you are editing without your finger being in the way. The offset makes your editing action happen above where your finger is. You can change the offset to be zero or higher depending on your preference. In the beginning, this is a little confusing but after cleaning up a few images you get used to it.
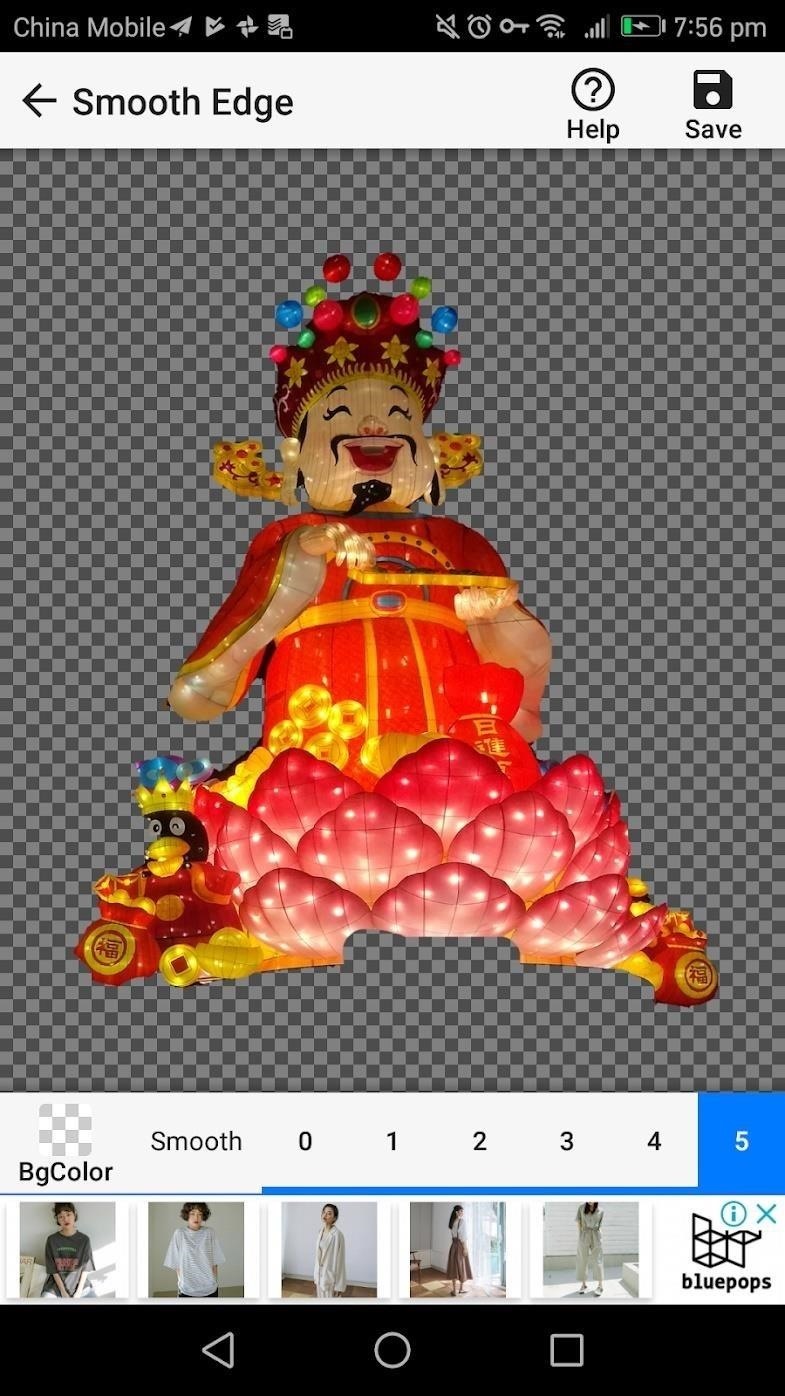
When you are happy with the results, press the "Done" button. Here, you can select the "Smooth Edge" level to help reduce rough edges. If your image has lots of details which have left sharp edges, this will help it look softer. After you choose the optimal smooth level press "Save." When you save an image, it creates a new copy and saves it in a new "Eraser" folder.
If you would like to edit more images, repeat this step. Remember, you need at least three images to make a custom WhatsApp sticker pack.

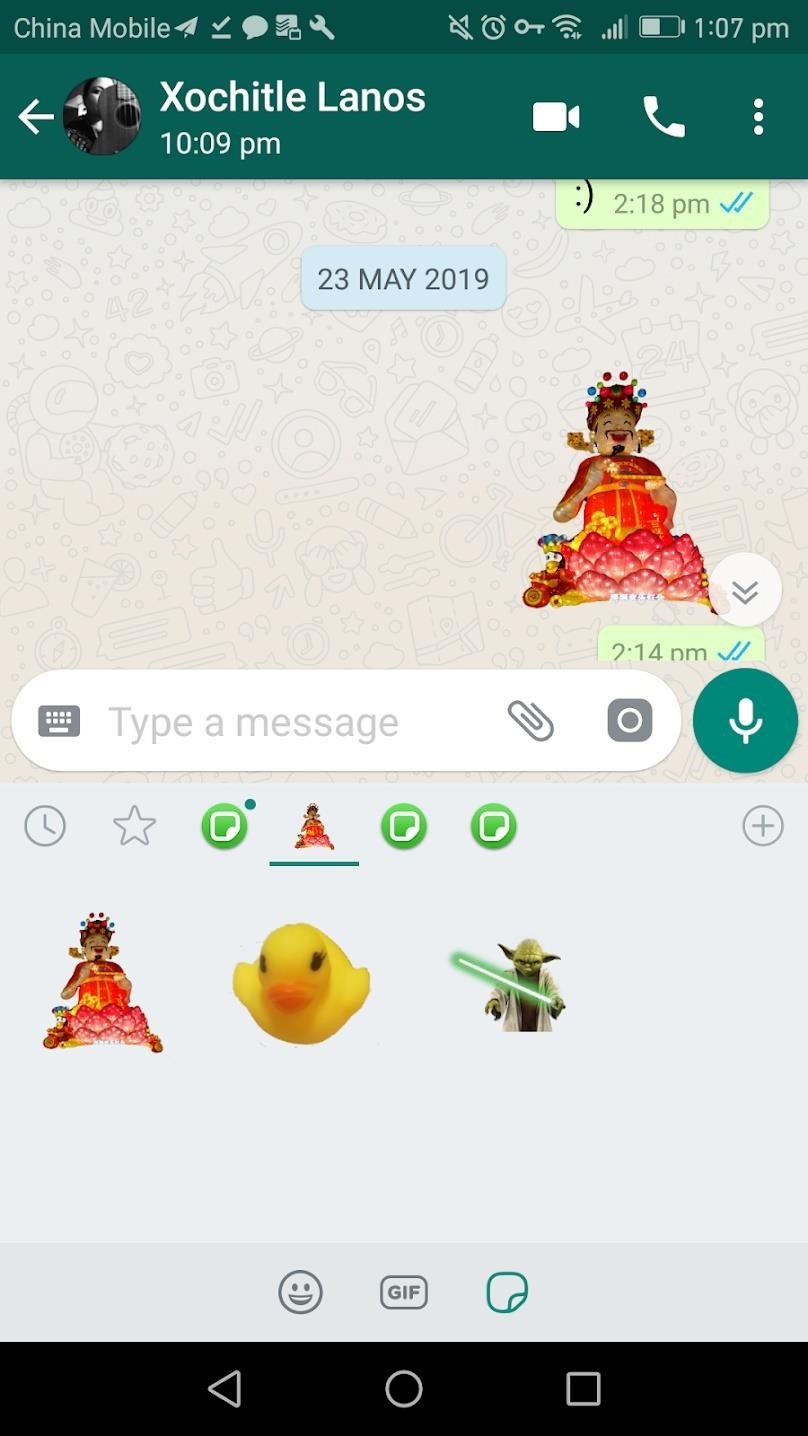
Step 5: Create Your Sticker Pack
Now, launch the "Stickers" app you downloaded in Step 1. You may have to accept a few permission requests, so do so now. Then, from the main menu, tap the "Create your new sticker pack" button.
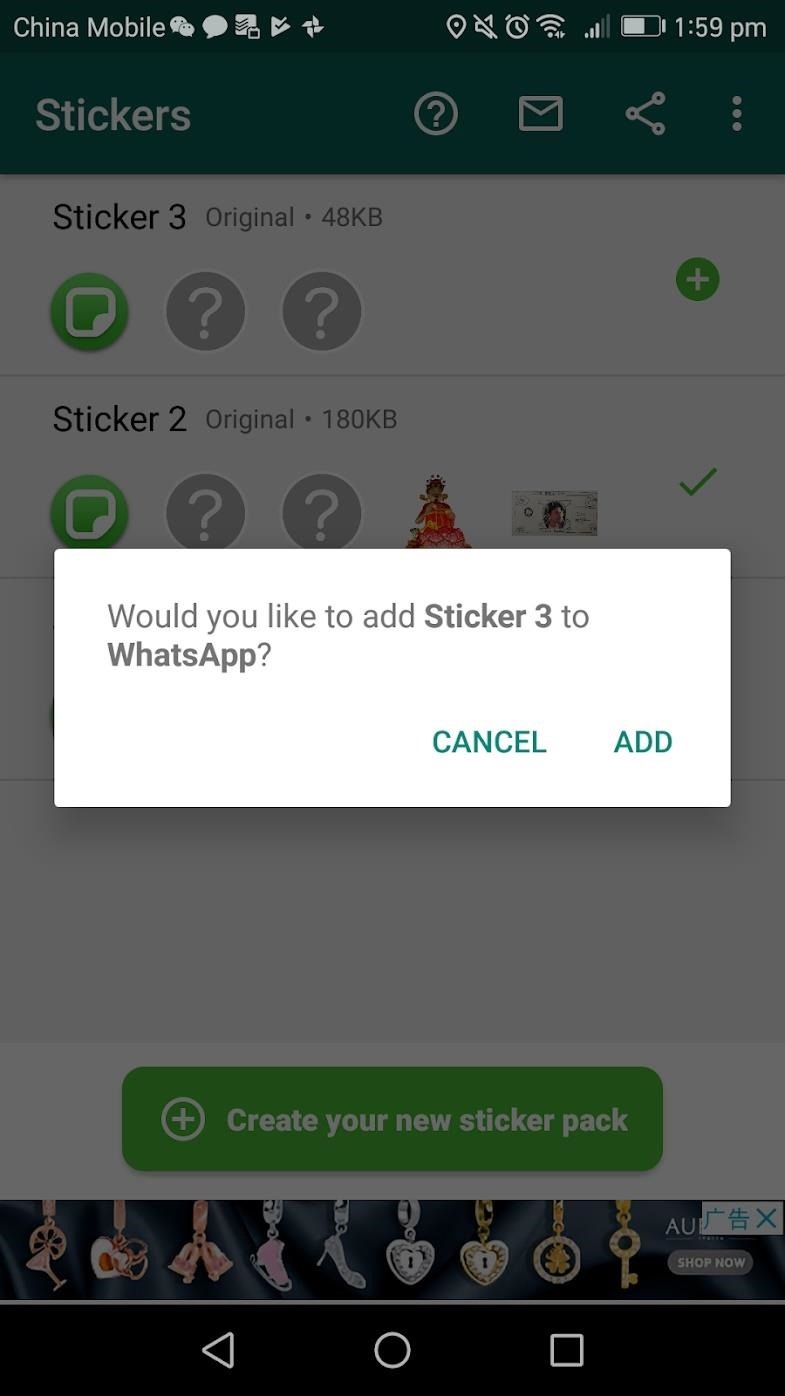
A popup will ask you if you would like to add the new sticker pack to WhatsApp. Press the "ADD" button. After you add the stickers to WhatsApp, there will be a button below the sticker that says, "Already added to WhatsApp."
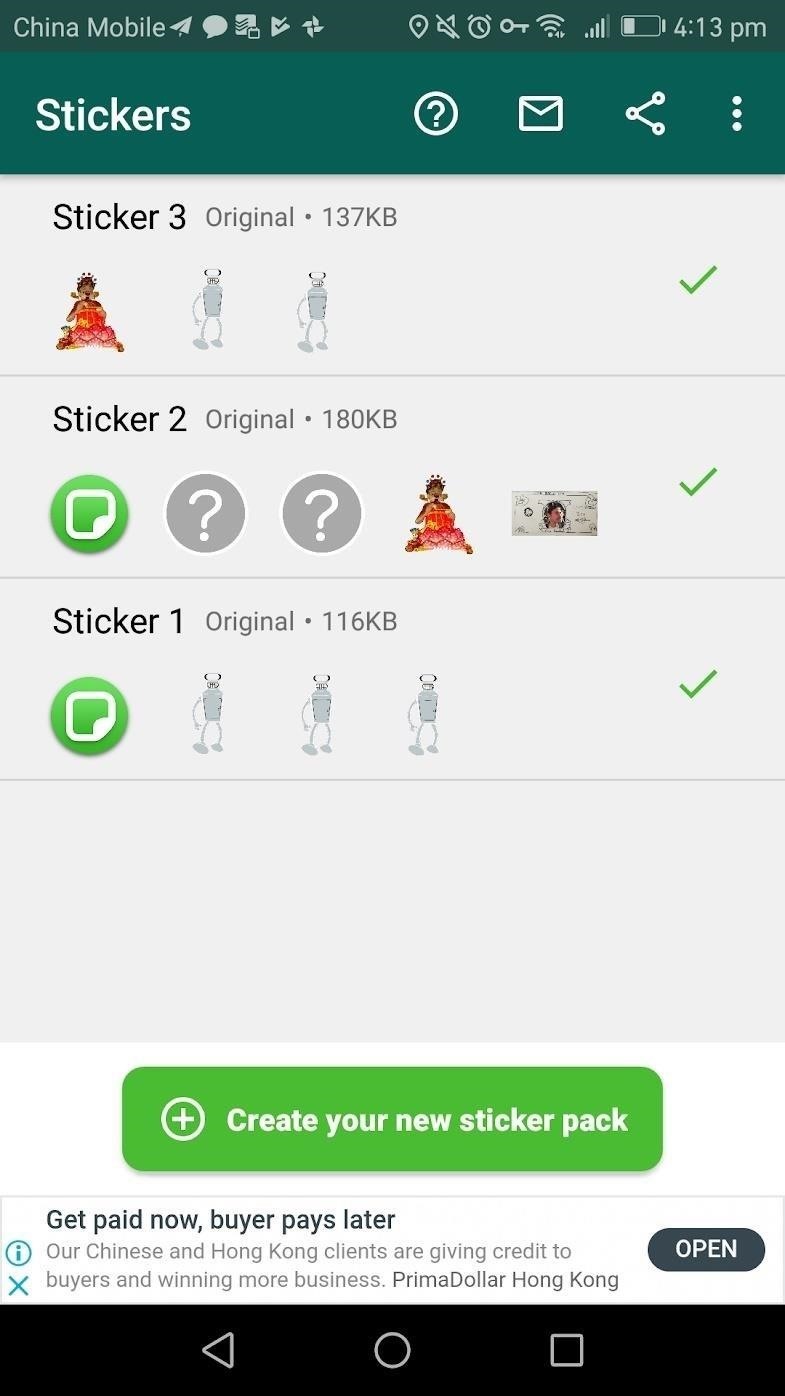
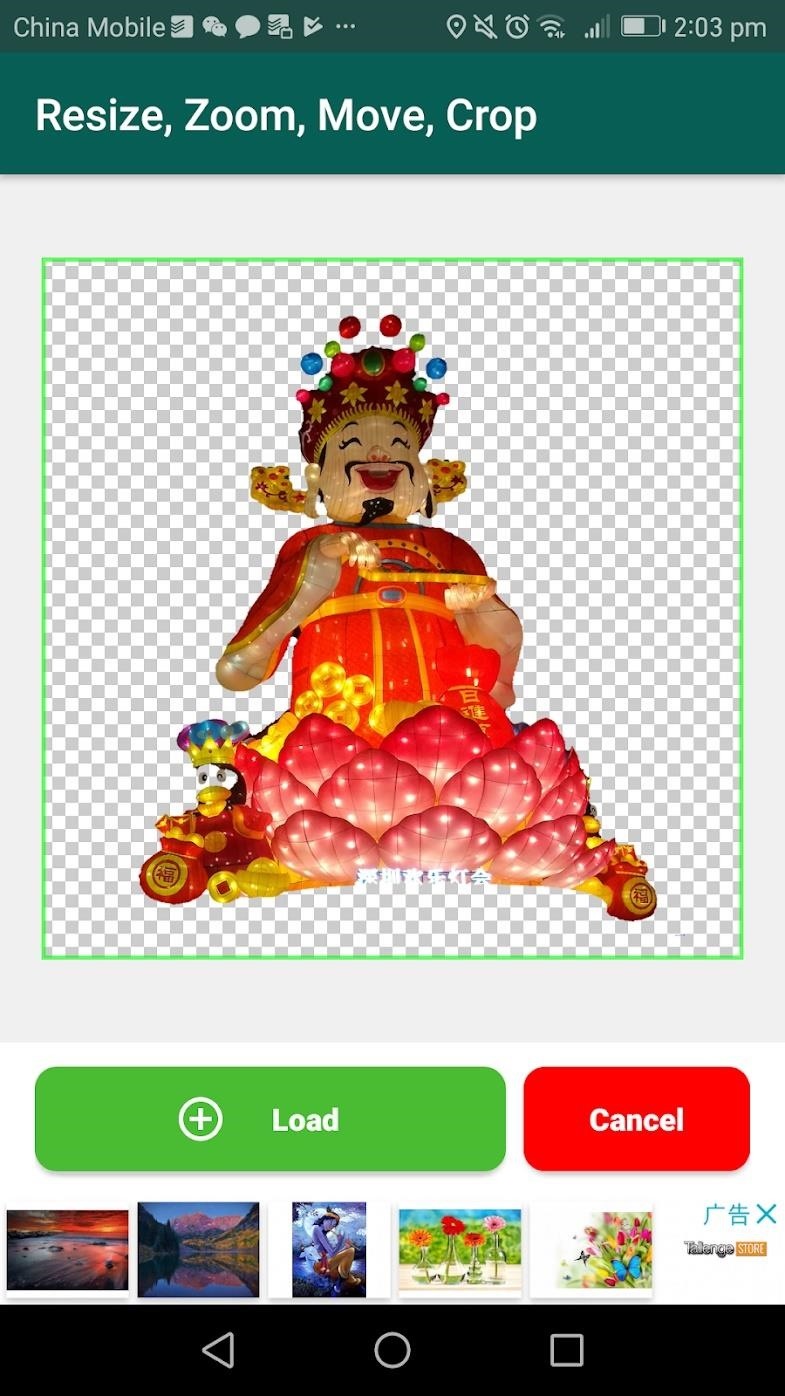
On the "Sticker Pack Editor" Page, press the "Add Sticker" Button. Here, you will be taken to your images. Choose an image you want to be your in your sticker pack. Once you select the image, you will see it within the sticker app. Here you can resize, move or crop your image using your fingers to drag or zoom. Press the "Load" button when you are done editing. Repeat this step until you have added all your desired stickers.
Note: In your gallery, your edited images will have a black background.
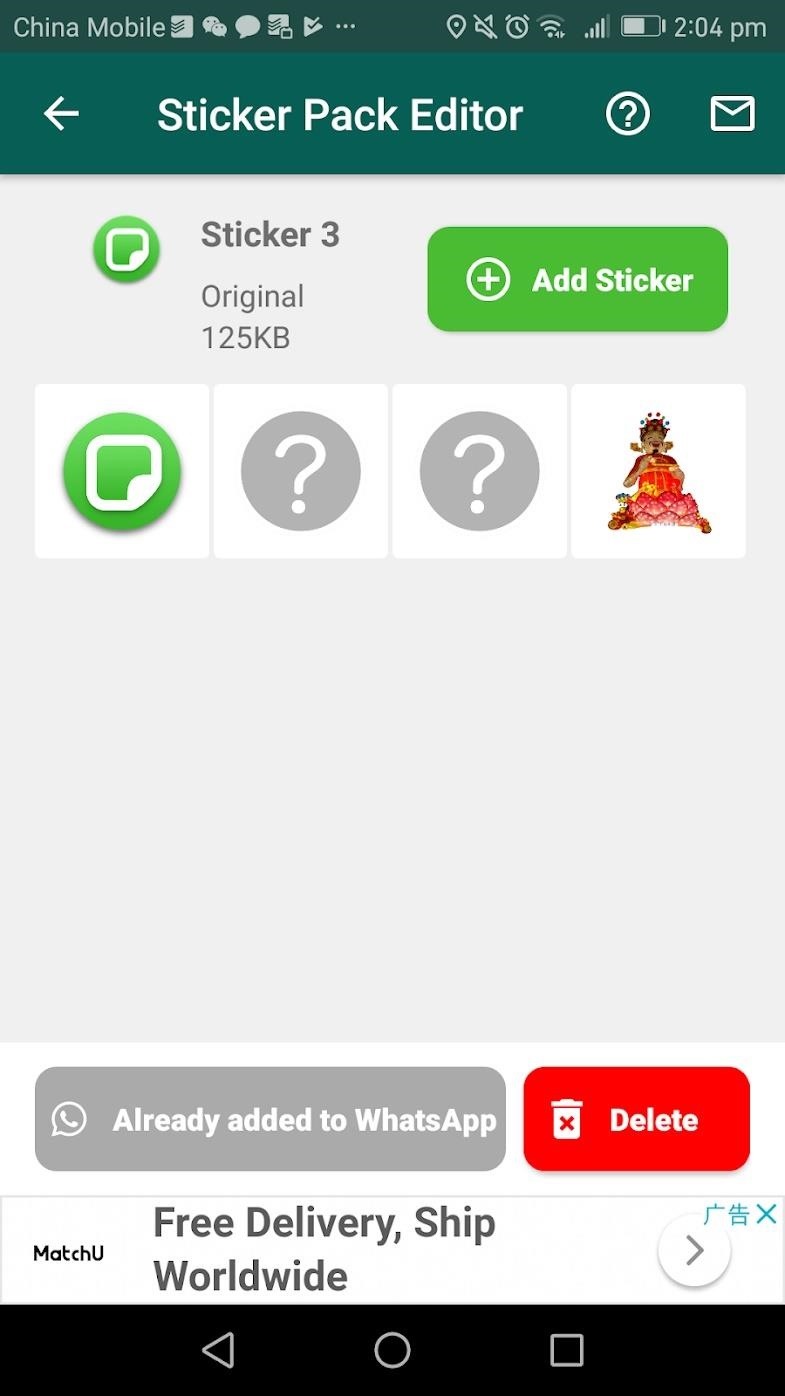
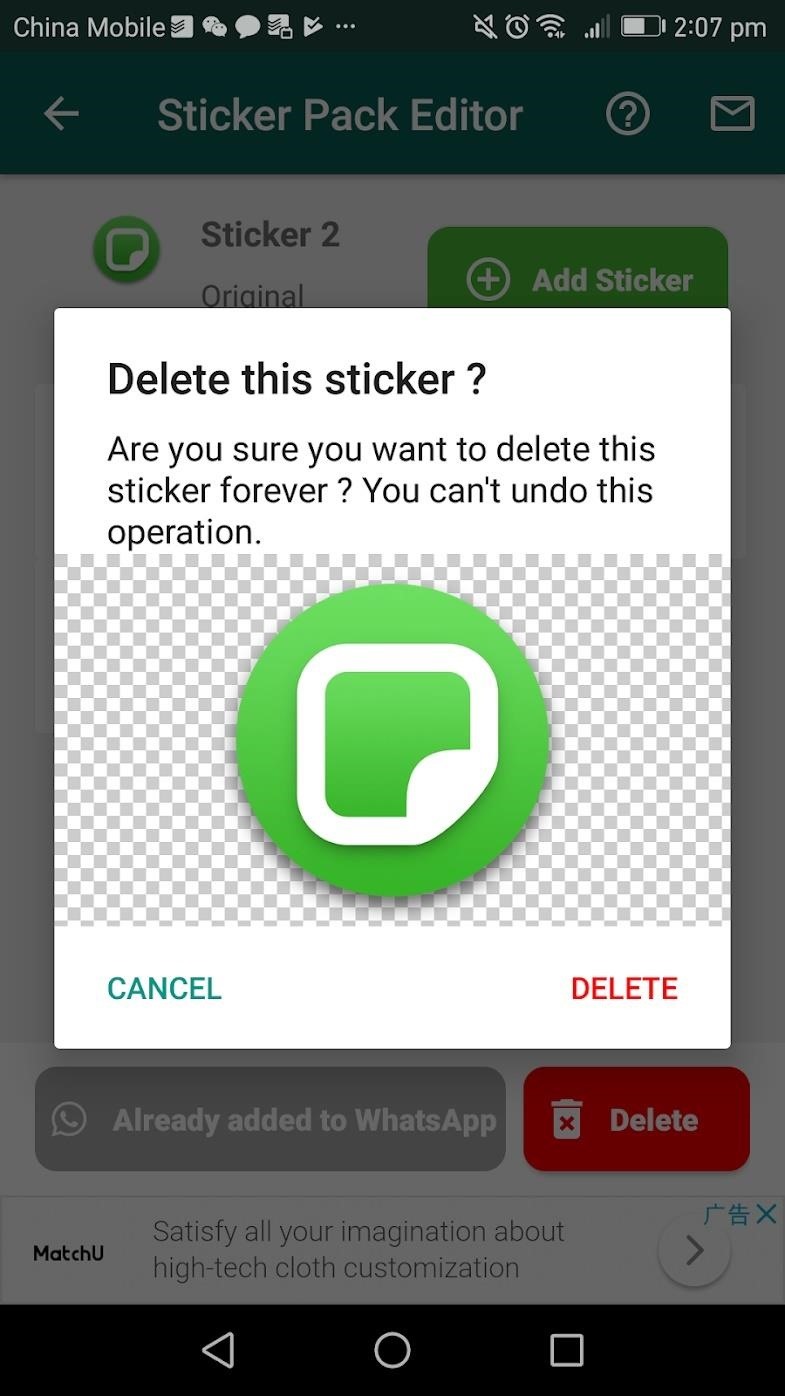
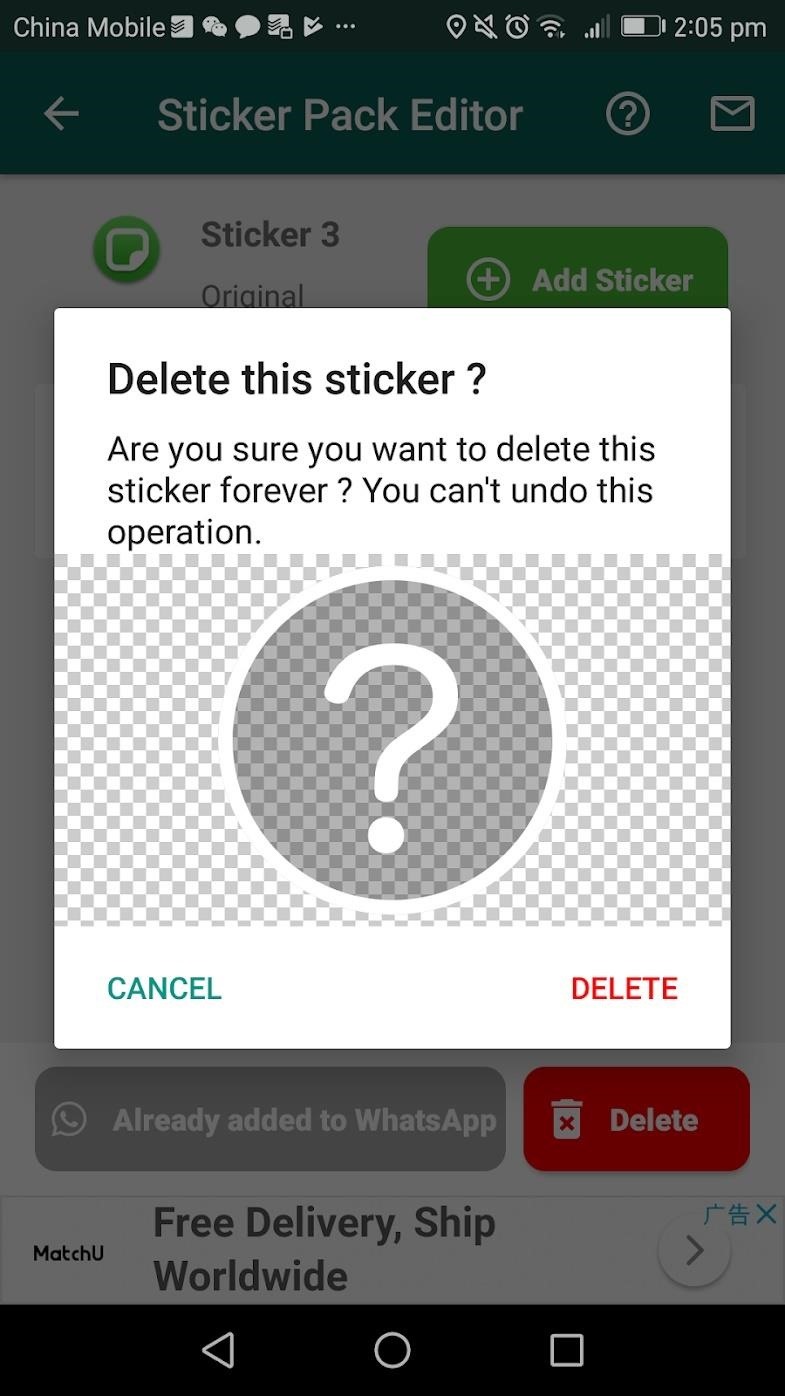
The Stickers app by default has three stickers, one green one and two with "?." Since the sticker pack always needs three stickers, so you are unable to delete the default stickers without adding your stickers first.
After adding three of your own stickers, you can delete the default ones. Tap the default stickers, then press the delete button. If you would like, you can rearrange your stickers. A long press will move your sticker left one spot. You may want to do this as the first sticker in your pack will be the index sticker.
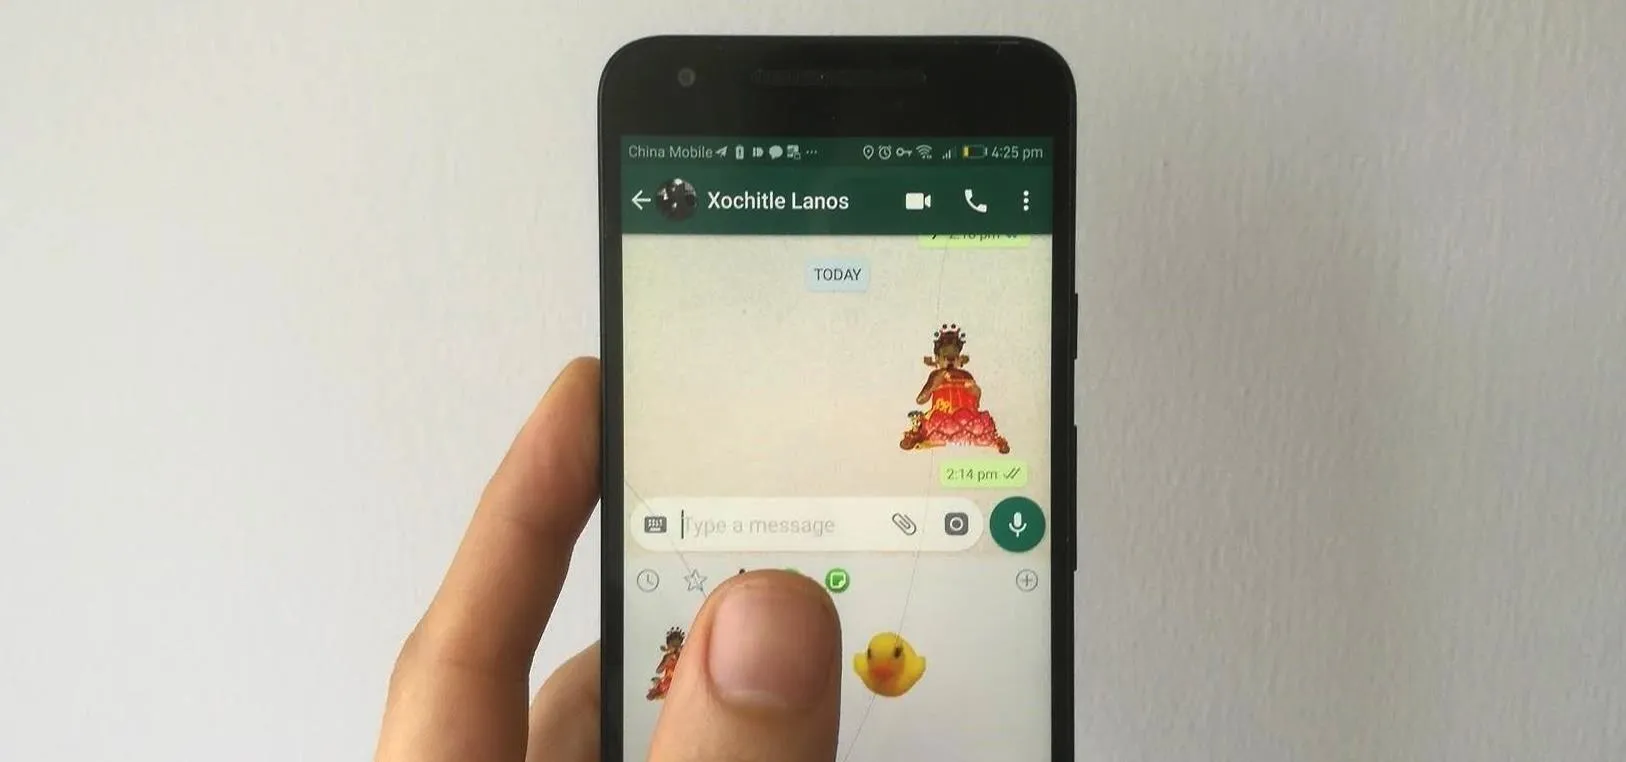
Step 6: Show Off Your New Stickers
Now, launch WhatsApp and select a conversation. Press the sticker button — the smiley face. Here, you should find your new custom sticker pack. You will see your first sticker as the sticker index. Now, you can post your stickers to any chat in WhatsApp!
Who needs a wand? Unlock your magical powers and transform yourself from a Muggle into a Wizard or Witch just by using your Android phone. See how:


Be the First to Comment
Share Your Thoughts