


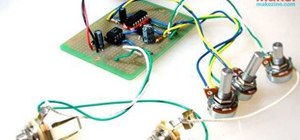
Making a PCB is very simple; it does not consume a lot of time and the results look professional. After watching this step-by-step how-to video, you will be able to make your own PCB in your workshop using just a few inexpensive materials.
Many people use protoboard and point-to-point wire everything, but needing multiple copies of the same circuit is the reason that forces many away from using protoboard. After making your first circuit board, you might not point-to-point wire anything again!
For your first circuit board, one goal is to keep the printed circuit board single sided so you can etch using single sided copper clad. This will allow you to gain some experience before moving on to double-sided. If you need topside traces, simply run a few jumper wires on the top.
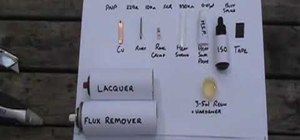
Here is a list of the materials you will need to produce a single-sided printed circuit board. With the exception of the copper clad and PCB drills, everything on this list is easily obtained at your local store.
Materials: Muratic acid, common household hydrogen peroxide, safety goggles, good quality magazine pages (cut to 8x11), laser printer, single sided 1 ounce copper clad, a plastic container the board will fit in, soft plastic brush, clothes iron, lacquer thinner, rubber gloves, paper towel, tin snips, drill or rotary tool, PCB drill bits, Scotch Brite scrubbing pad, good ventilation, and a 5-gallon plastic pail full of water.
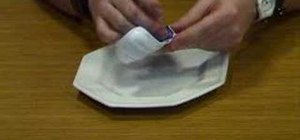
So, keep watching this tutorial to see how to etch a printed circuit board using toner transfer method.
Just updated your iPhone? You'll find new emoji, enhanced security, podcast transcripts, Apple Cash virtual numbers, and other useful features. There are even new additions hidden within Safari. Find out what's new and changed on your iPhone with the iOS 17.4 update.


1 Comment
;-)
Share Your Thoughts